プランを見る

モーションブラー効果で
スピード感を加えよう

Luminar Neoのモーション ブラー効果を使っ躍動的でエネルギッシュな効果を写真に追加できます。このモーション ブラー写真効果は、数クリックで平凡な写真がよりエキサイティングで魅力的なものに変わります!

プランを見る

素晴らしいビジュアルを作成する方法:写真にモーション効果を追加

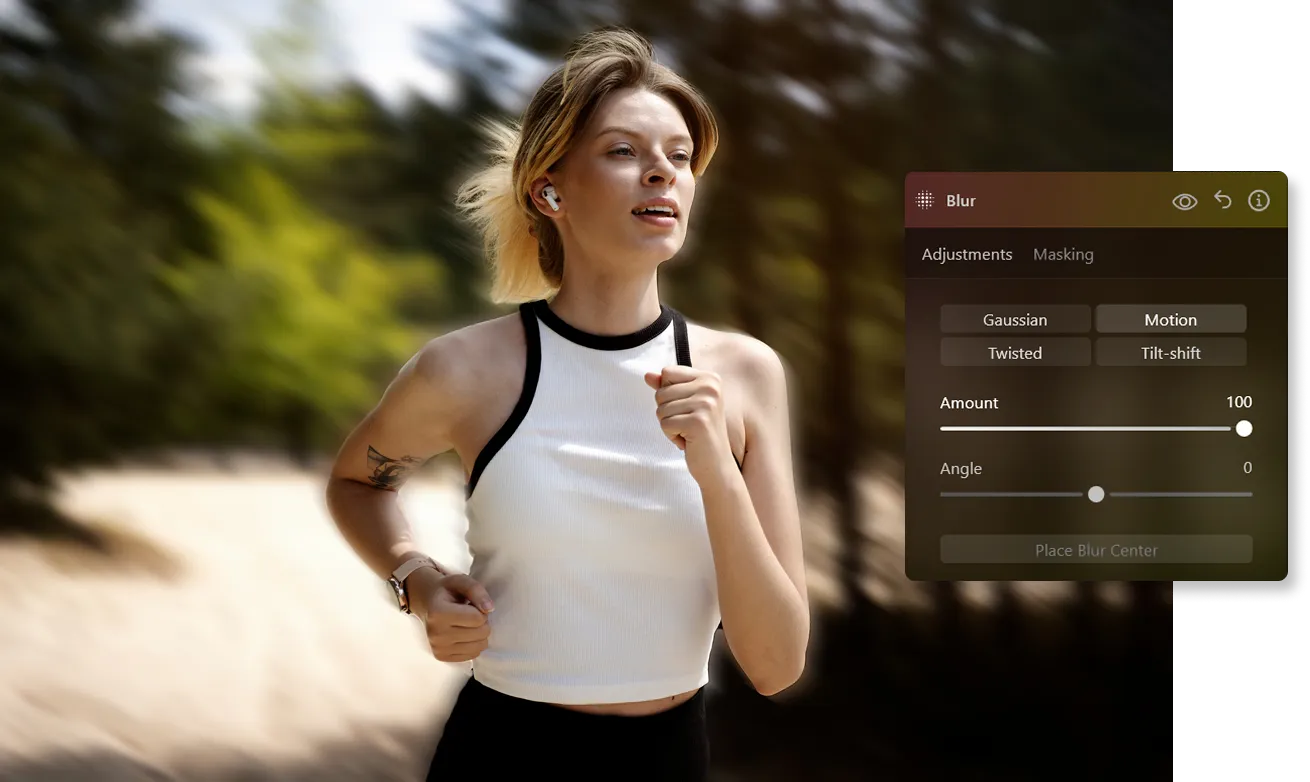
Luminar Neoのクリエイティブ タブから、ぼかしツールにいきます。ガウシアン、ひねり、チルトシフト、モーション ブラーなど、さまざまなタイプのブラーから選択できます。
モーション ブラーは、スピードを上げて走る車や素早く移動する被写体など、動くオブジェクトの視覚効果を表現します。動きの方向に縞や軌跡を生成し、写真に躍動的な動きを加えます。
(2)
(3)
(4)
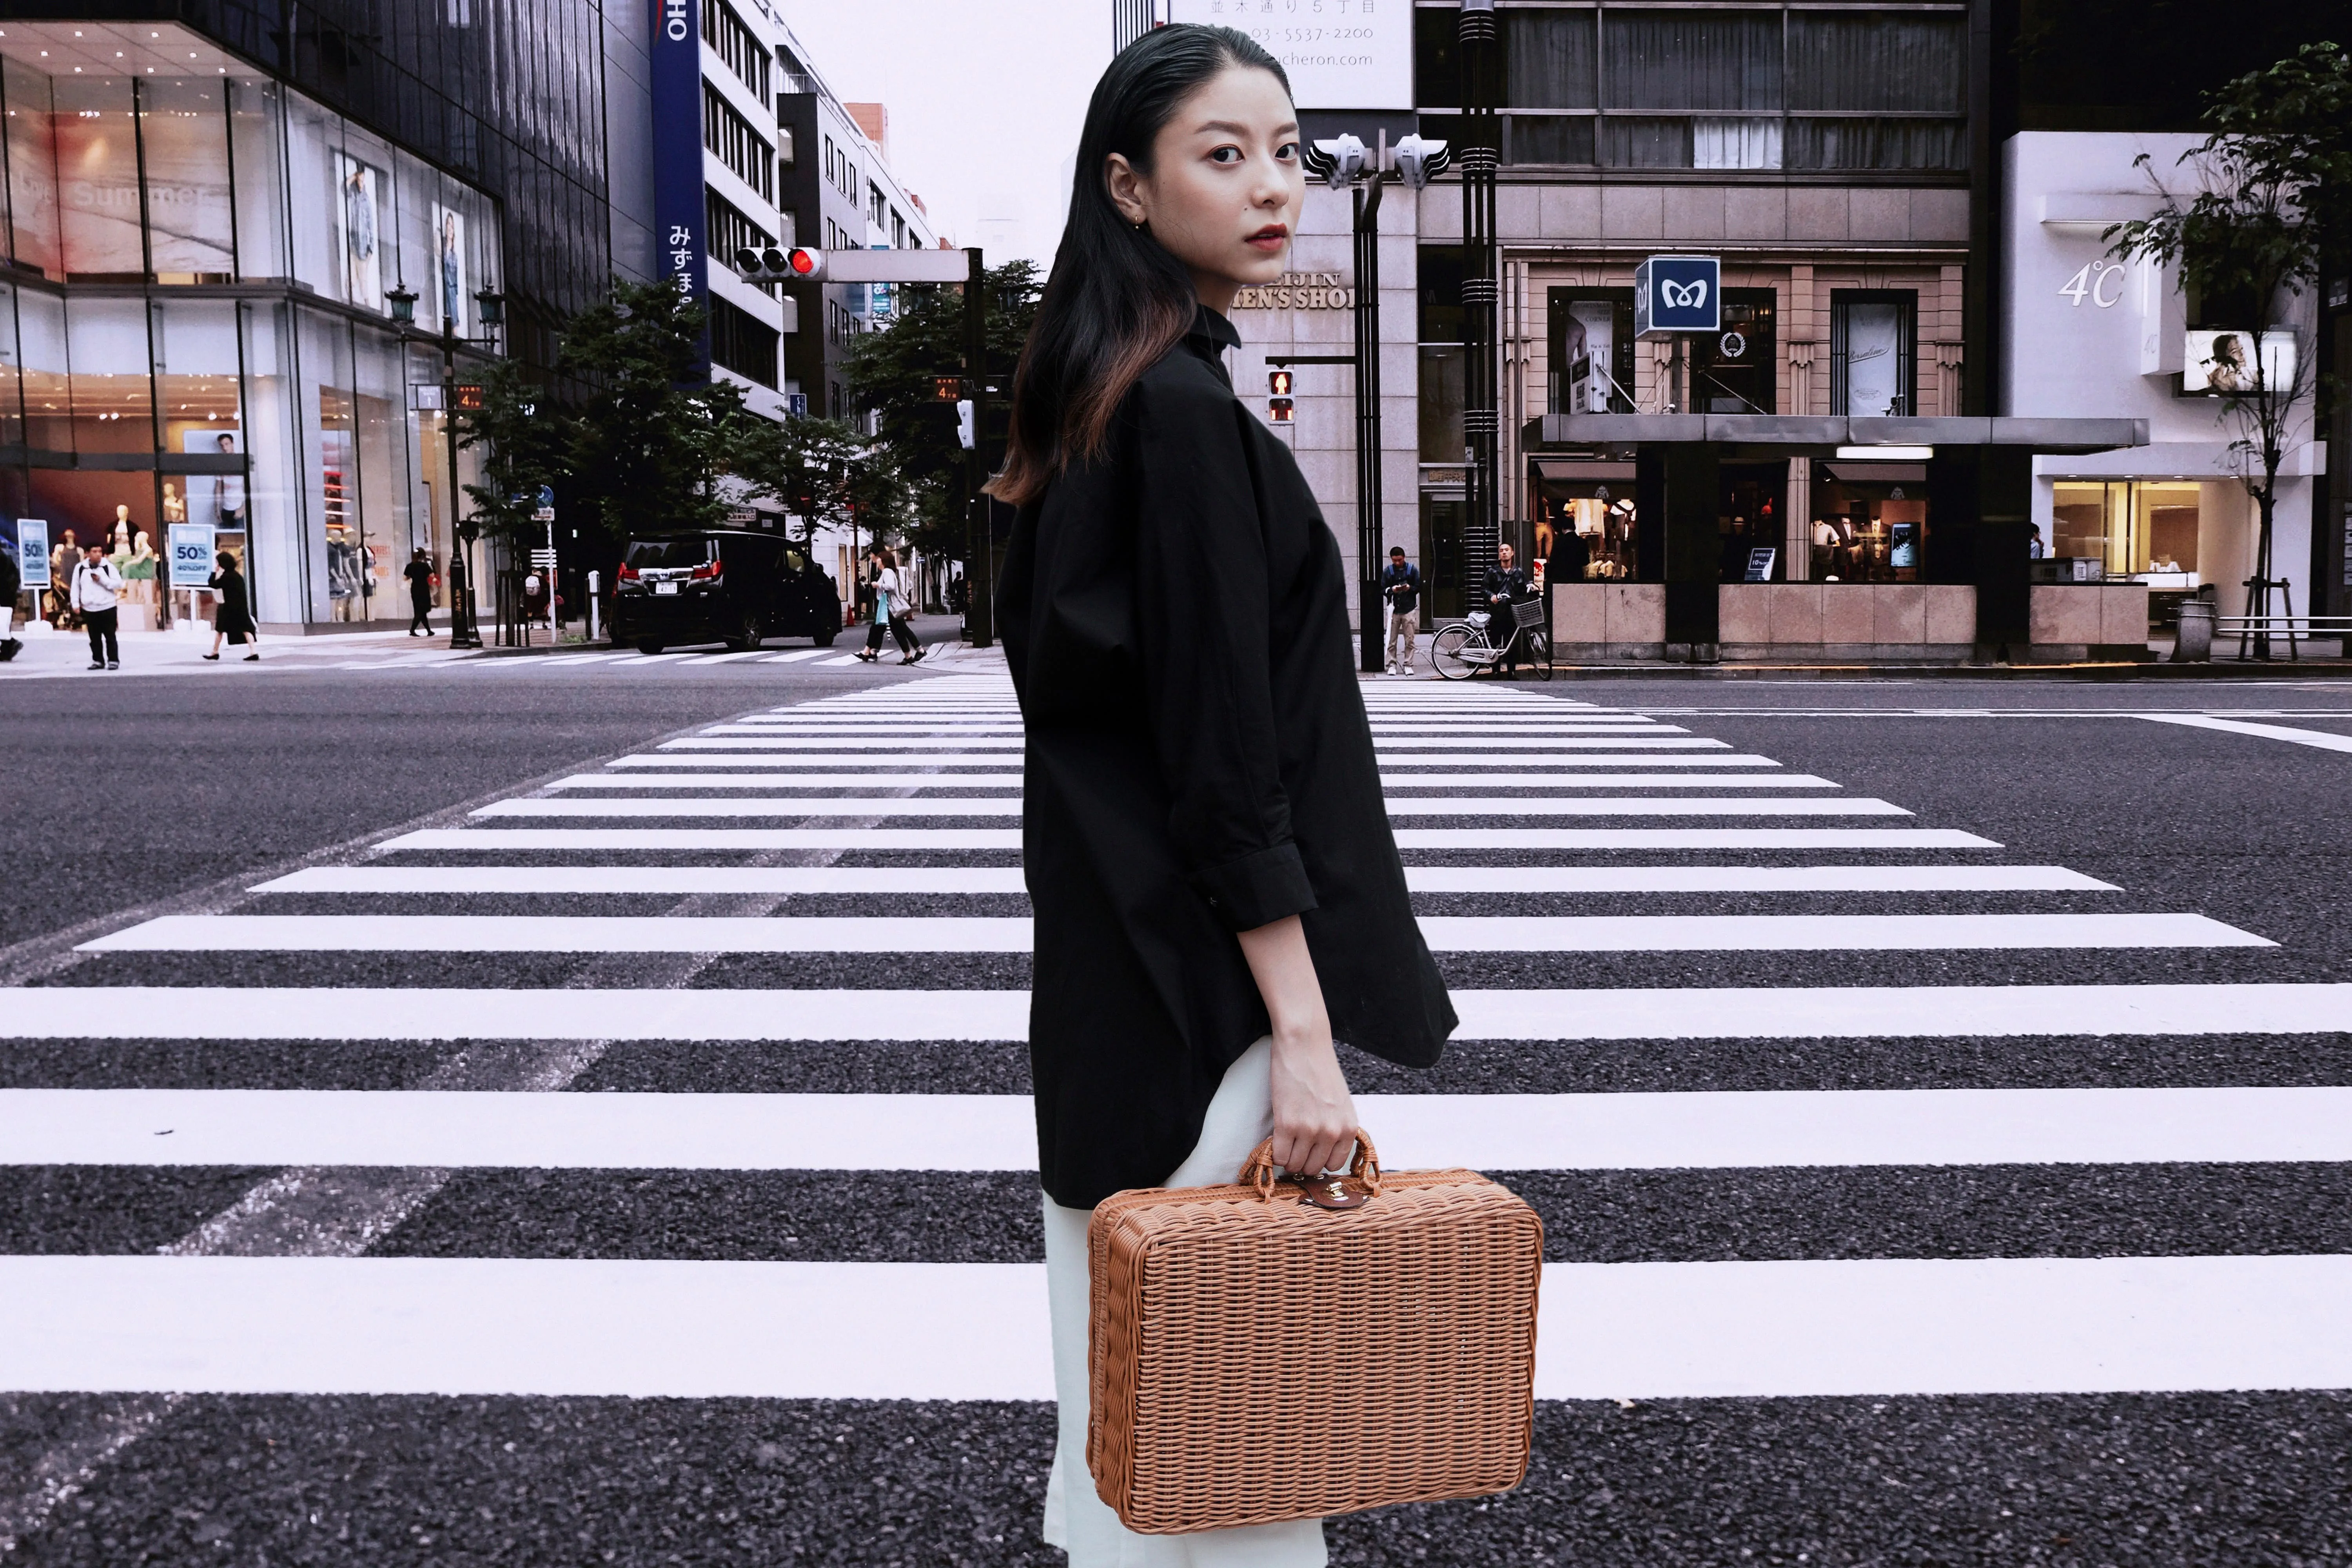
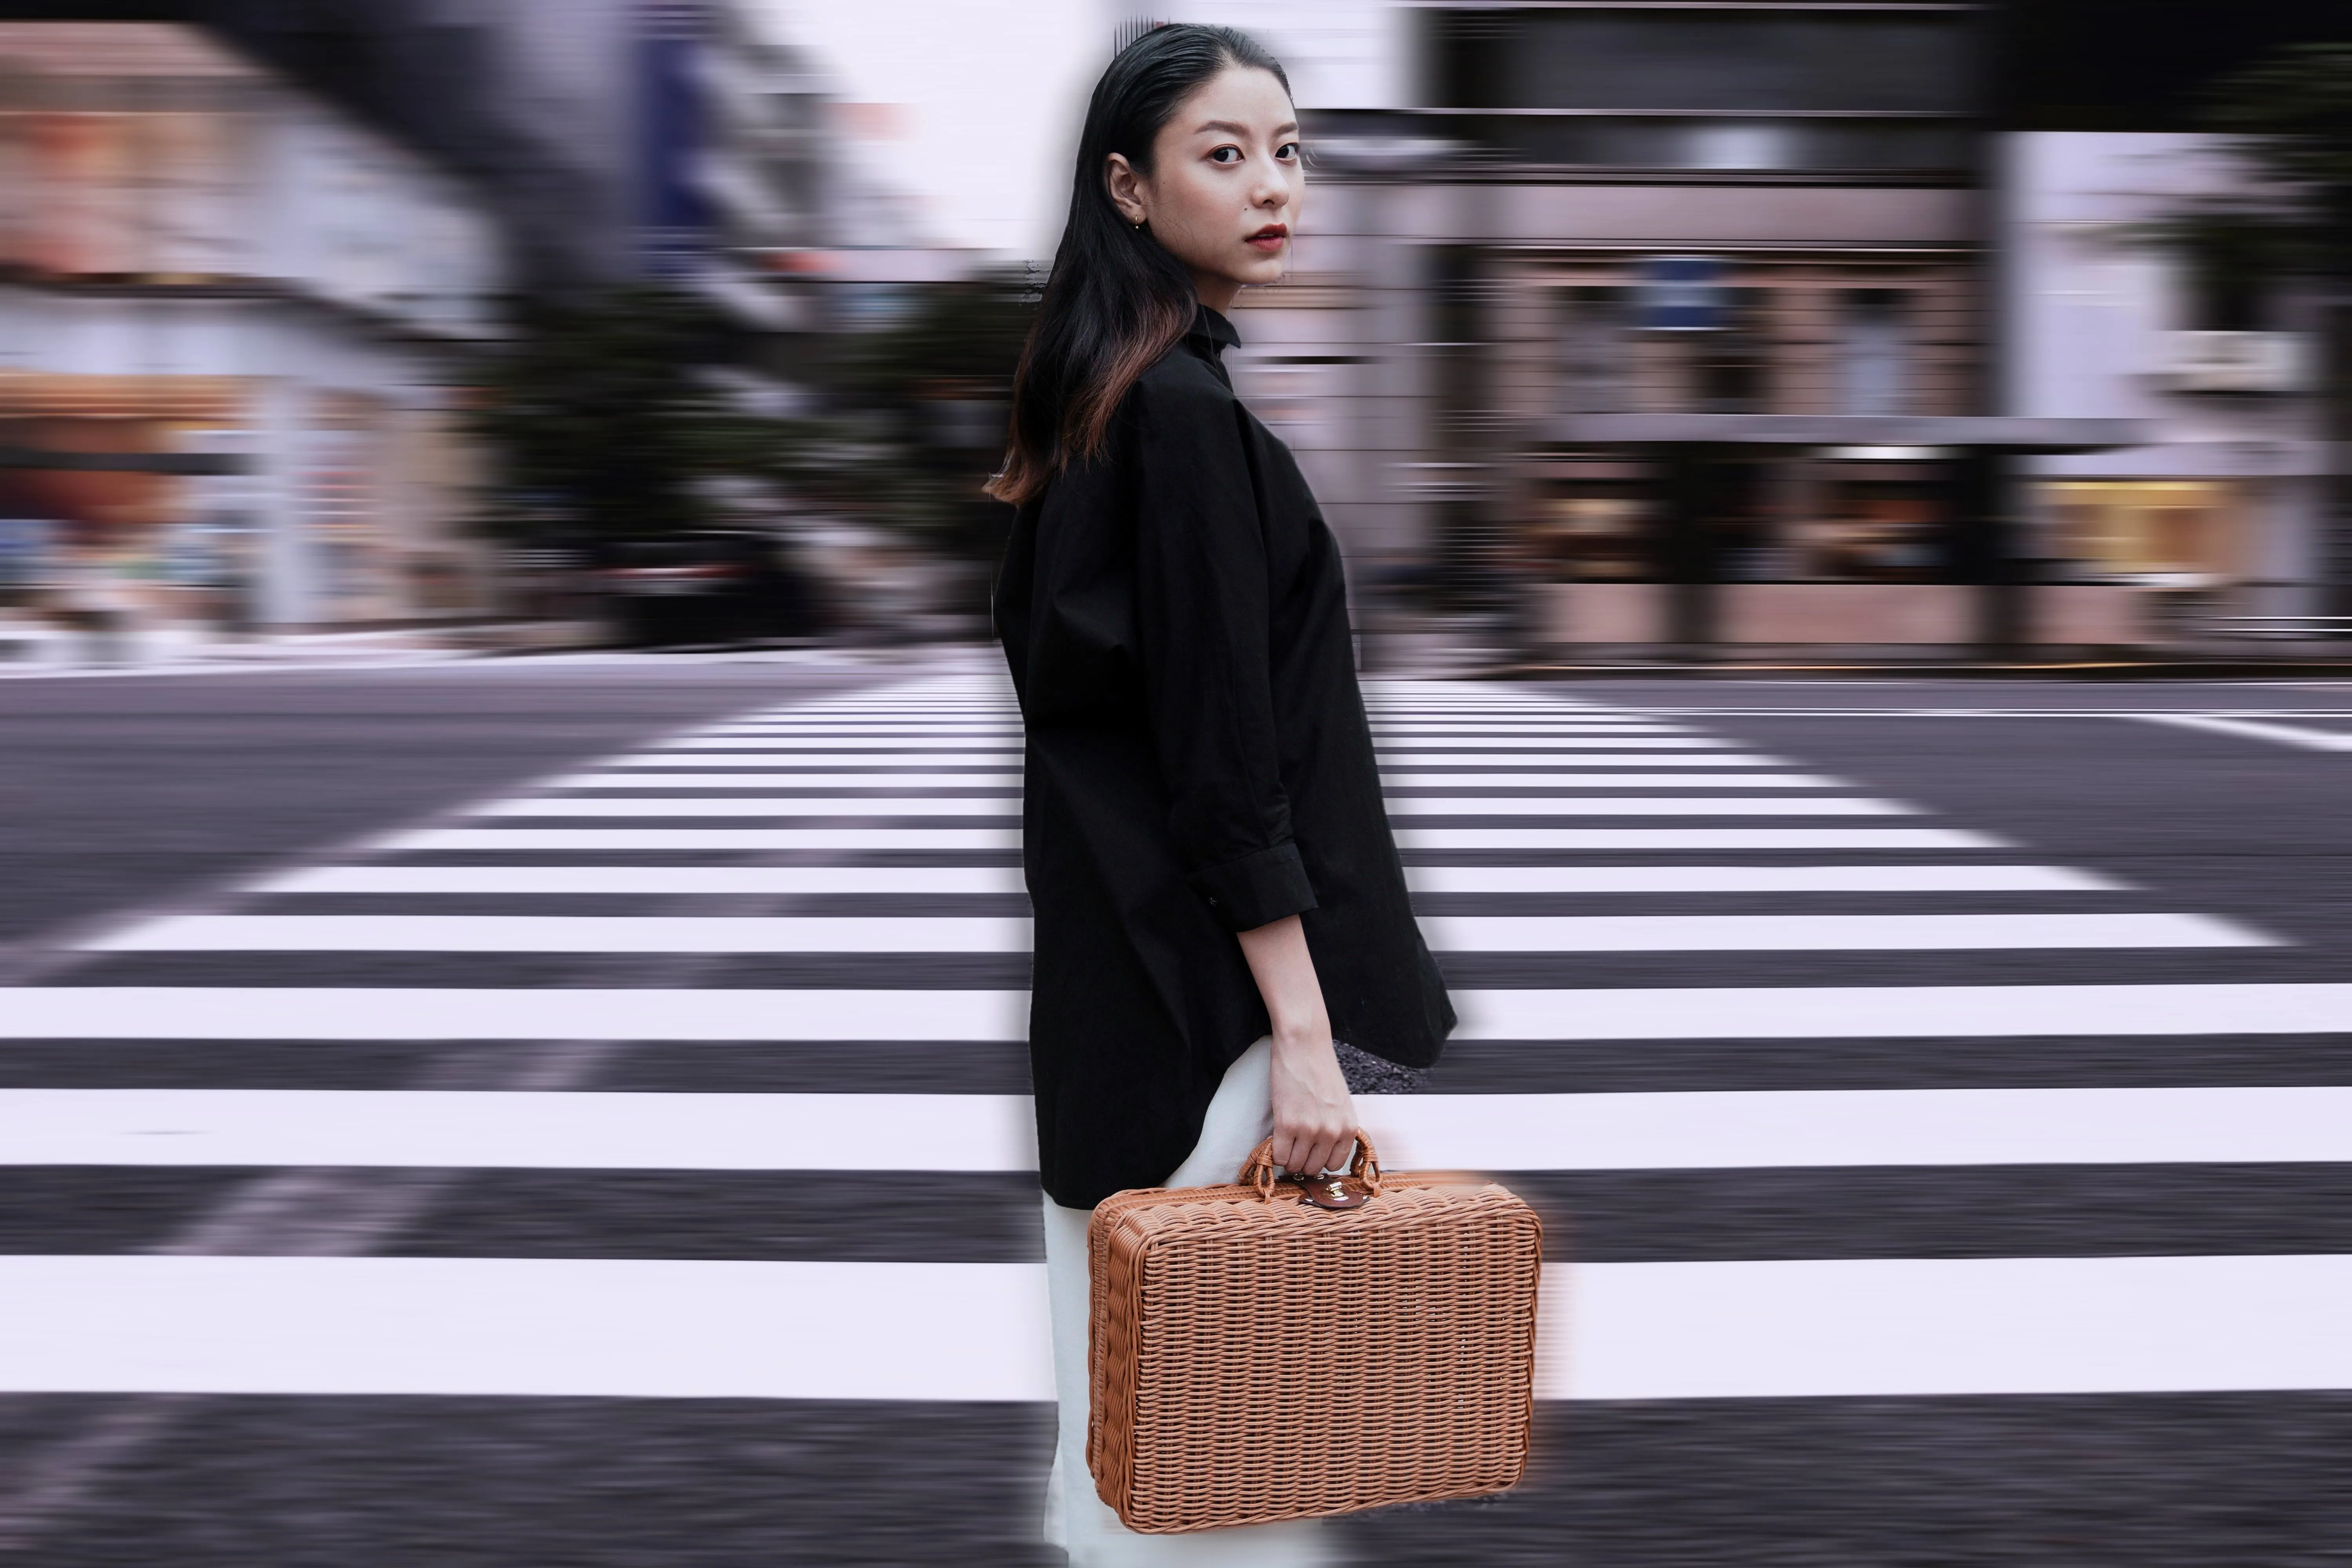
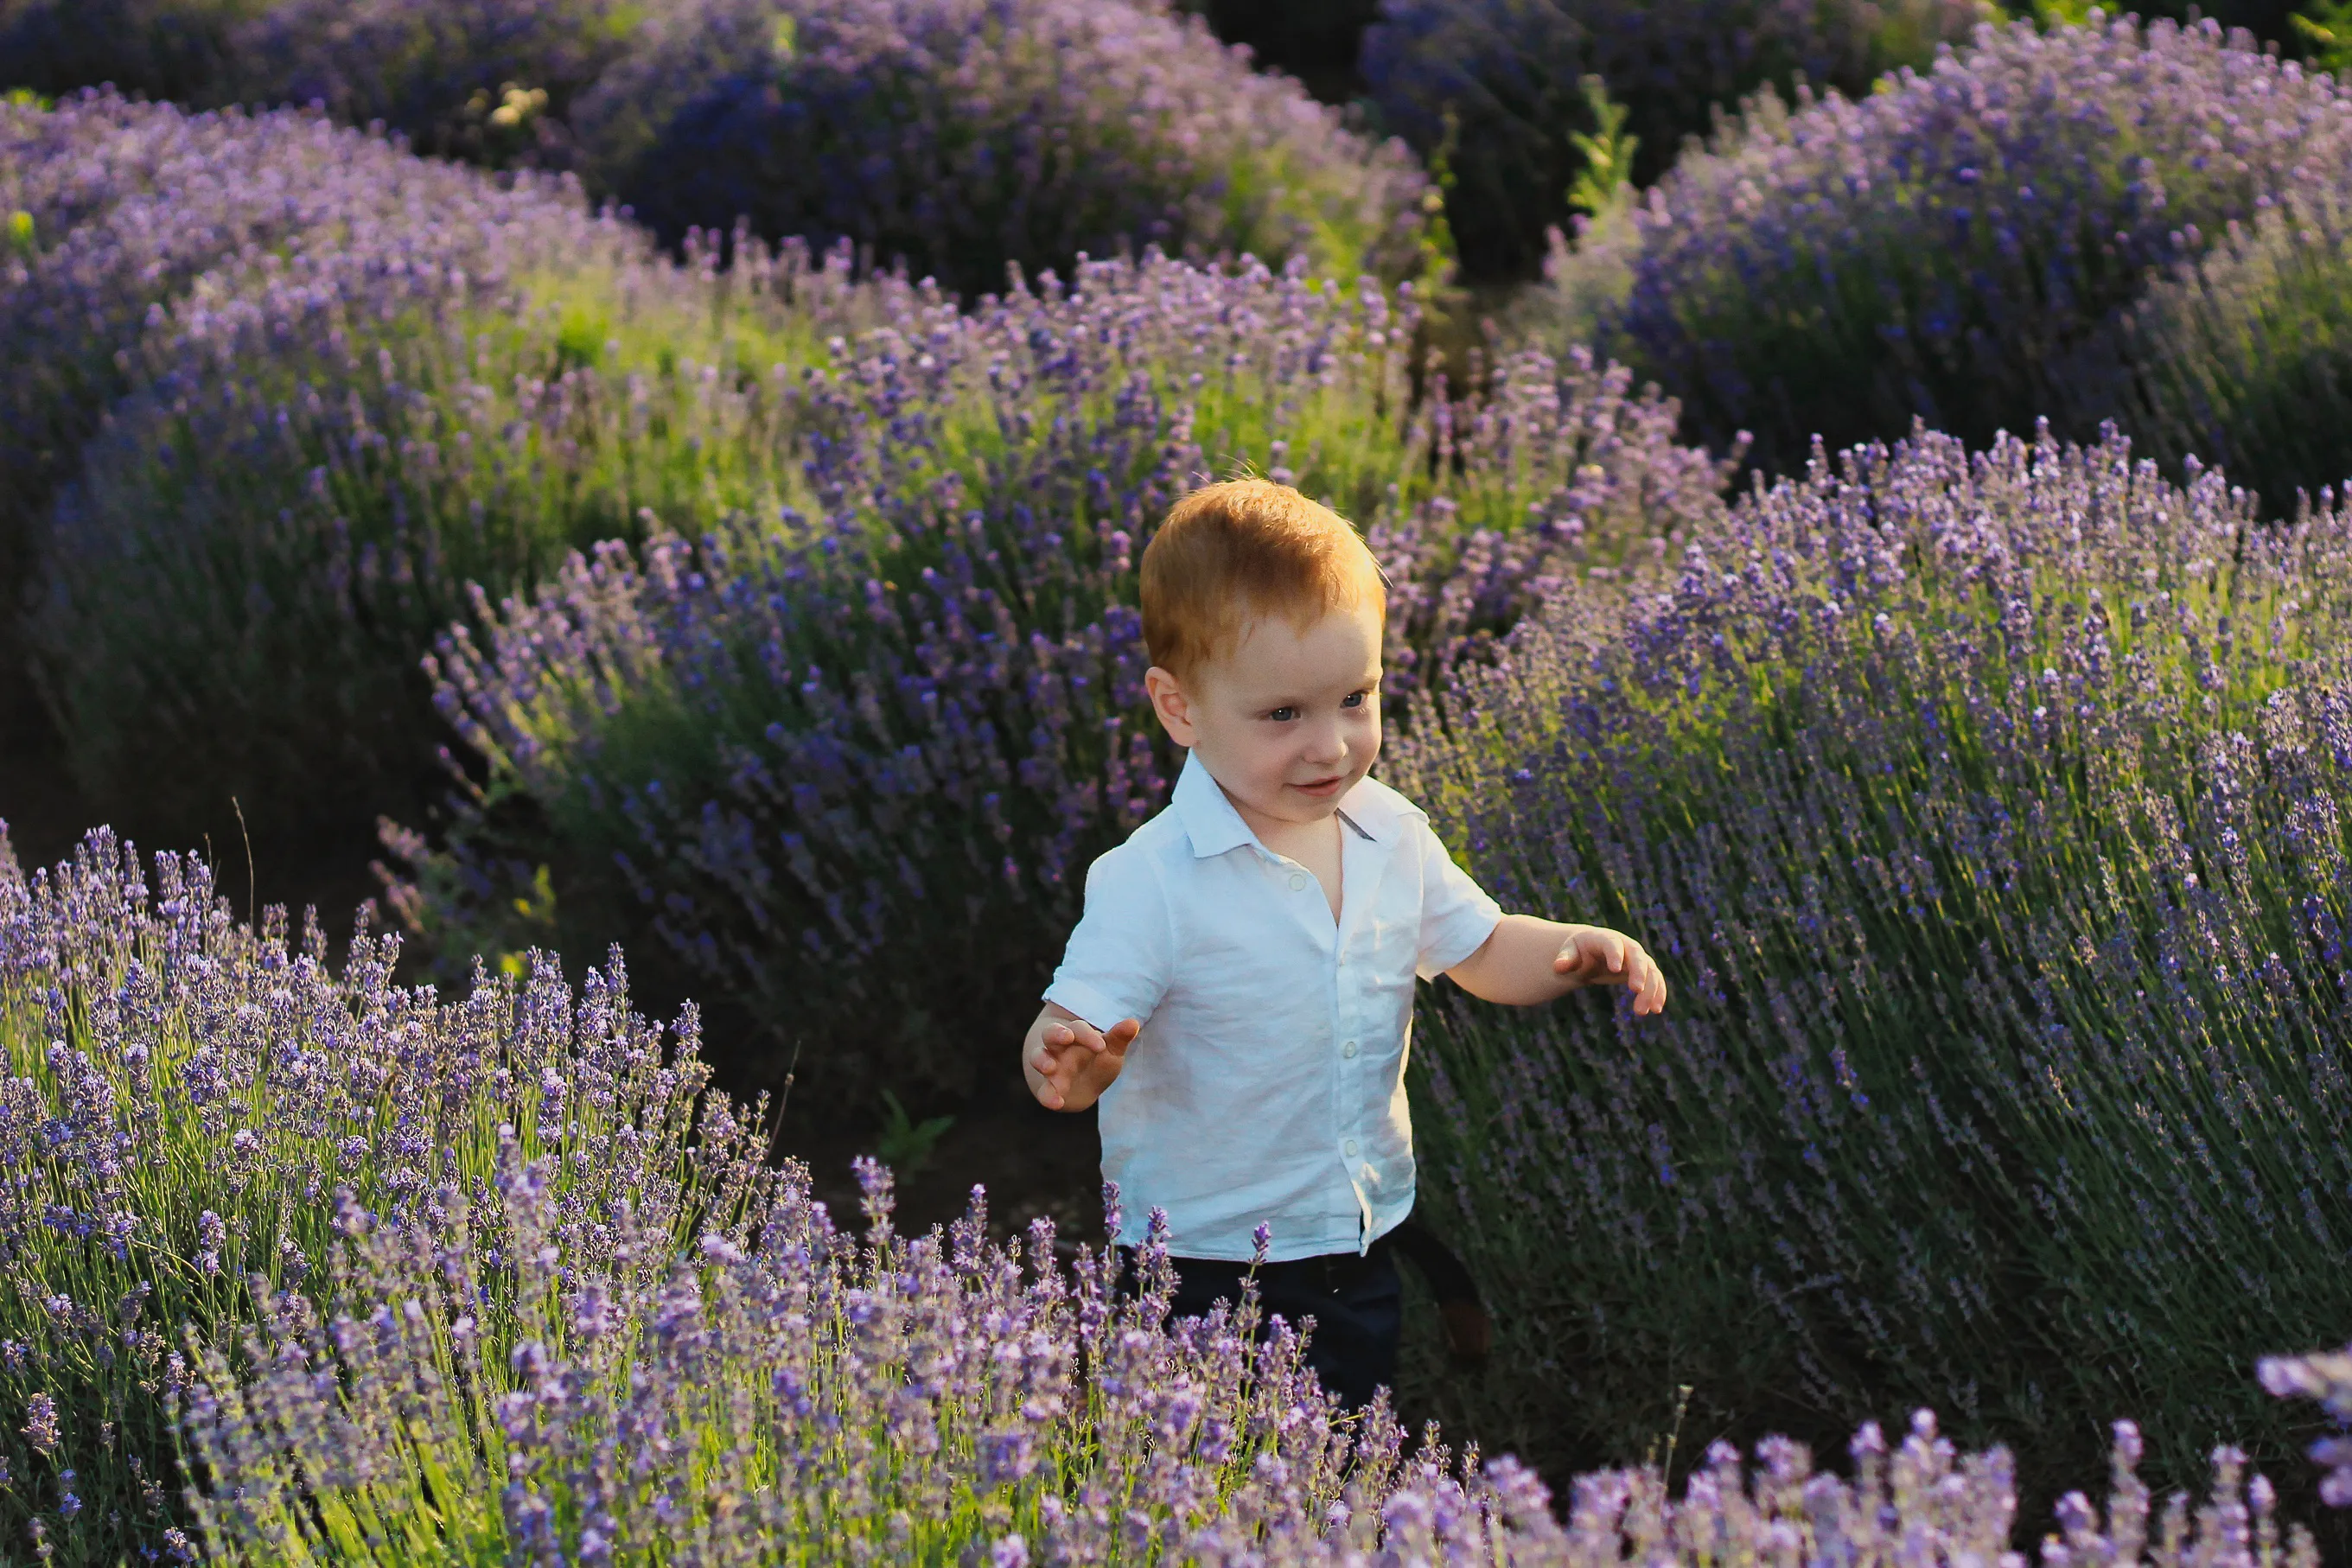
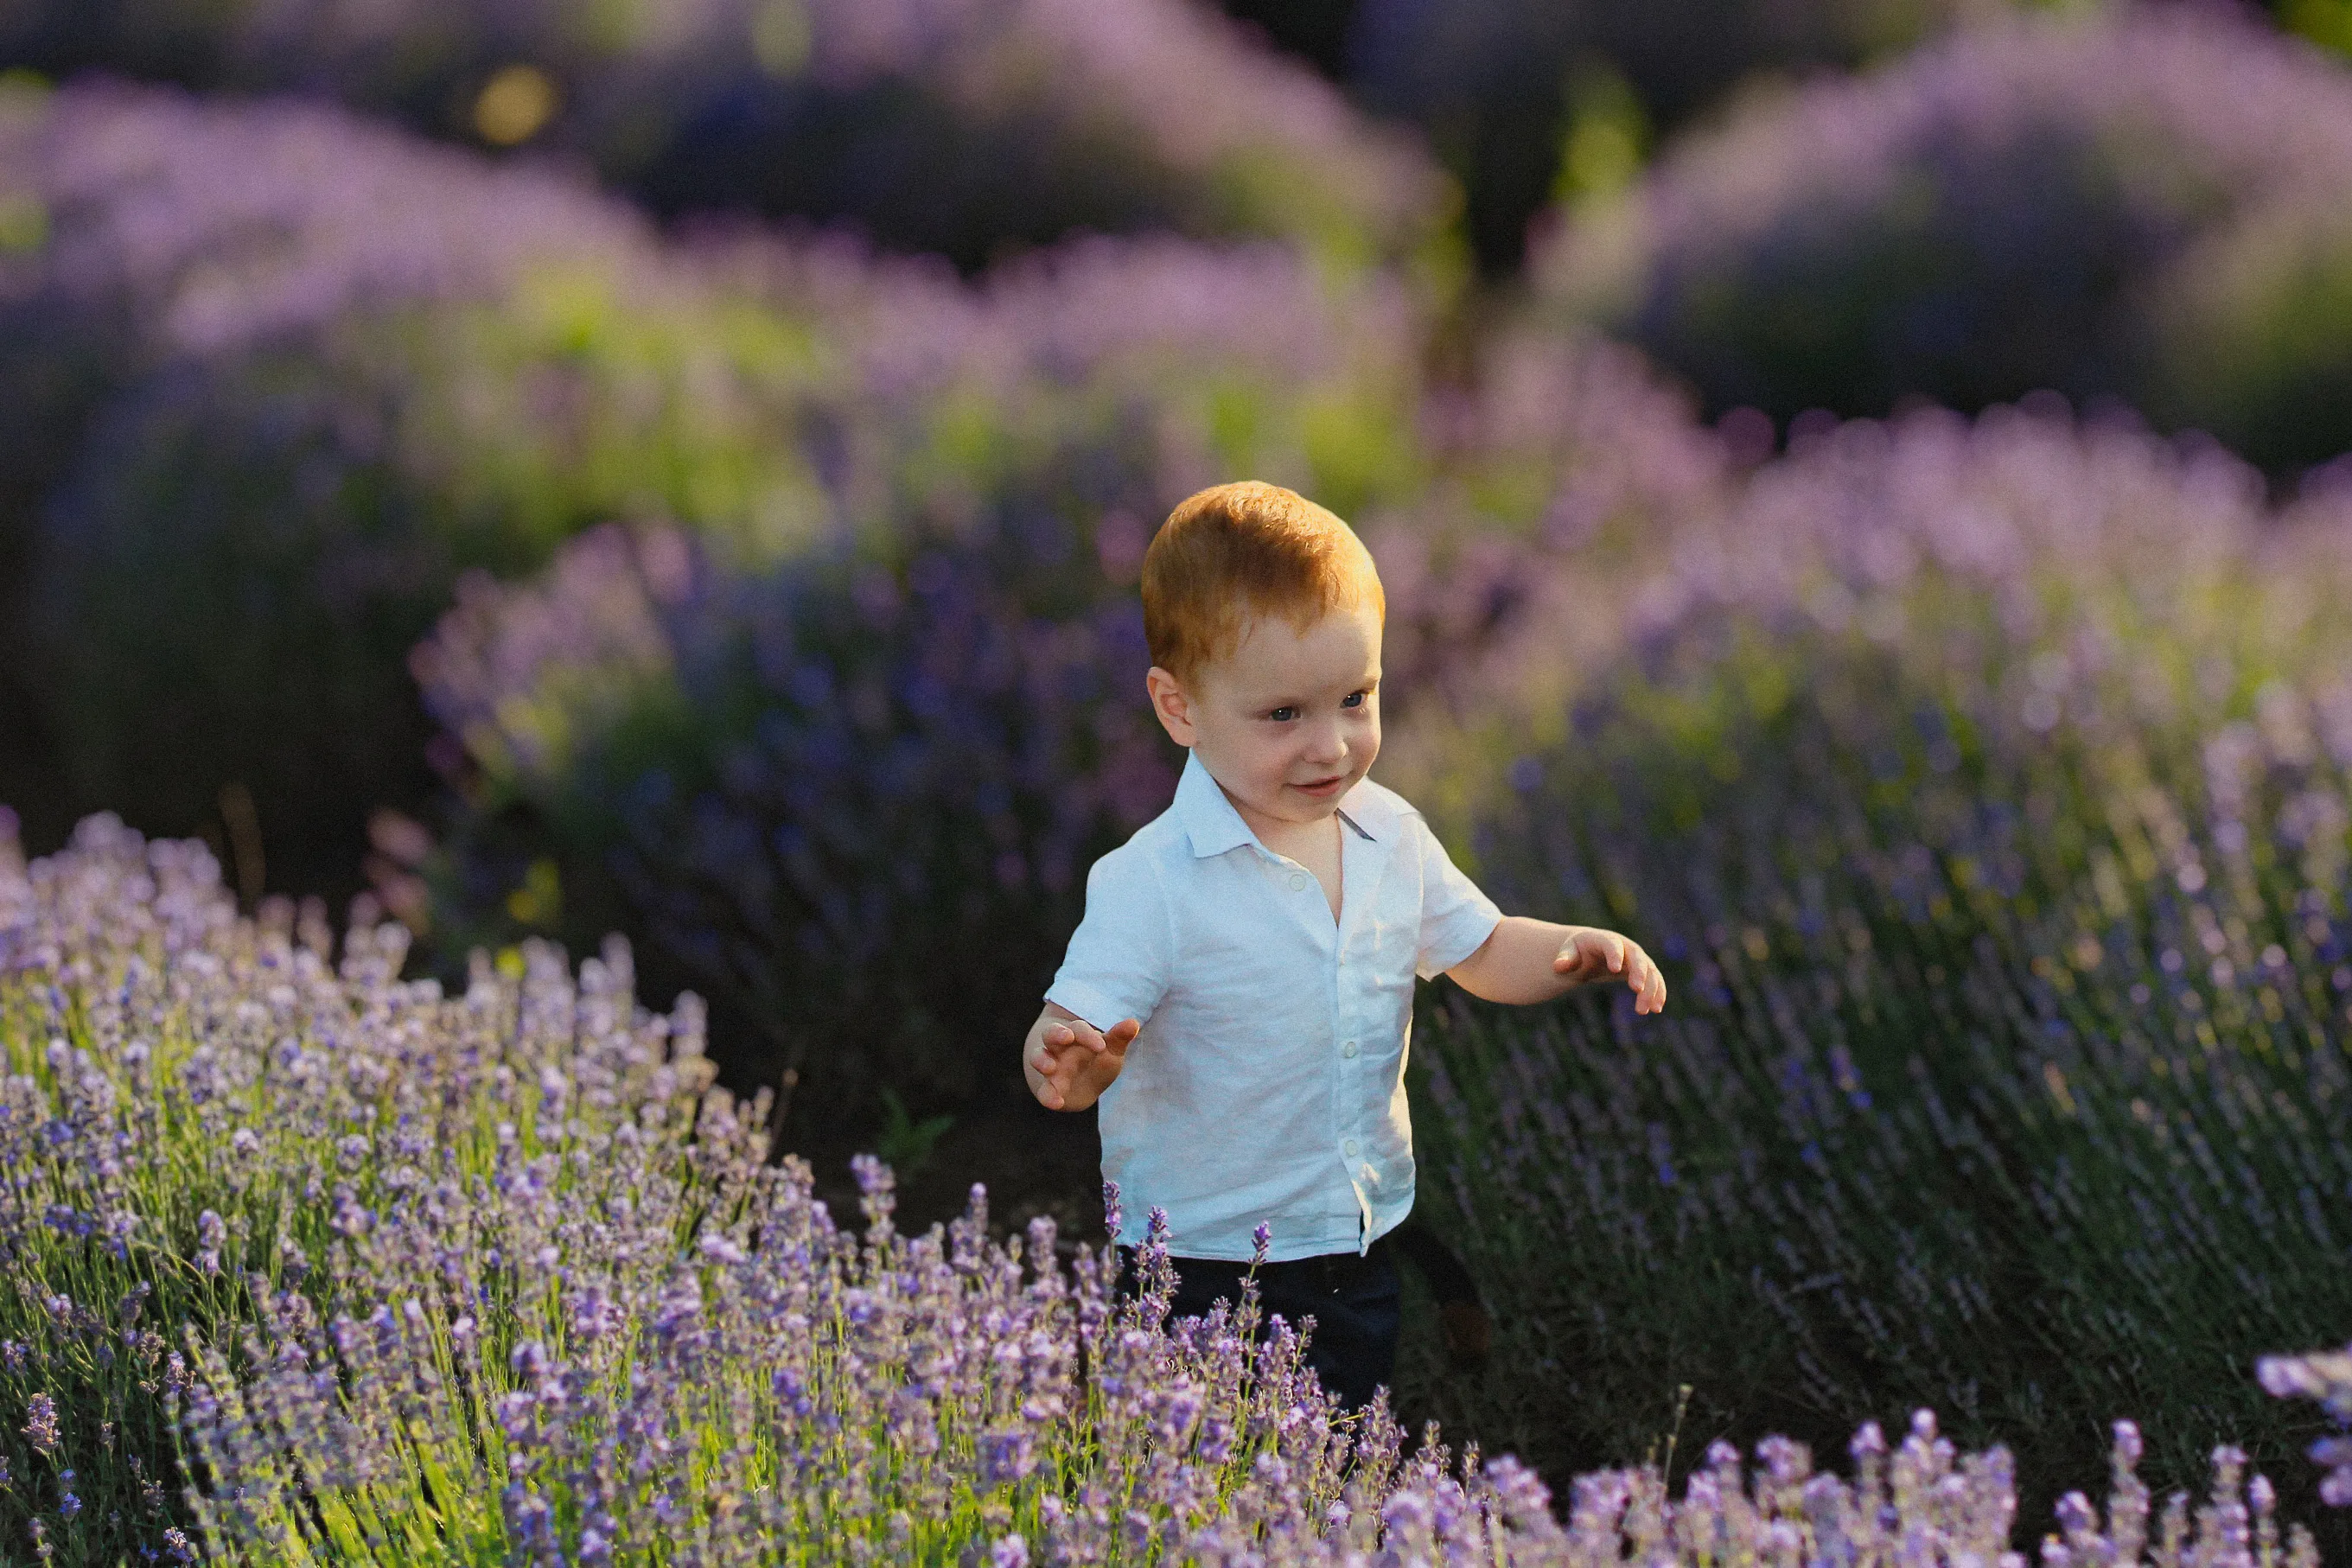
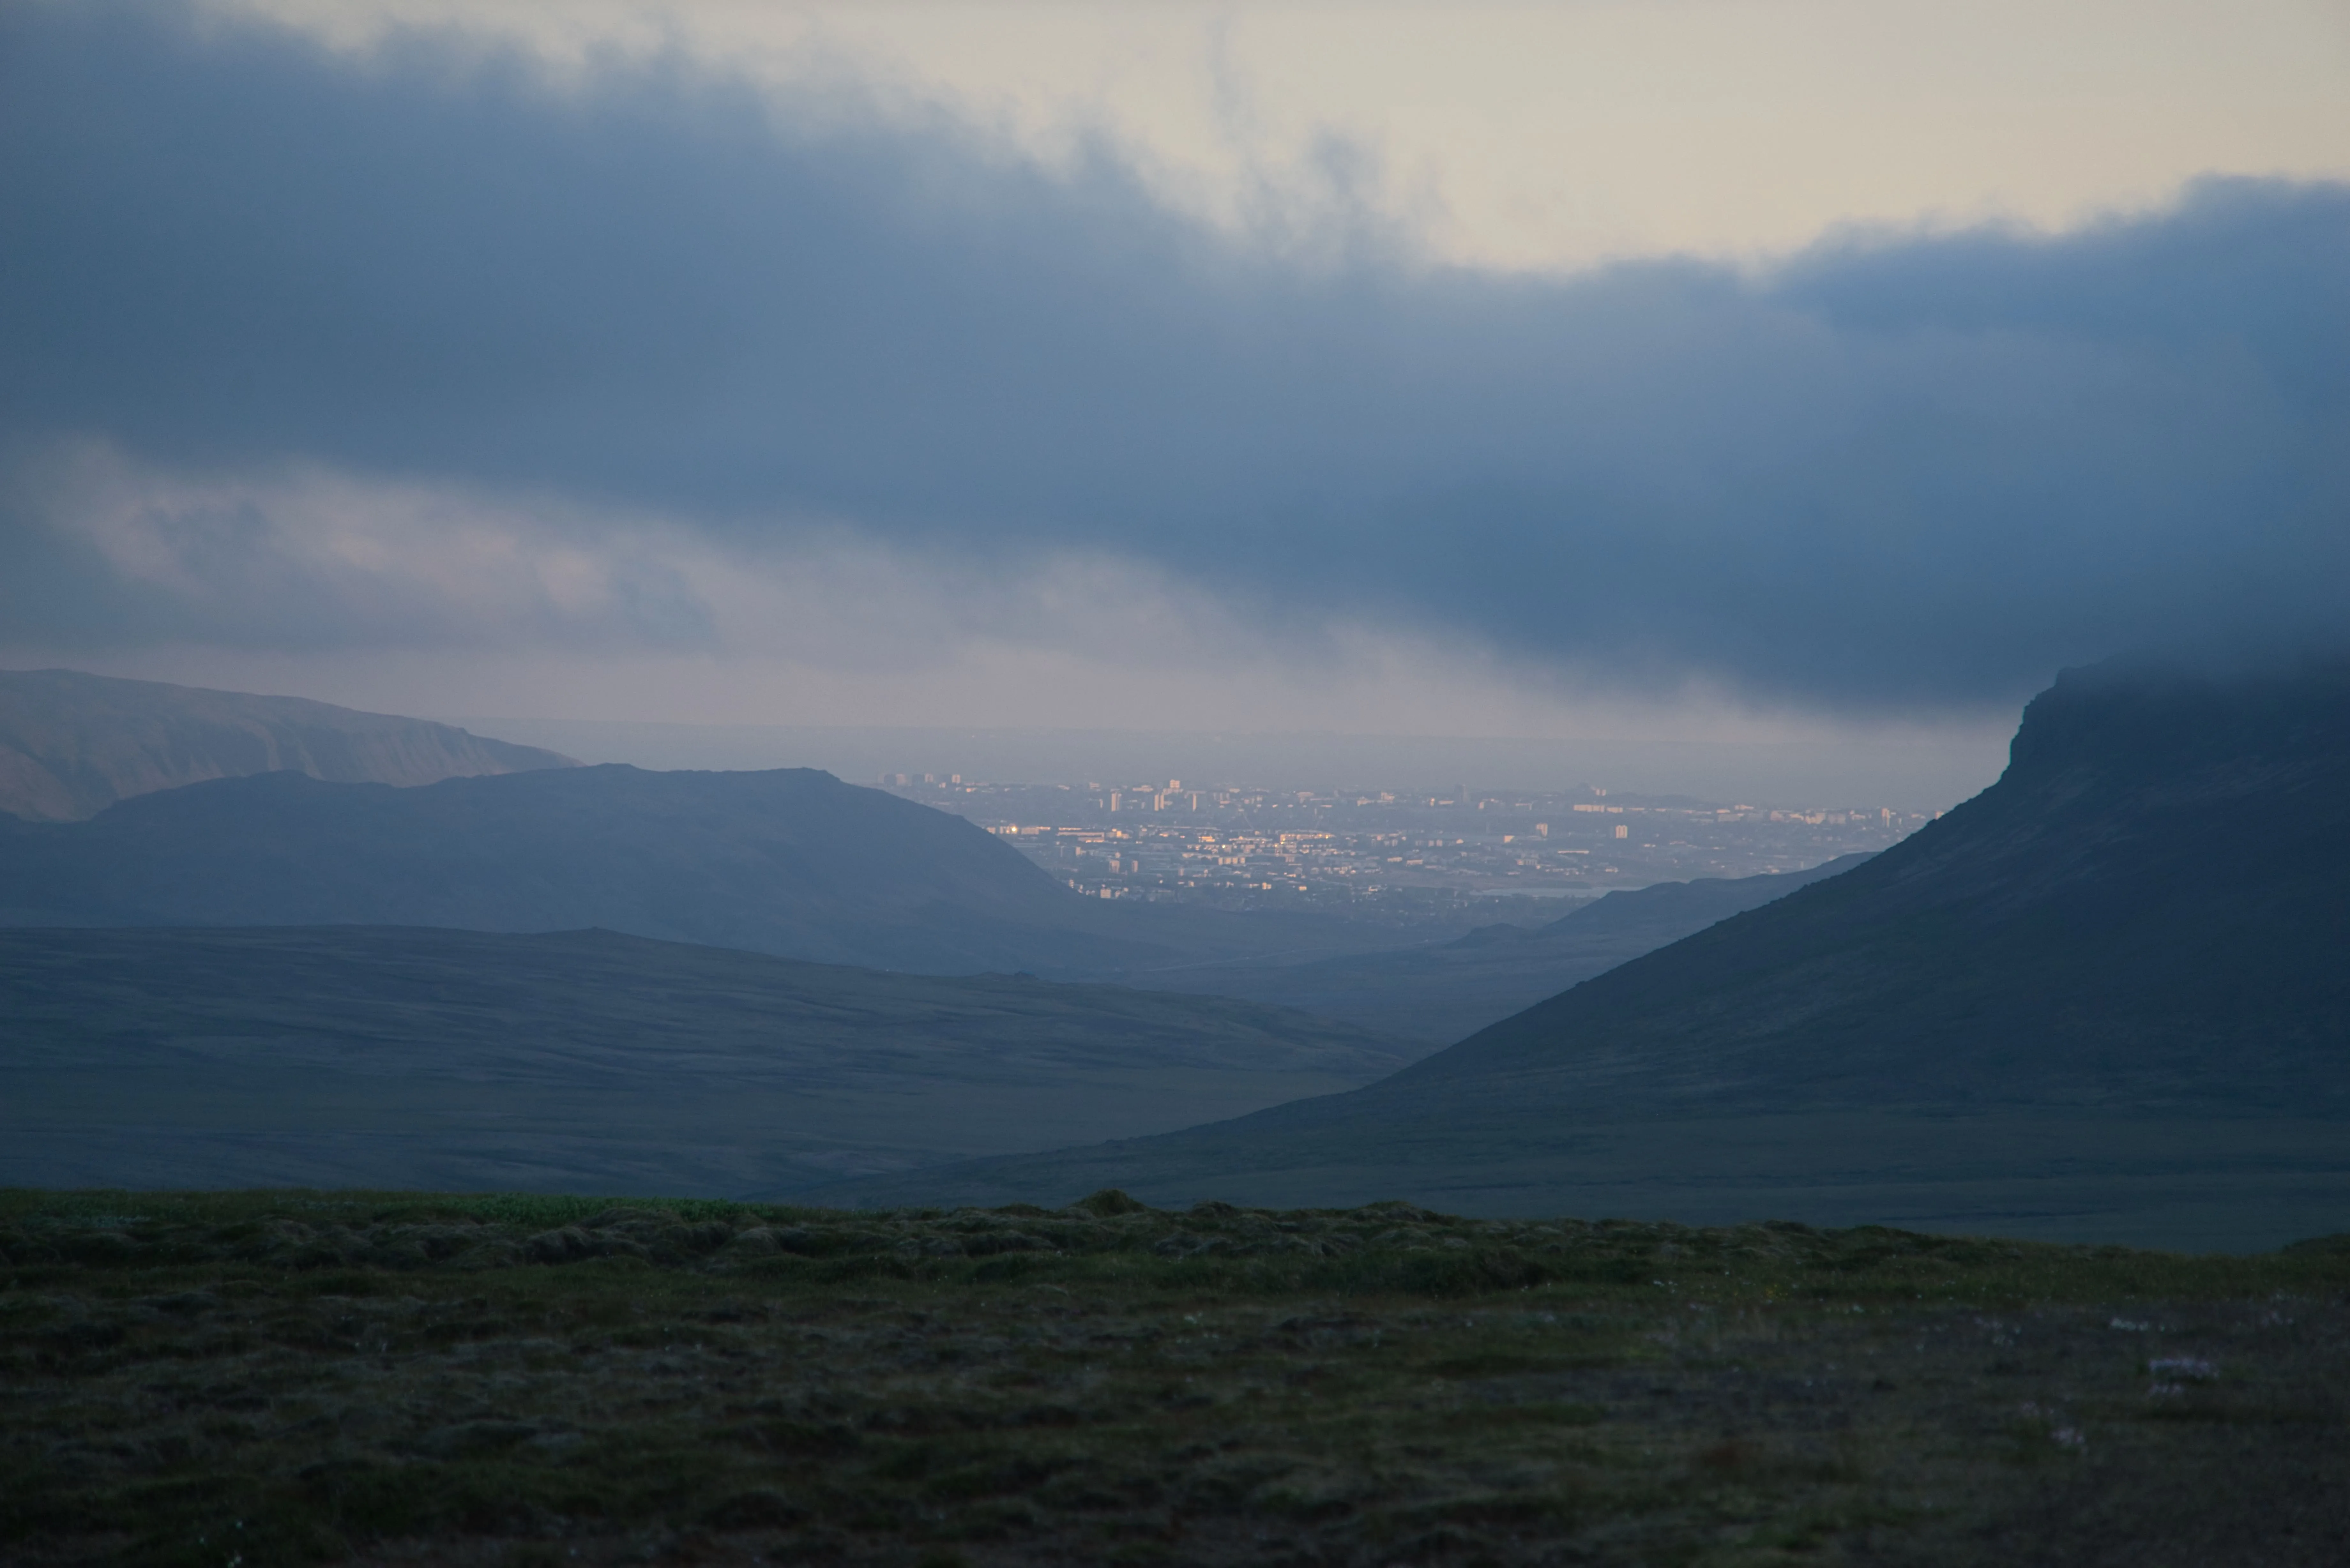
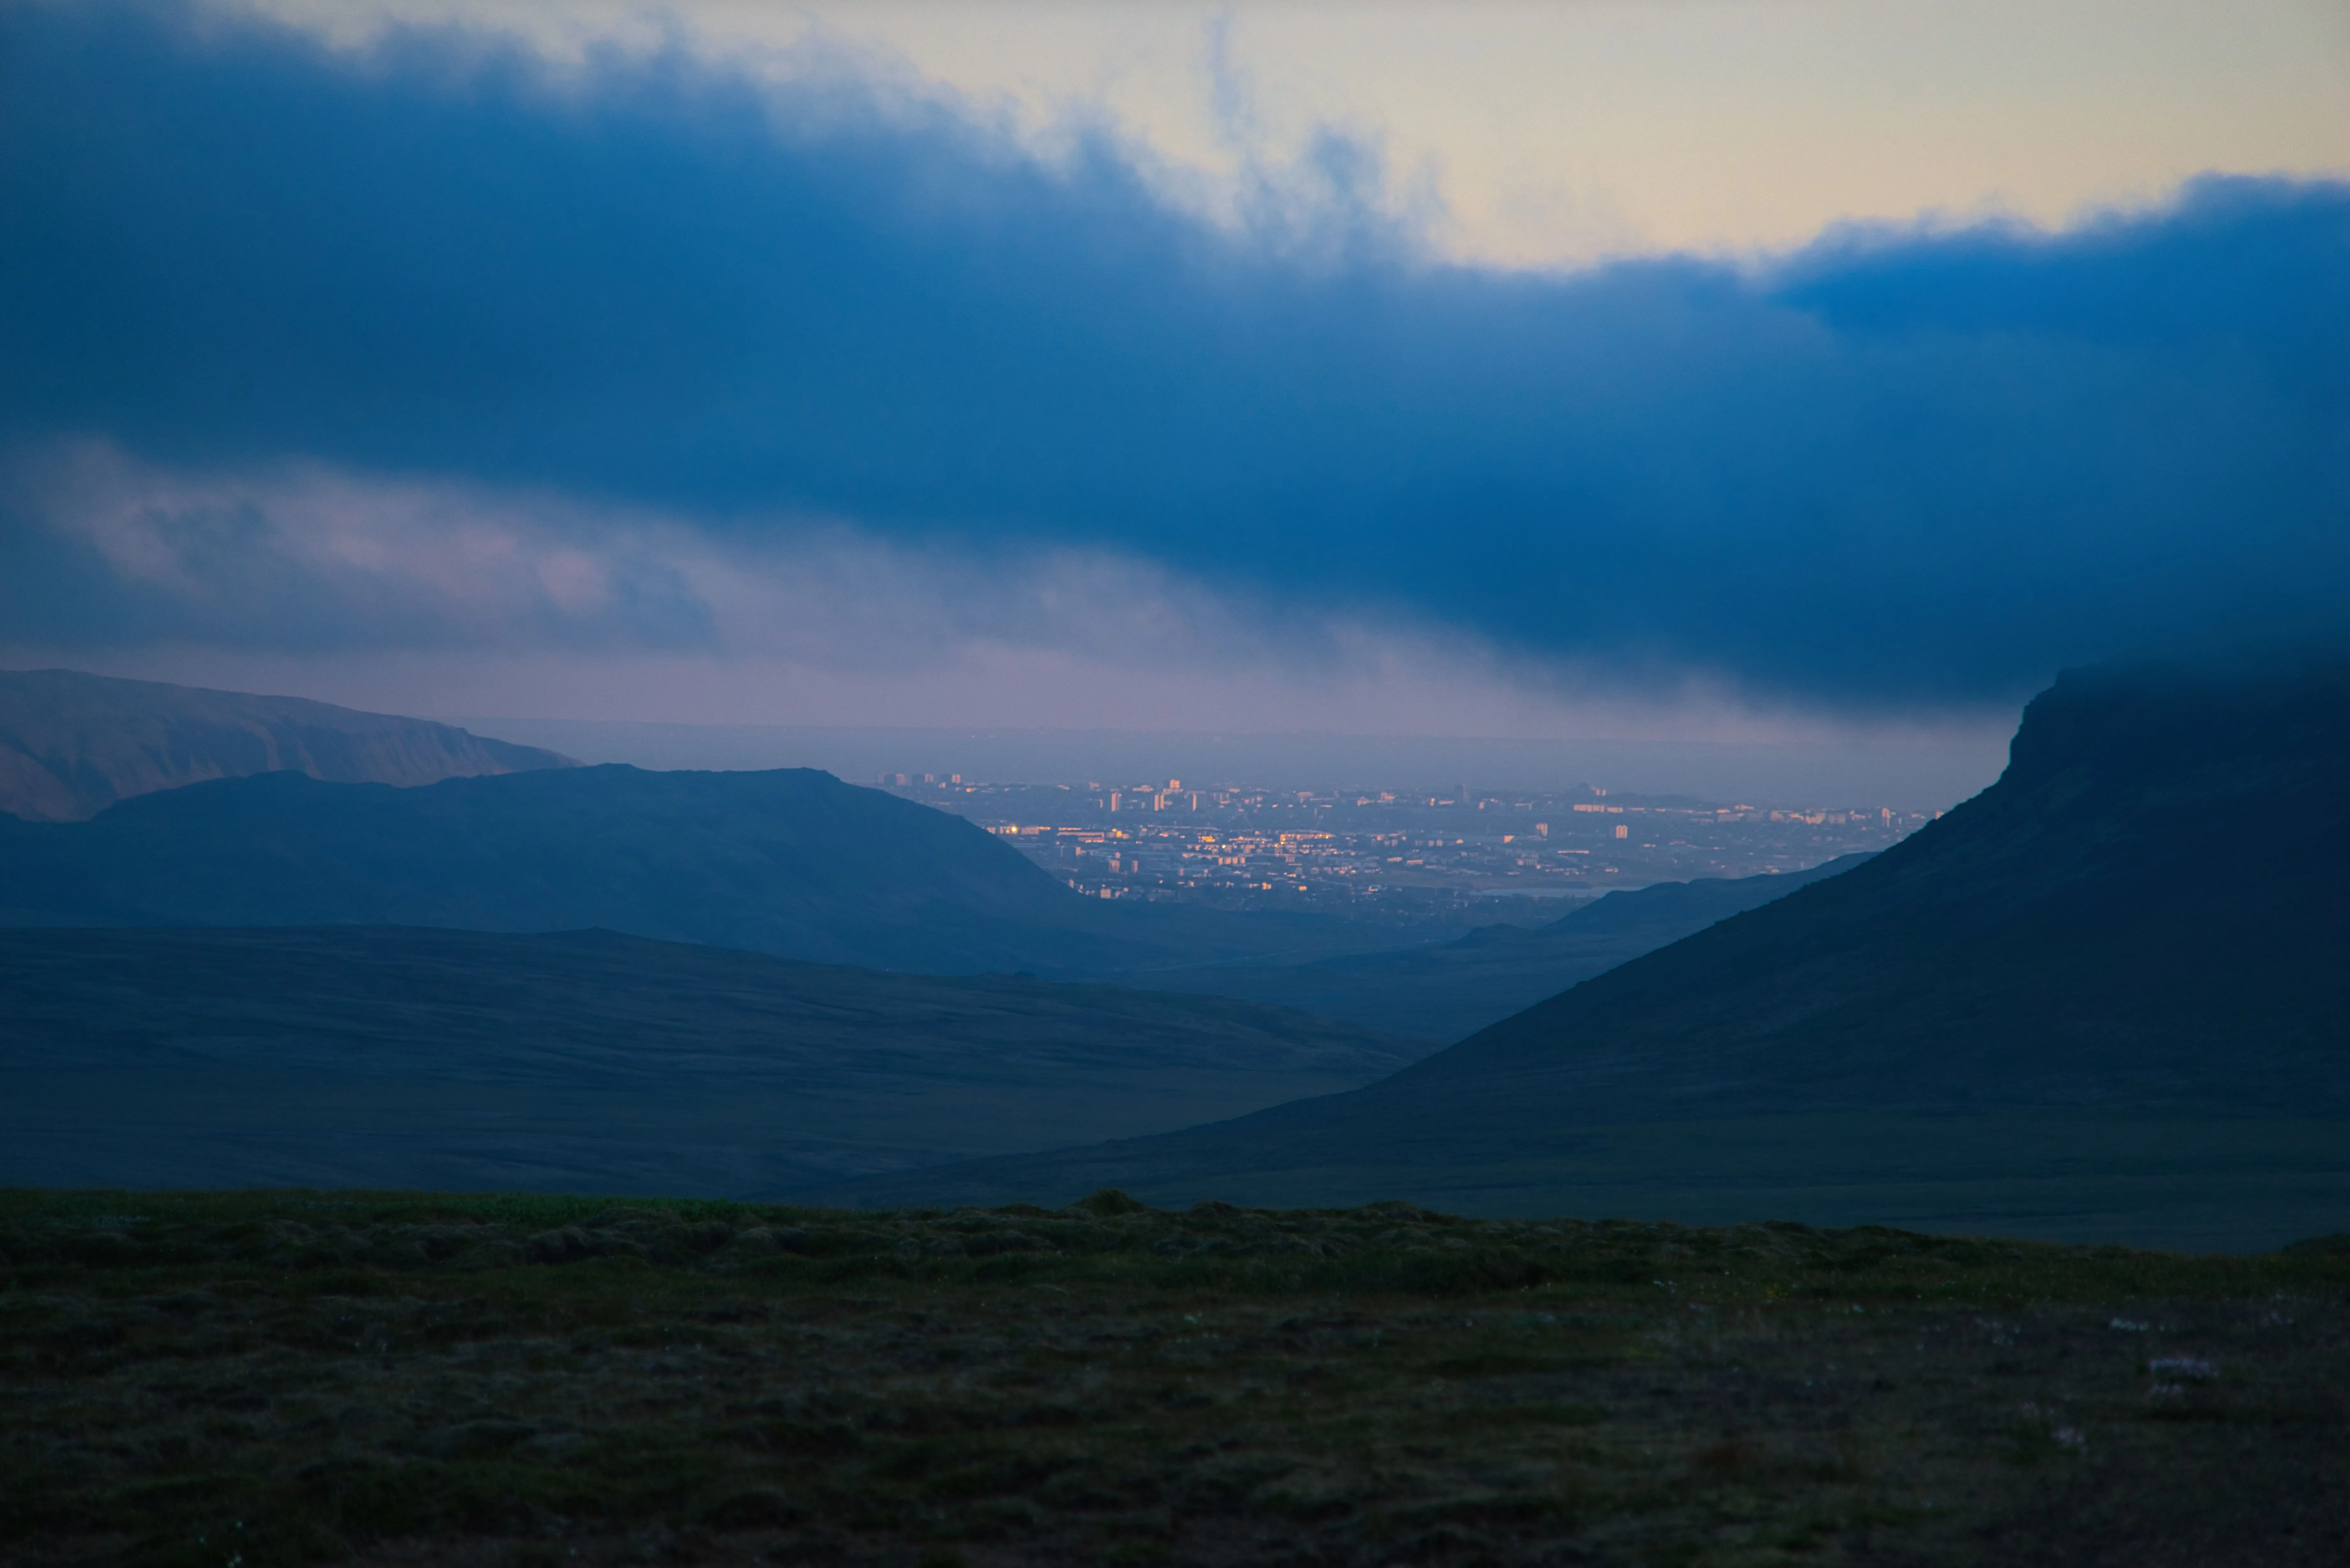
編集前
編集後
(5)
(6)
(7)
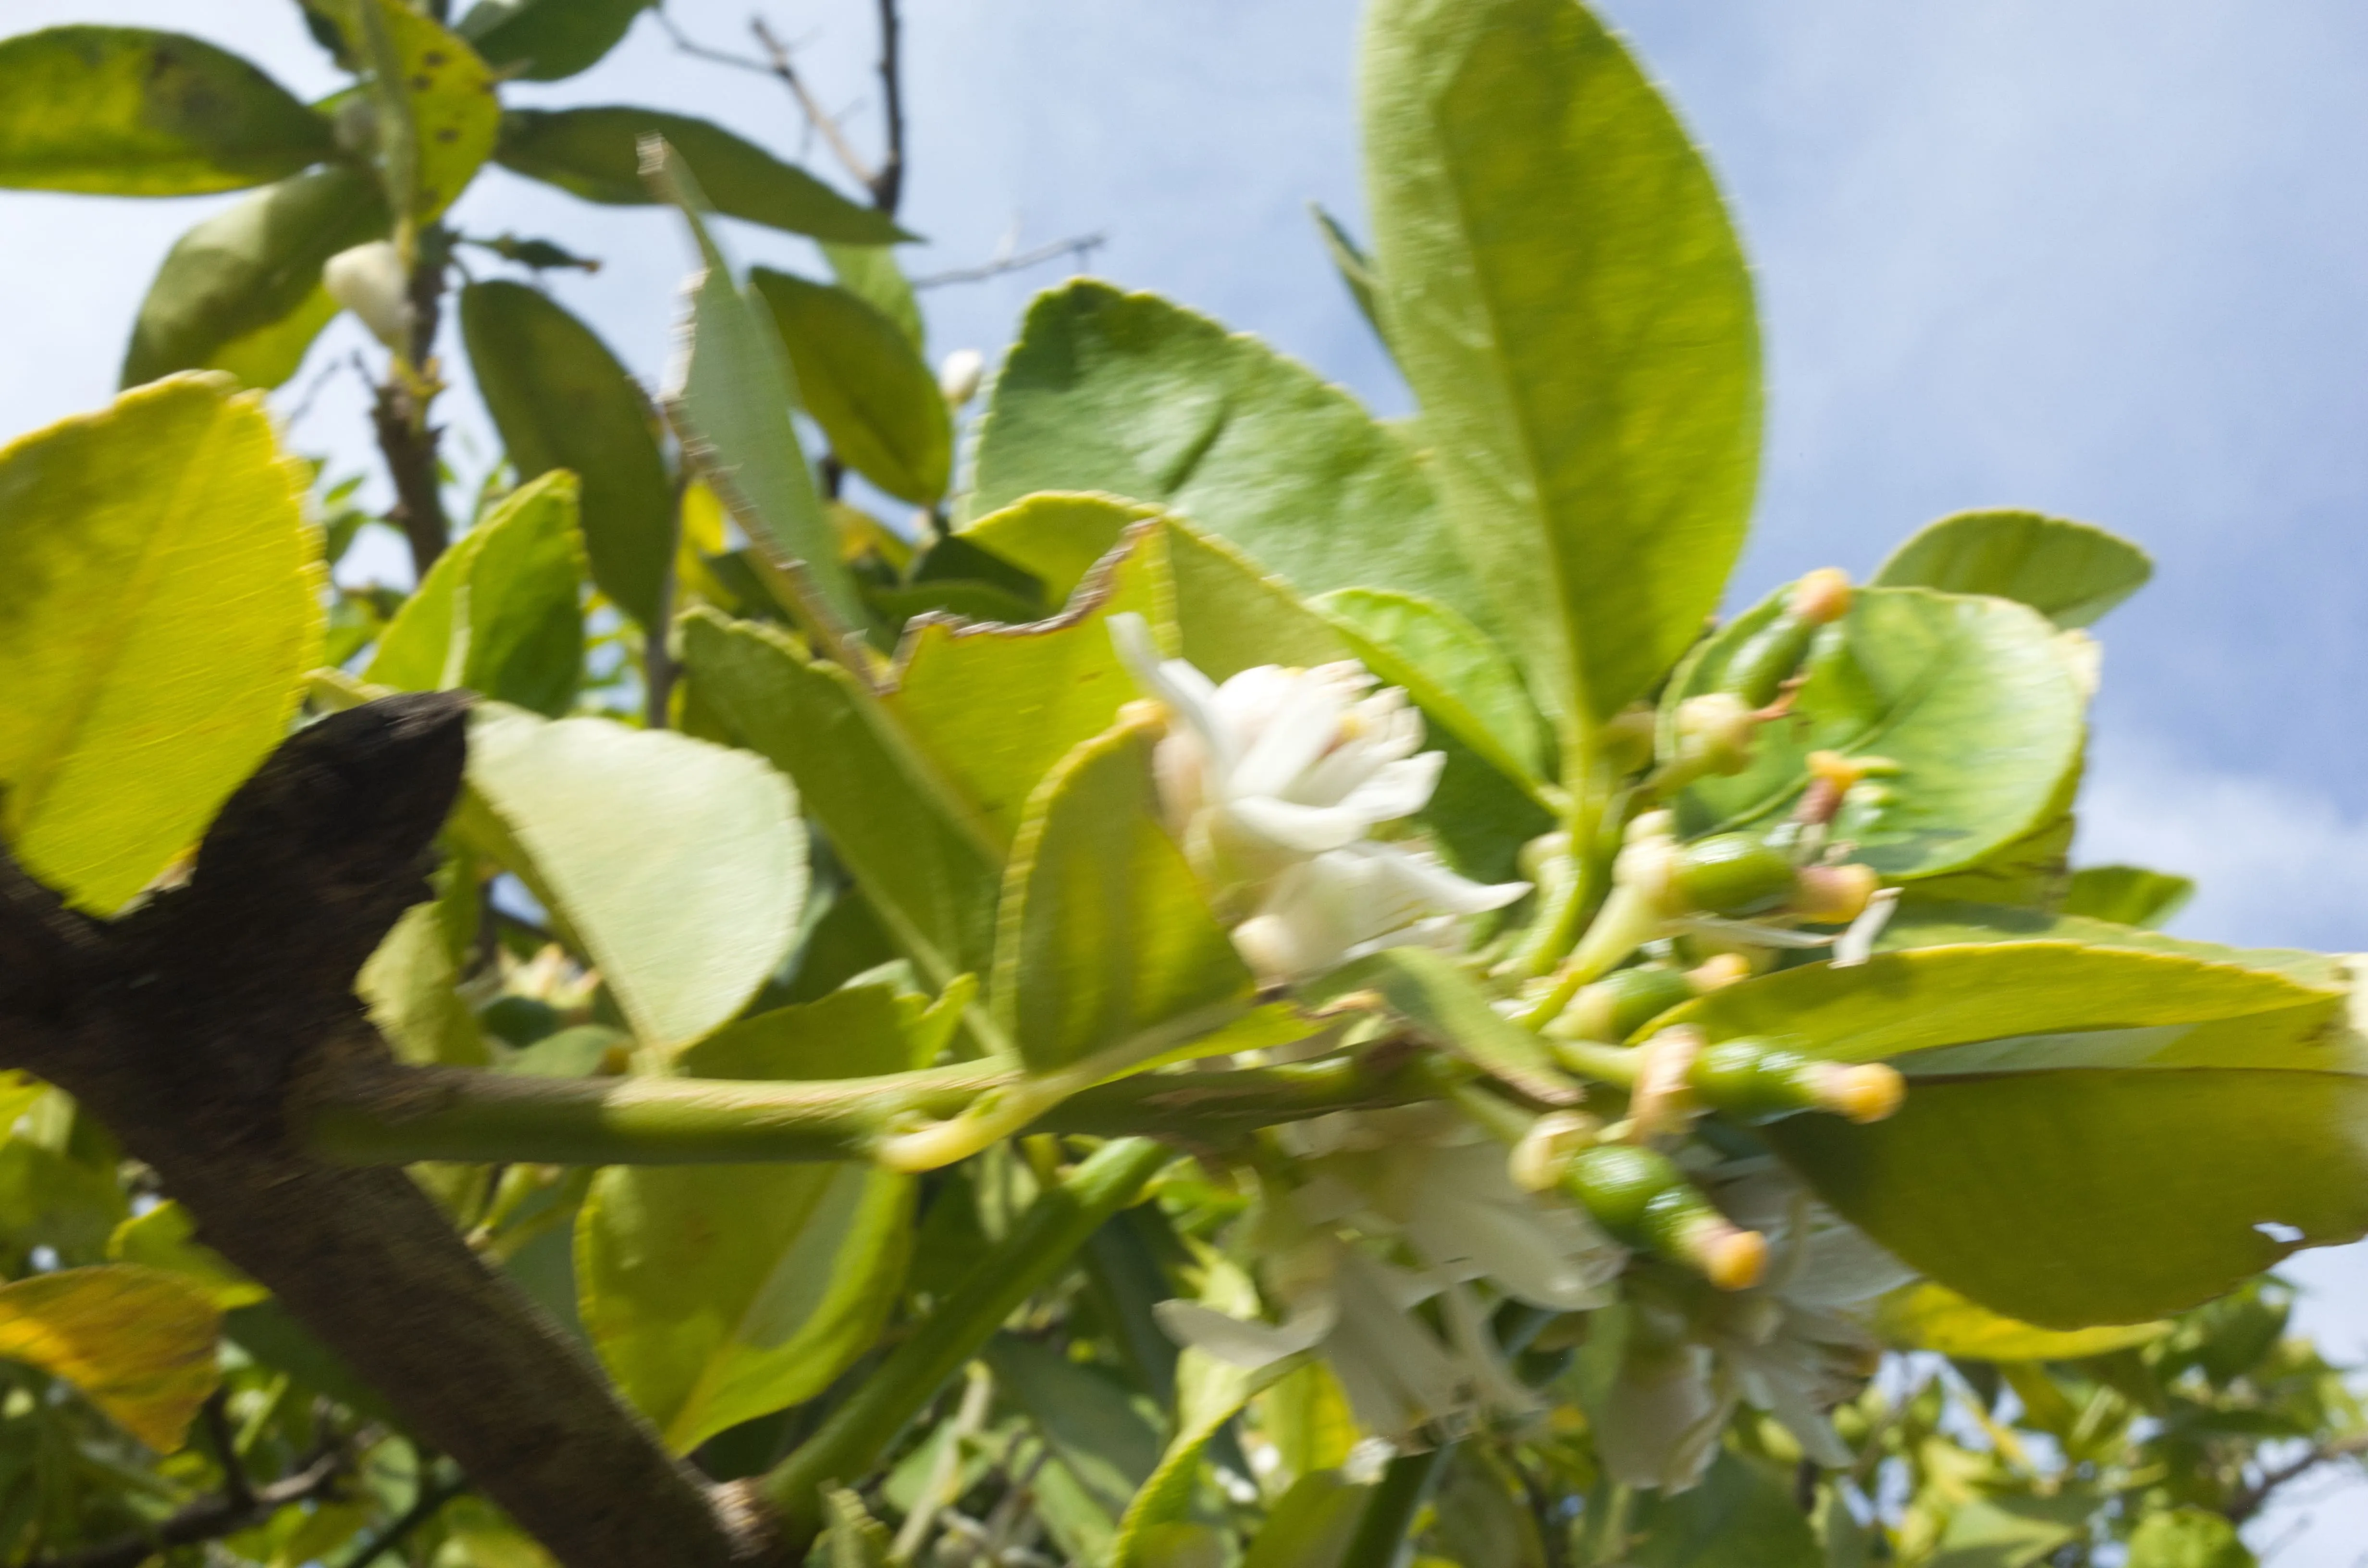
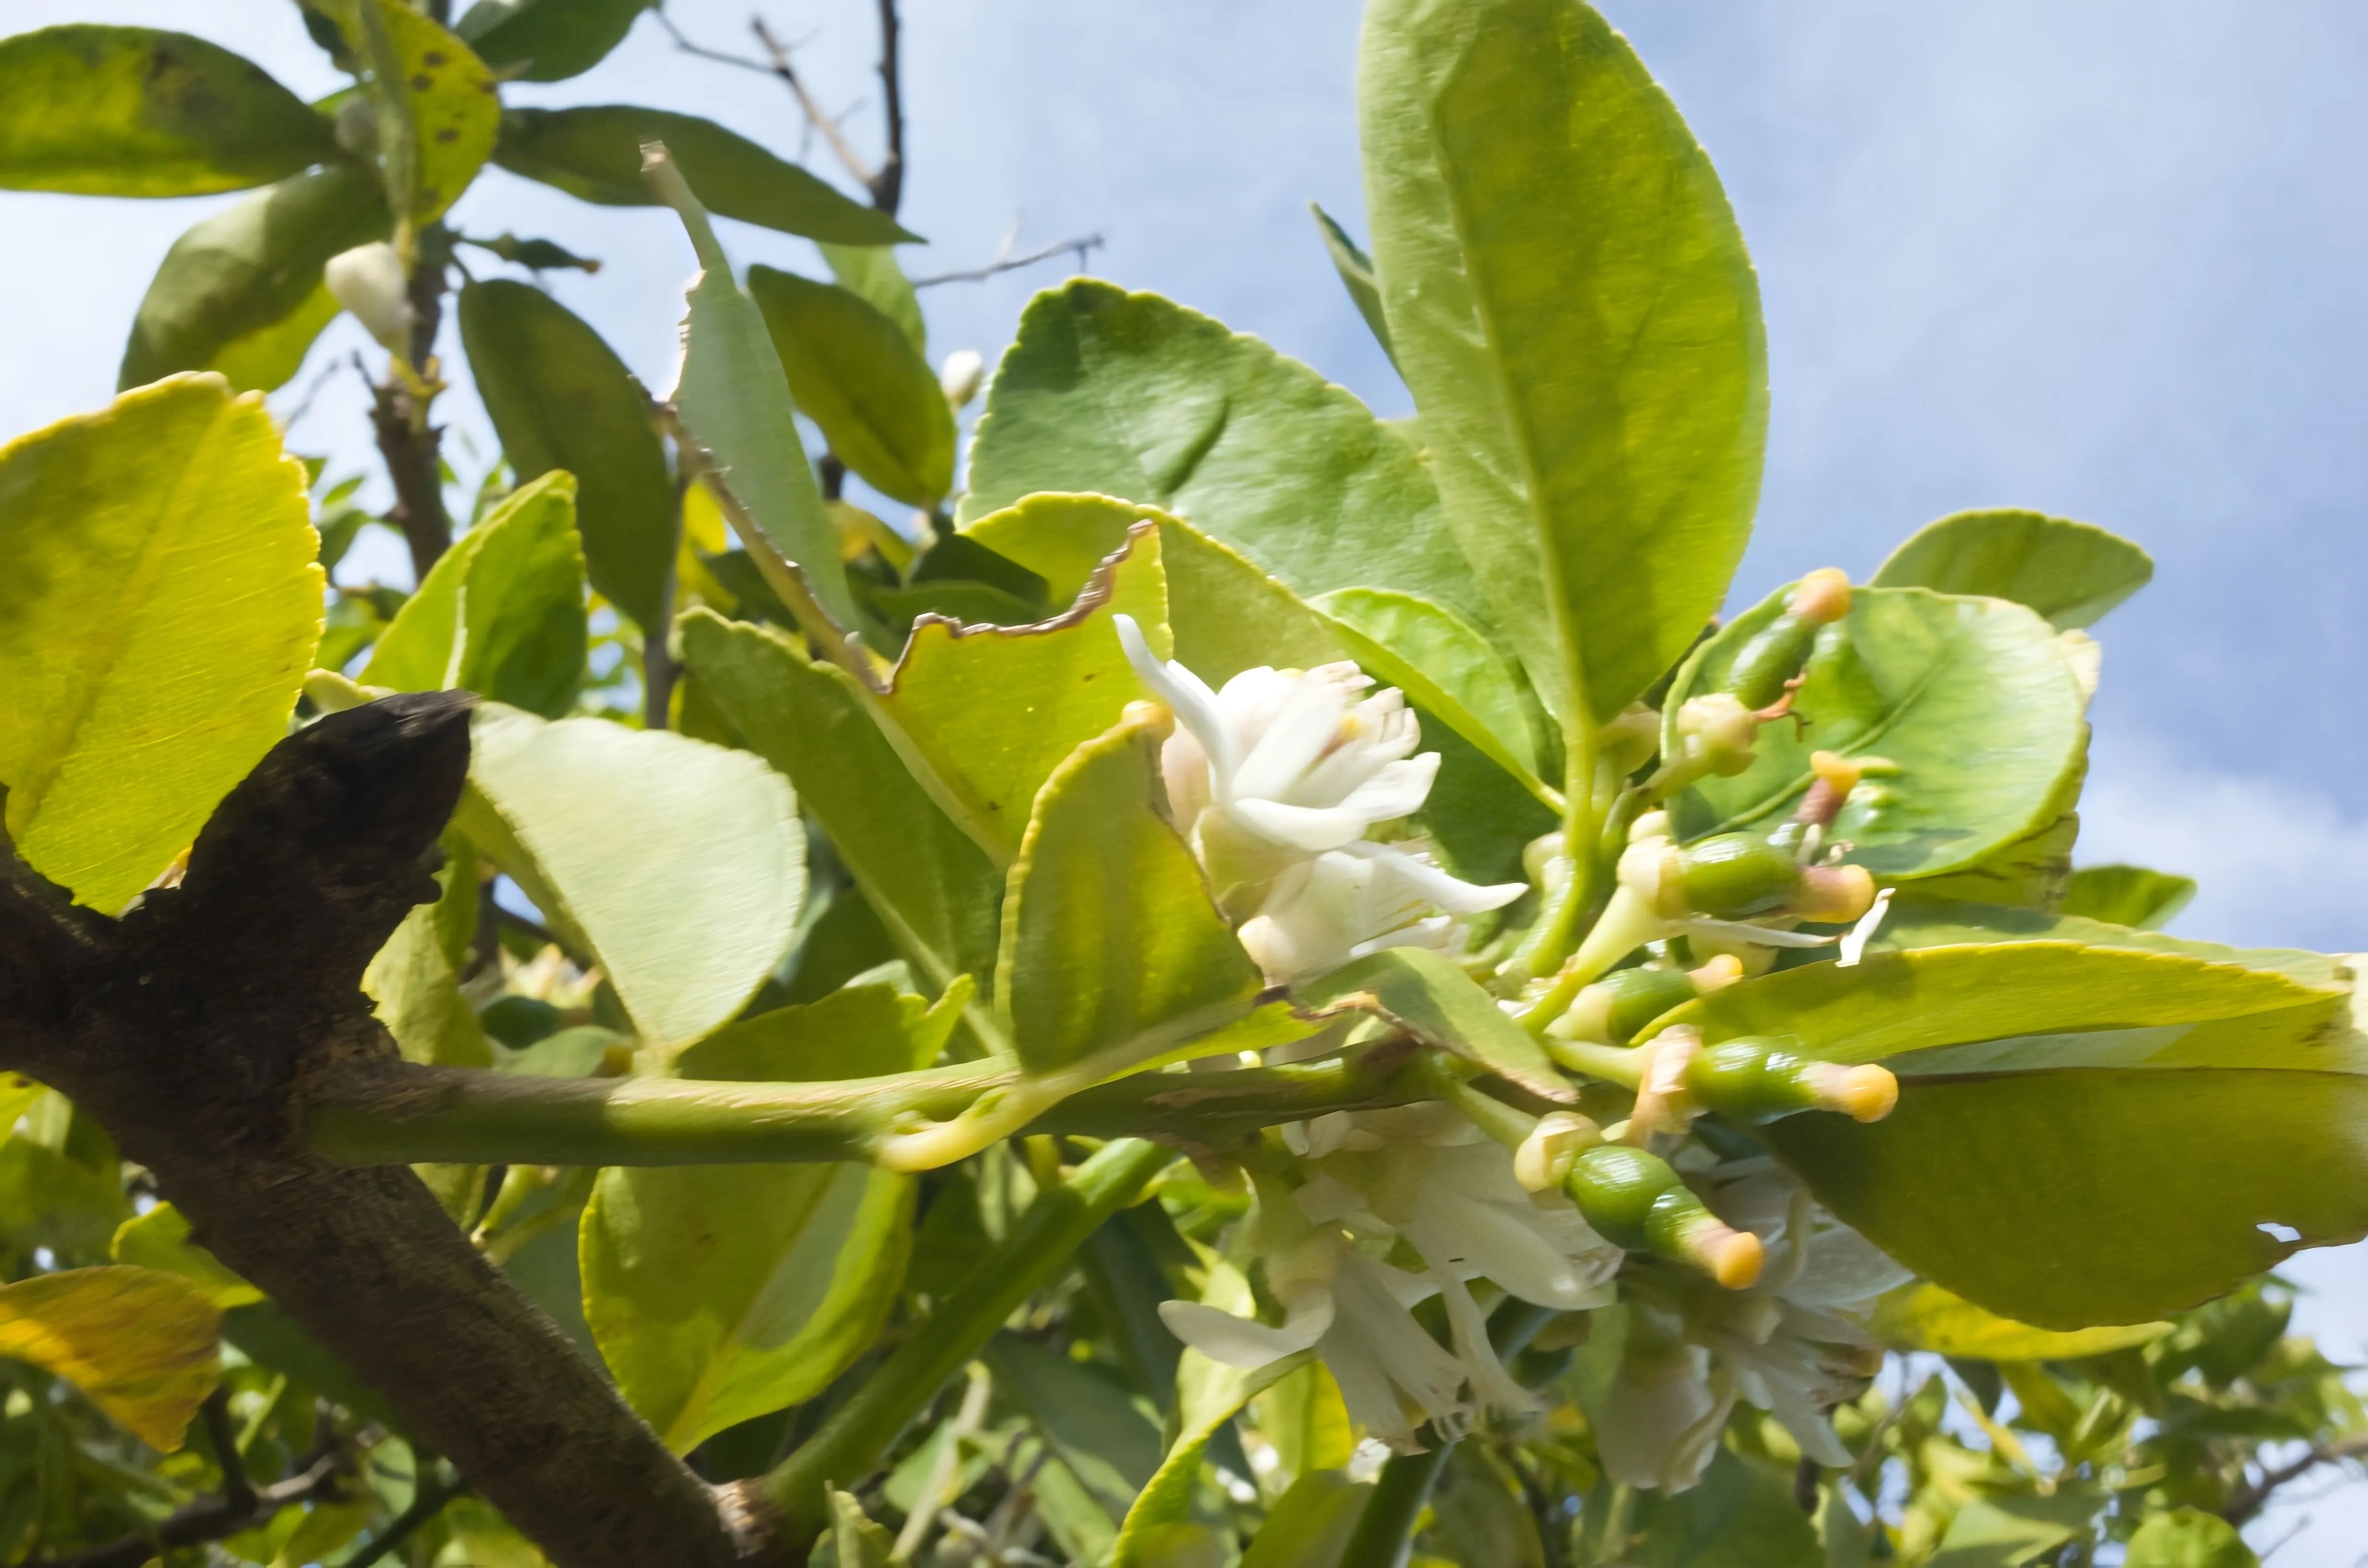
編集前
編集後
© theshots.contributor

なぜモーションブラーが必要?

動きやスピードを表現したり、アクションを強調したり、ドラマチックにしたり、または欠陥を隠すためにも使用されます。乗り物、走っている人、飛行機、動物、その他の動く被写体のモーション ブラー画像を作成して、そのパワフルな効果をお楽しみください!

静止画を超える:素晴らしいモーション ブラー写真

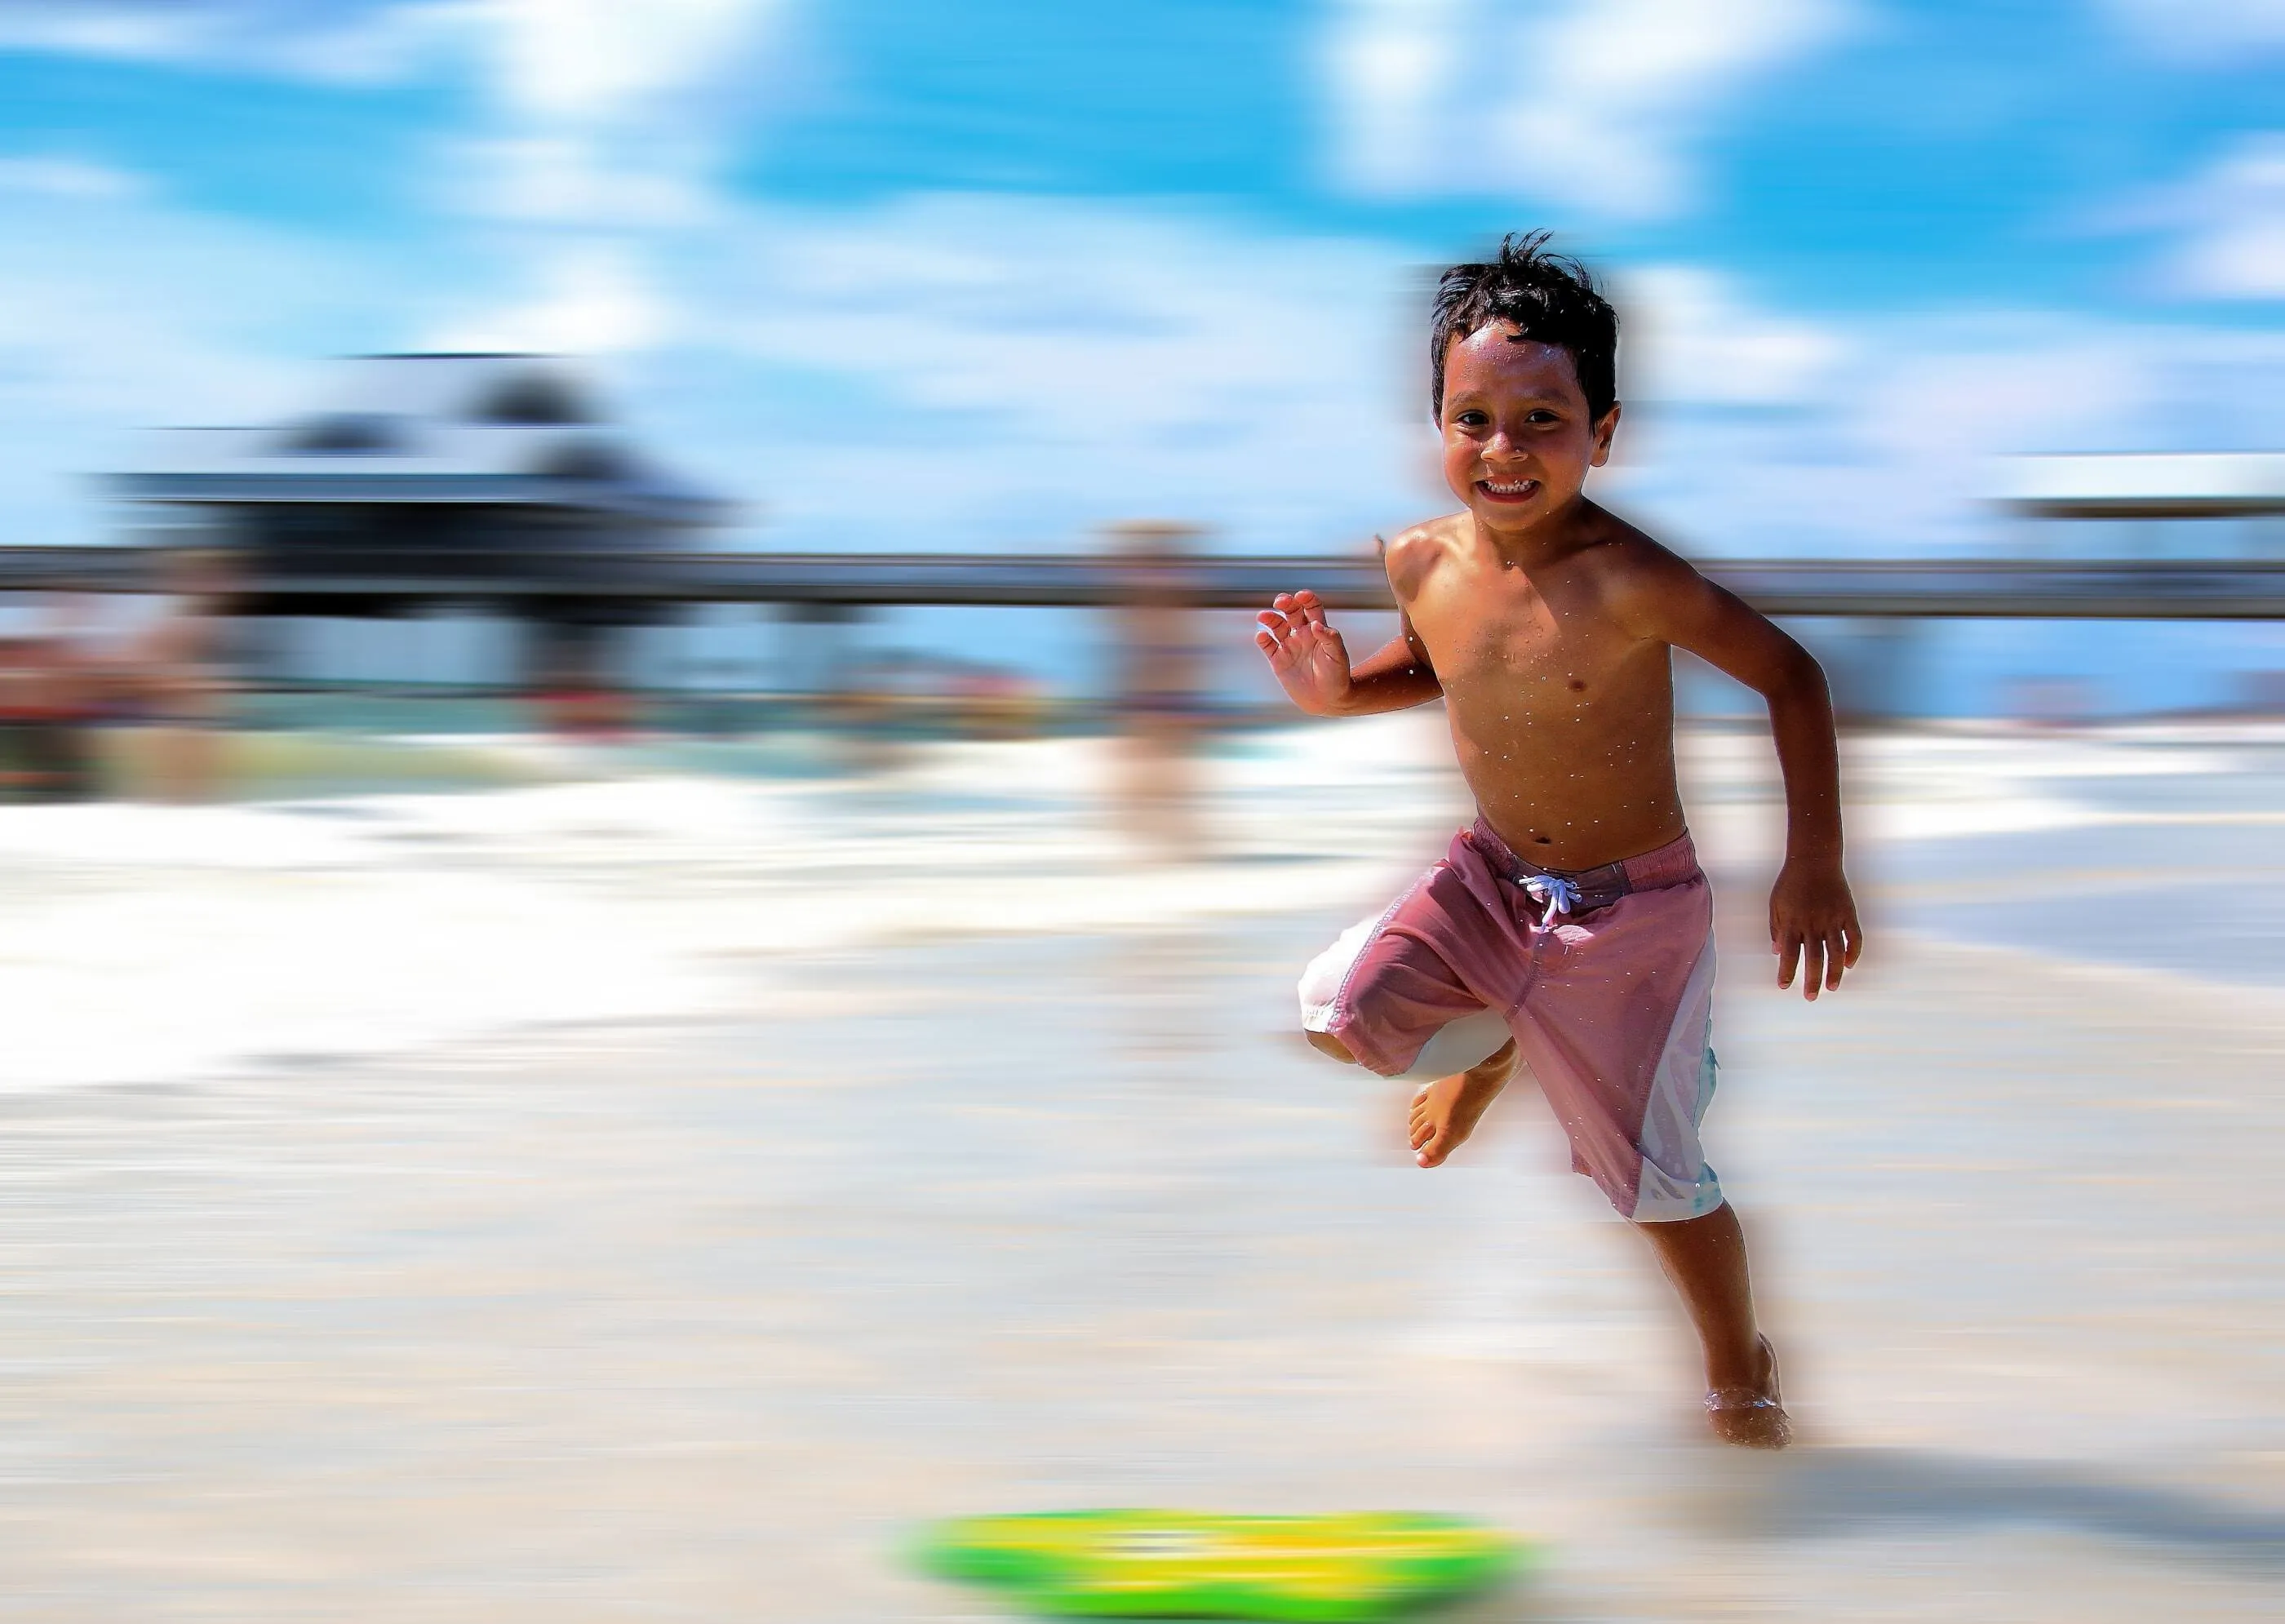
モーション ブラーを追加すると、写真にストーリー性を持たせられます。見る人は画像をとらえた瞬間の前後に思いをよせ、興味をそそられます。
(8)
(9)
(10)
編集前
編集後
© germay10

モーション ブラー 作成ツールで奥行きとドラマを追加

画像にクリエイティブなモーション効果を追加するための段階を追ったガイダンス:

(11)

Begin by duplicating the layer. Right-click on the layer and select the "Duplicate" option.

(12)

Next, head to the Creative Tools section and choose the Blur tool.

(13)

Within the Blur tool options, select "Motion Blur" and set the amount to 100%. Keep the angle at its default value of 0.

(14)

To make the motion effect more prominent, close the Blur Tool by clicking the "Blur" title and reopen it.

(15)

Reapply the same settings with a 100% blur amount.

(16)

Now, stretch the duplicated layer. Open the Layer to reveal a bounding box around it. Click on the center point along one side and drag it outward to elongate the image. You can also move the image to the left to reveal the bottom layer.

(17)

Lower the opacity of the stretched layer to reveal the bottom layer more prominently. Adjust the position as needed.

(18)

Like the previous tutorial, mask the subject's face on the top layer to maintain clarity.

その他の機能を見つける

Luminar Neoには編集をより速く簡単に行うための機能が他にも盛りだくさん。
(19)
Blur Backgrounds
(20)
(21)
編集前
編集後

Blur Background

Effortlessly blur backgrounds to bring your main subject into sharp focus and elevate your image's visual appeal.
(22)
Blur Image
(23)
(24)
編集前
編集後

Blur Image

Bring your photos to life—discover how easy it is to blur a picture beautifully in just a few clicks!
(19)
Portrait Bokeh Effect
(26)
(27)
編集前
編集後

Portrait Bokeh Effect

Discover how to transform the background into a mesmerizing blur with our Portrait Bokeh Effect tool.
(28)
Tilt-Shift Filter
(29)
(30)
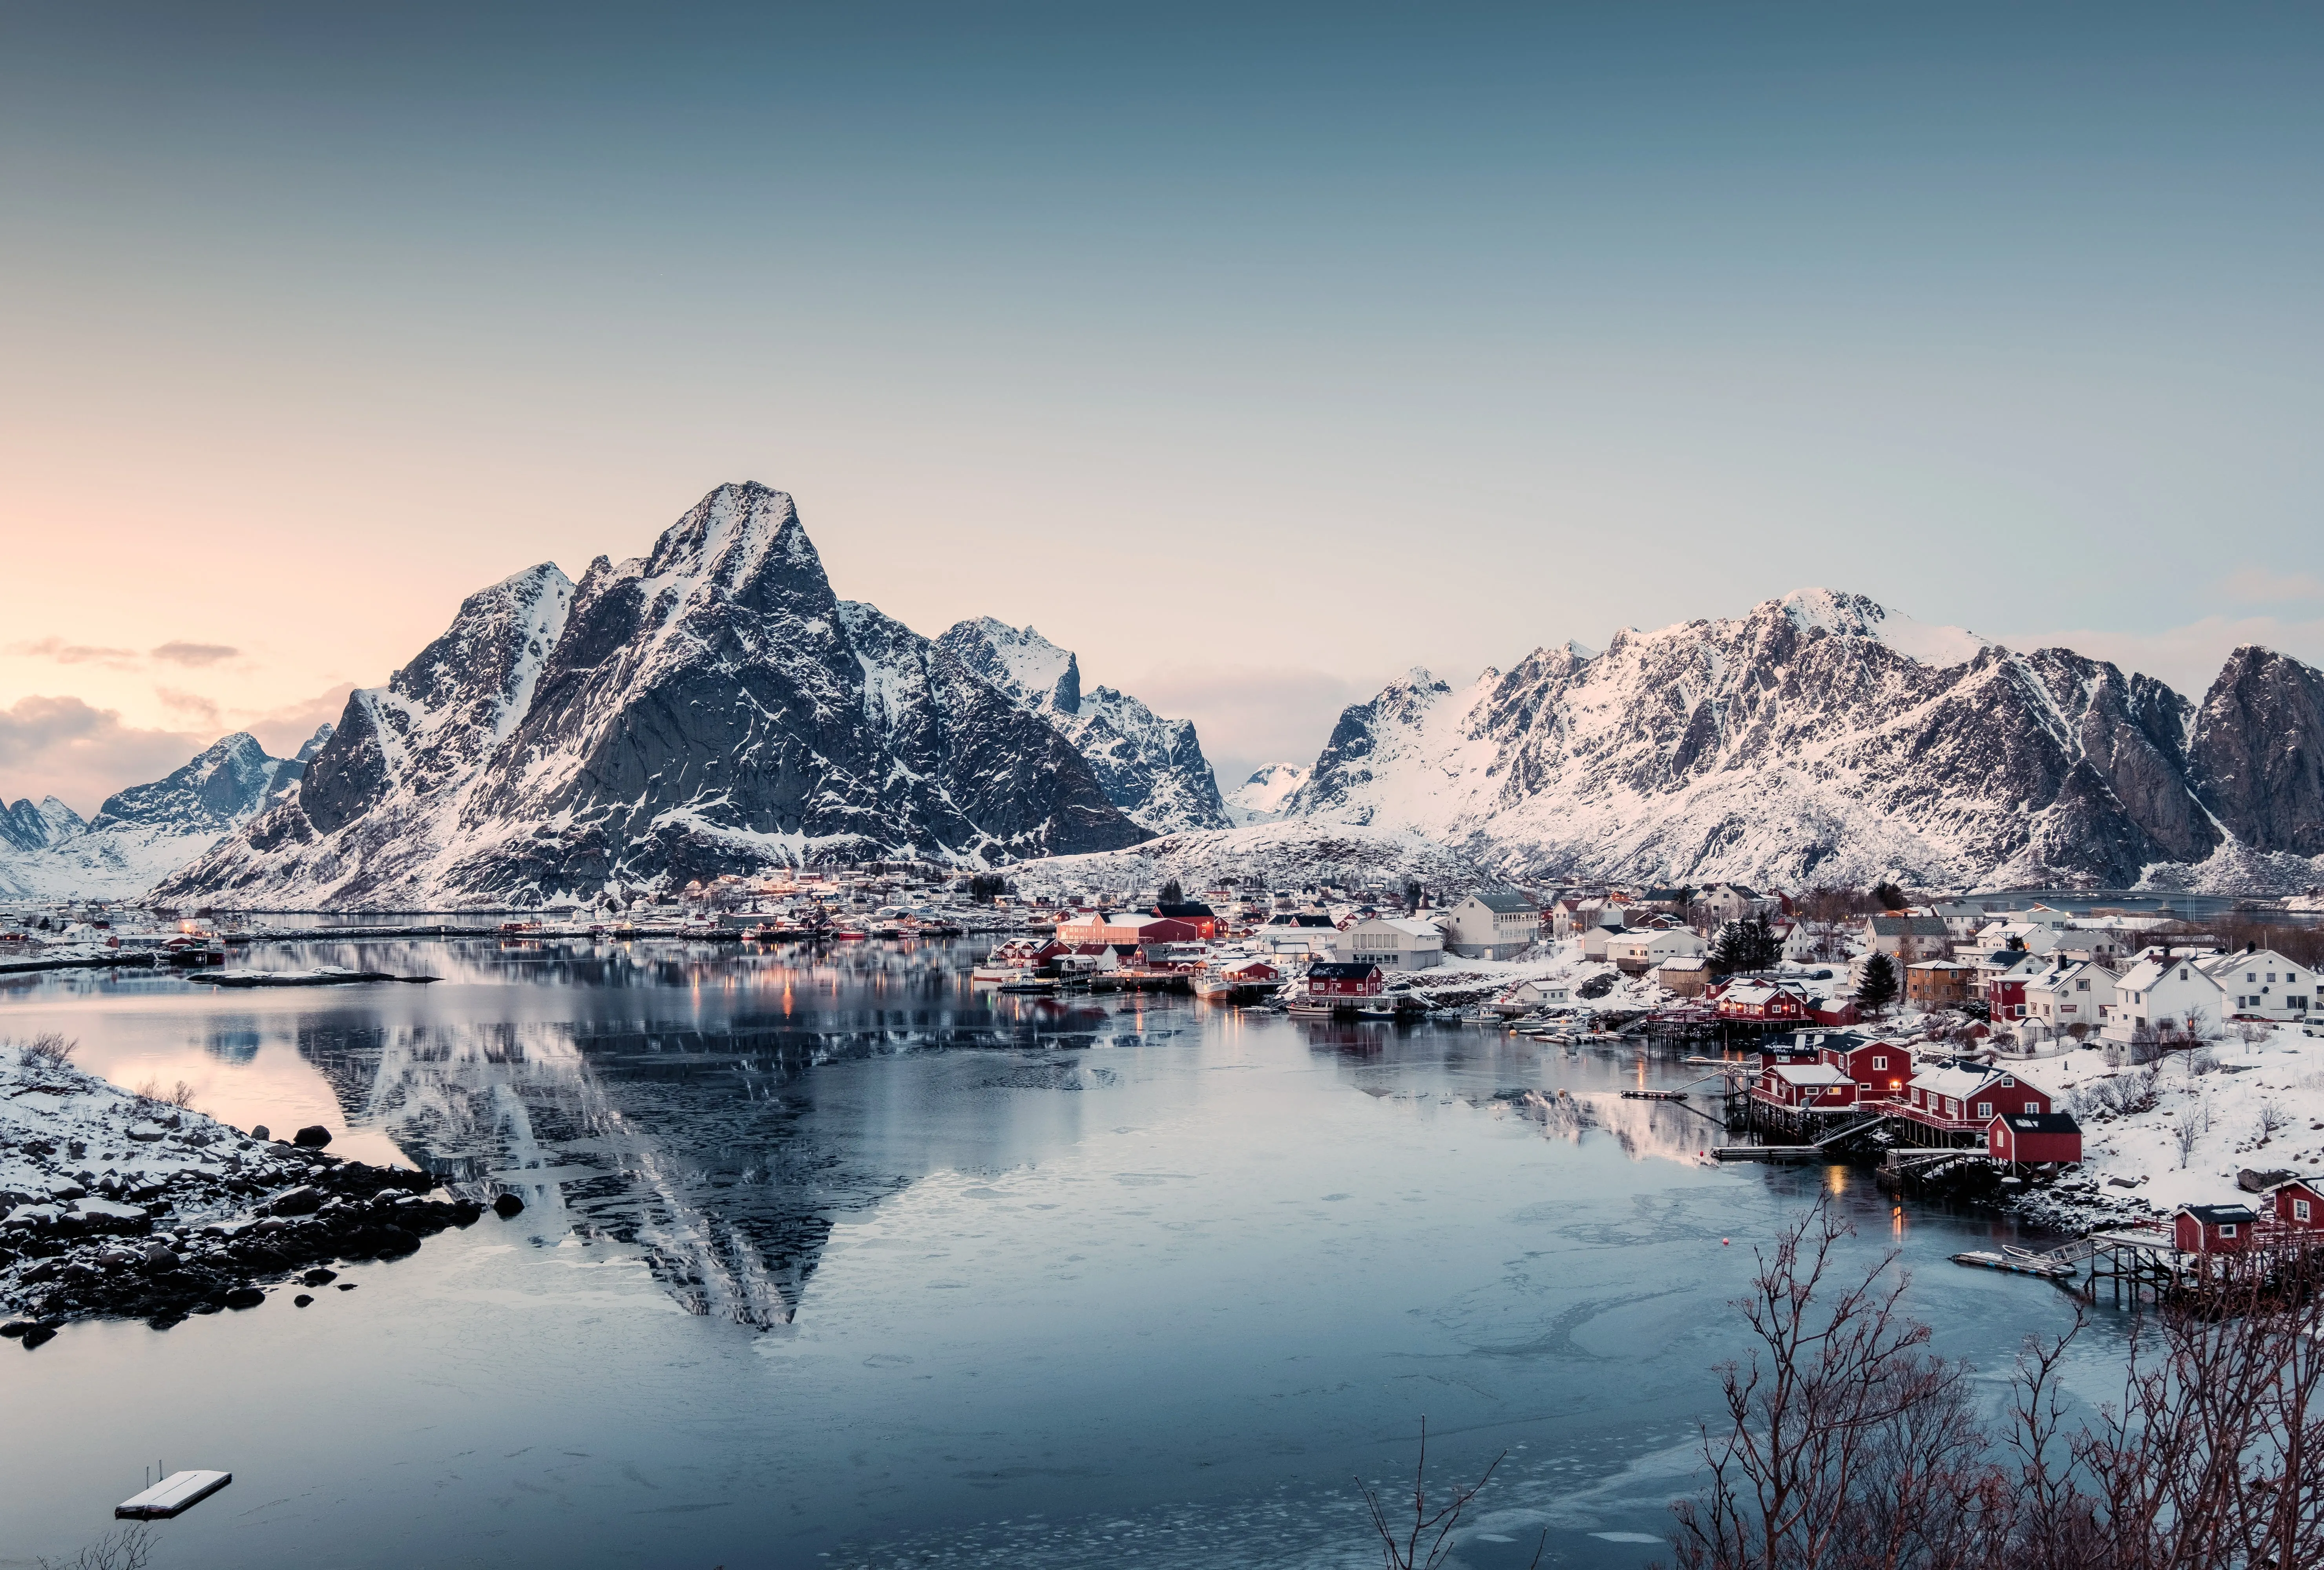
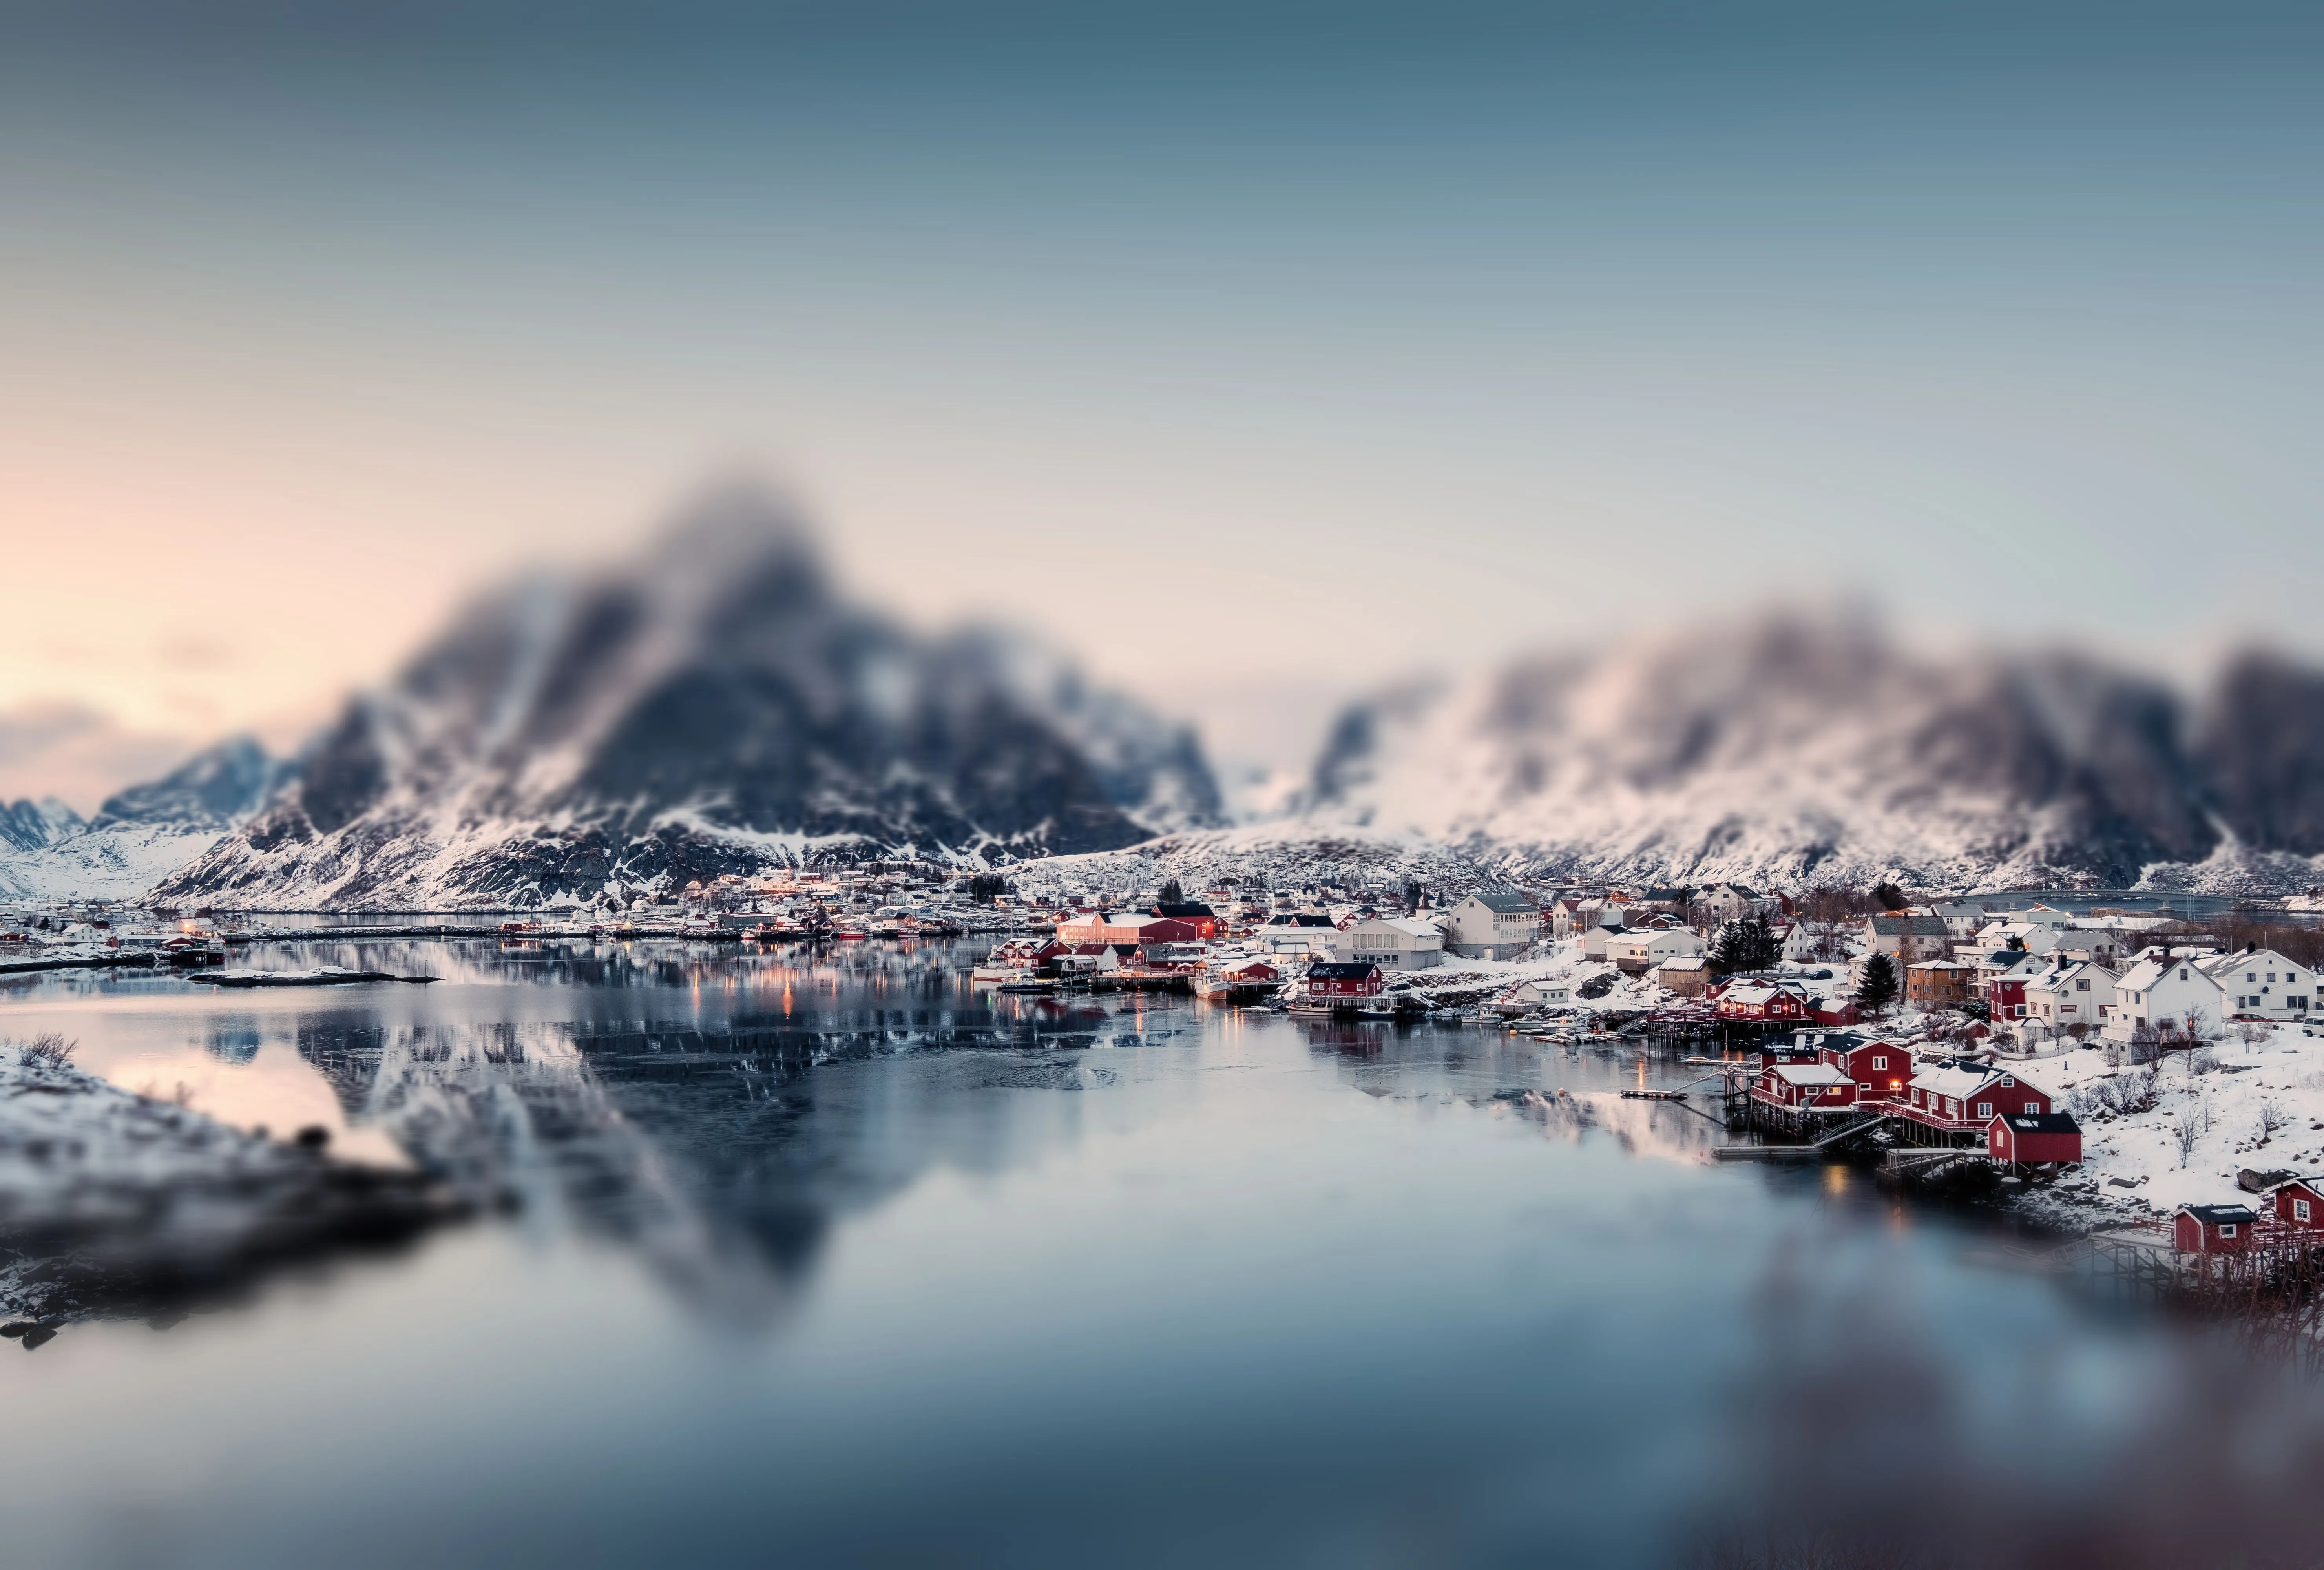
編集前
編集後

Tilt-Shift Filter

Blur the ordinary and spotlight the extraordinary with a striking perspective shift.
(31)
写真のかすみ除去
(32)
(33)
編集前
編集後
© Dima Sytnik
写真のかすみ除去
隠れたディテールや鮮やかな色を簡単にクリアに。
(34)
画像のブレを解消
(35)
(36)
編集前
編集後
© Ksusha Kazak

画像のブレを解消

鮮明さの力を解き放ち、ぼやけた写真をクリアな傑作に変えましょう。

アプリケーション&プラグイン
macOS と Windows 対応

  • 高性能なAI編集ソフト
  • テクニカルサポート

  • 30日間の返金保証

  • Luminarインサイダーのコミュニティーに参加

よくある質問

Luminar Neoでモーション ブラーを追加する方法は?

のクリエイティブ ツールからブラーツールを見つける。Luminar Neoモーションブラーを選択。追加したい範囲にマスクをかけてモーション ブラーを追加するか、写真全体に適用。必要に応じて、透明度スライダーを調整。

放射型と線型 モーション ブラー エフェクトの違いは?

放射型モーション ブラーは、中心点から外側に放射状に広がるブラーを作成します。画像の中心から遠ざかる、または中心に向かう動きの印象を与えます。素早い動き、爆発、遠心力などの動きを表現するのに使用します。

線型 モーション ブラーは、通常は単一方向の線形パスに沿ったブラーを作成。特定の軌道に沿って動いているような印象を与えます。路上の車、歩いている人、走行中の電車など、直線上の物体の動きの表現に適しています。

モーション ブラー効果の強度を調節できますか?

Sure! Tweak the Amount slider to reach the desired effect.

写真の特定の範囲にモーション ブラー 効果を選択的に適用できますか?

もちろんです。必要な範囲にのみモーション ブラー編集を適用するために使える便利なマスキング ブラシがあります。
(38)