View plans

Seamlessly Fade Images

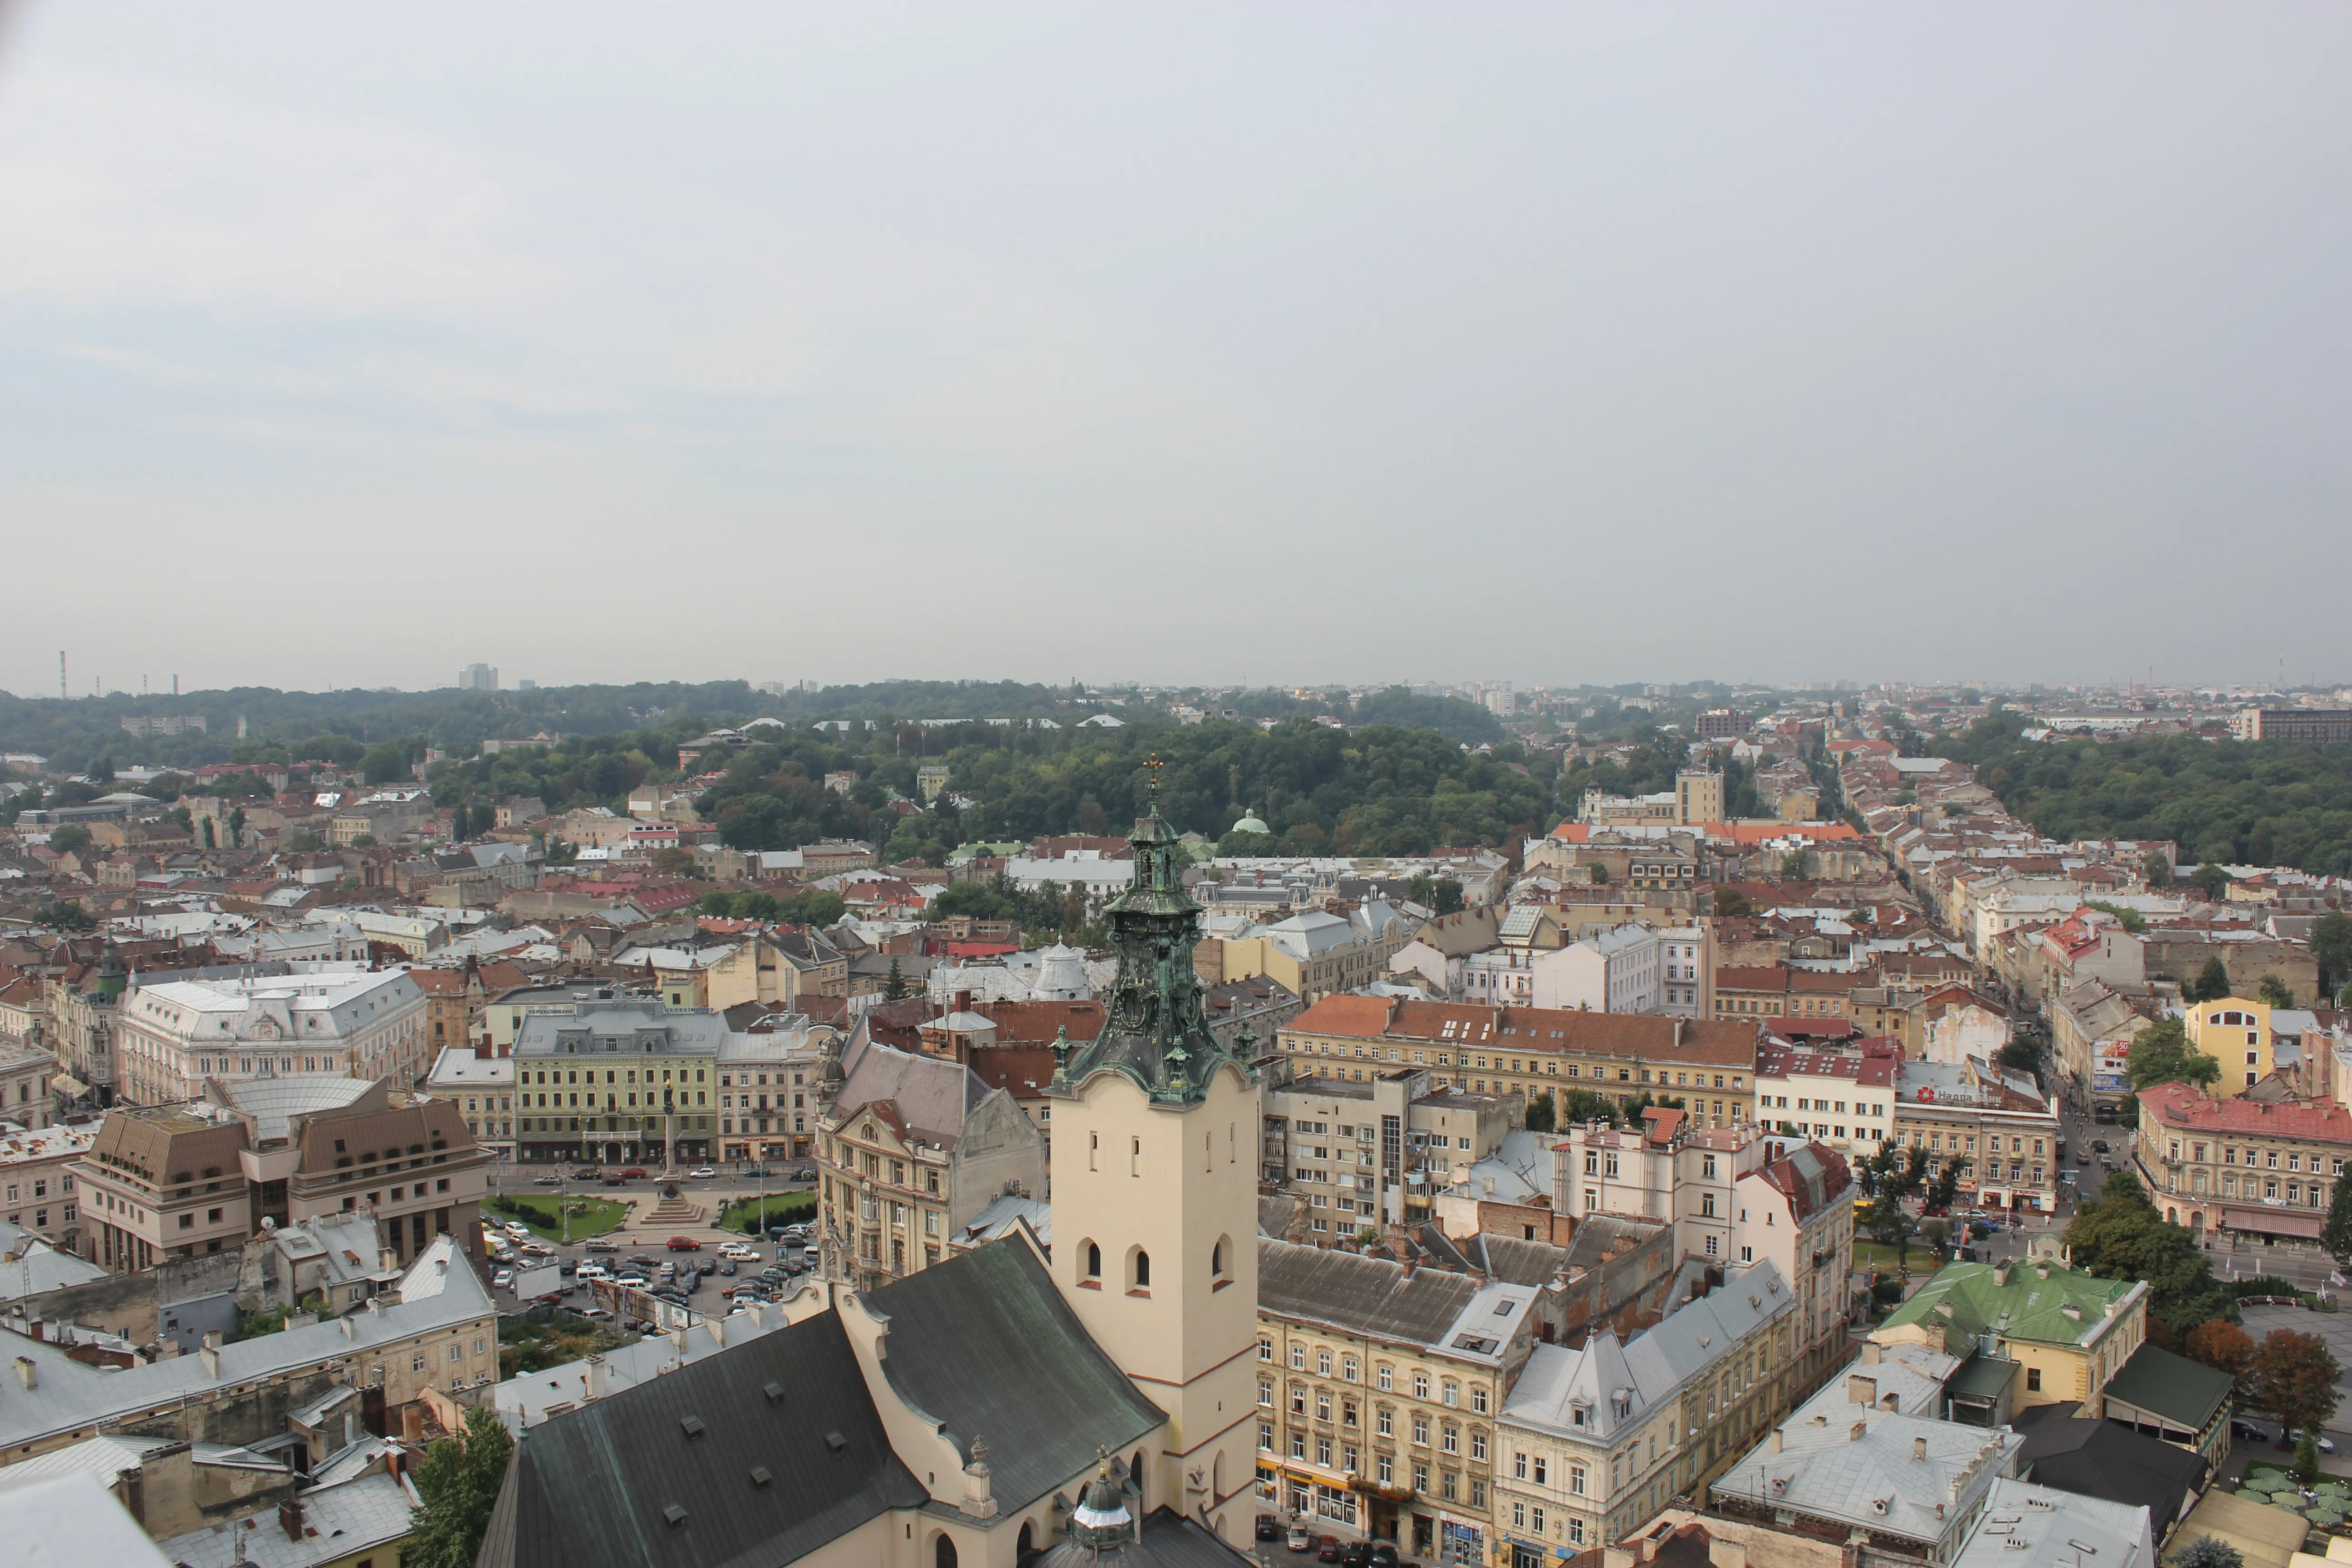
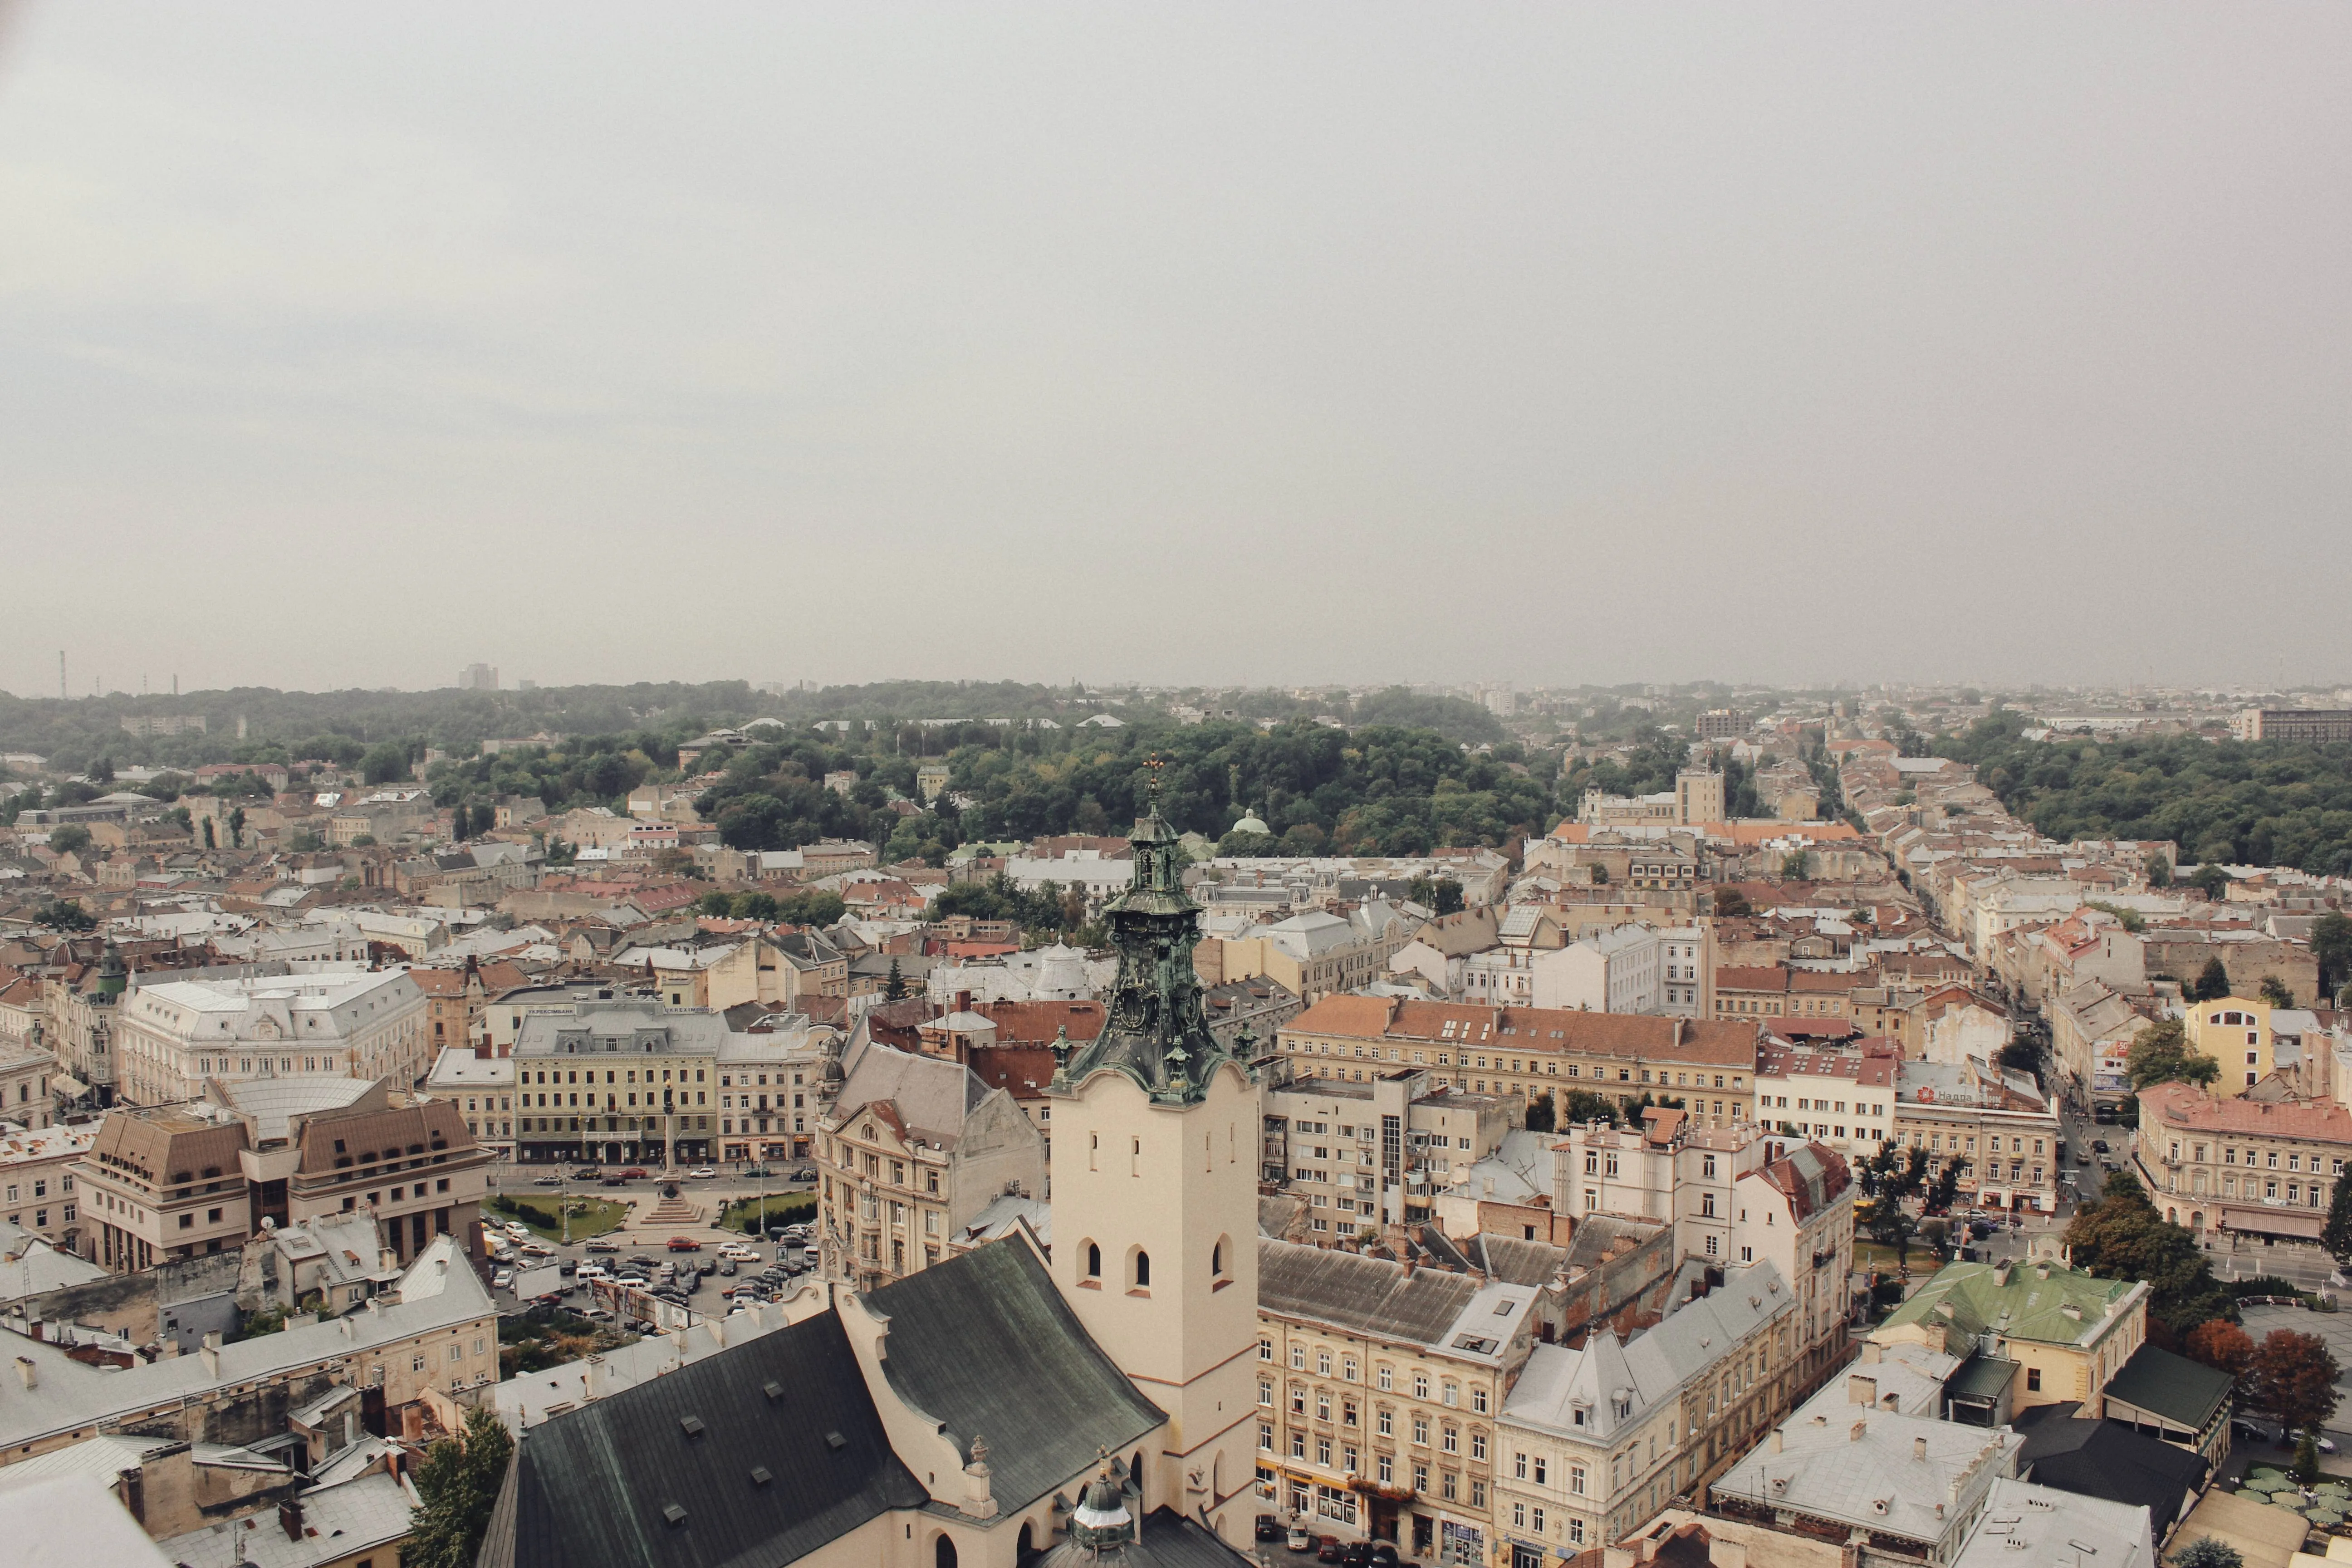
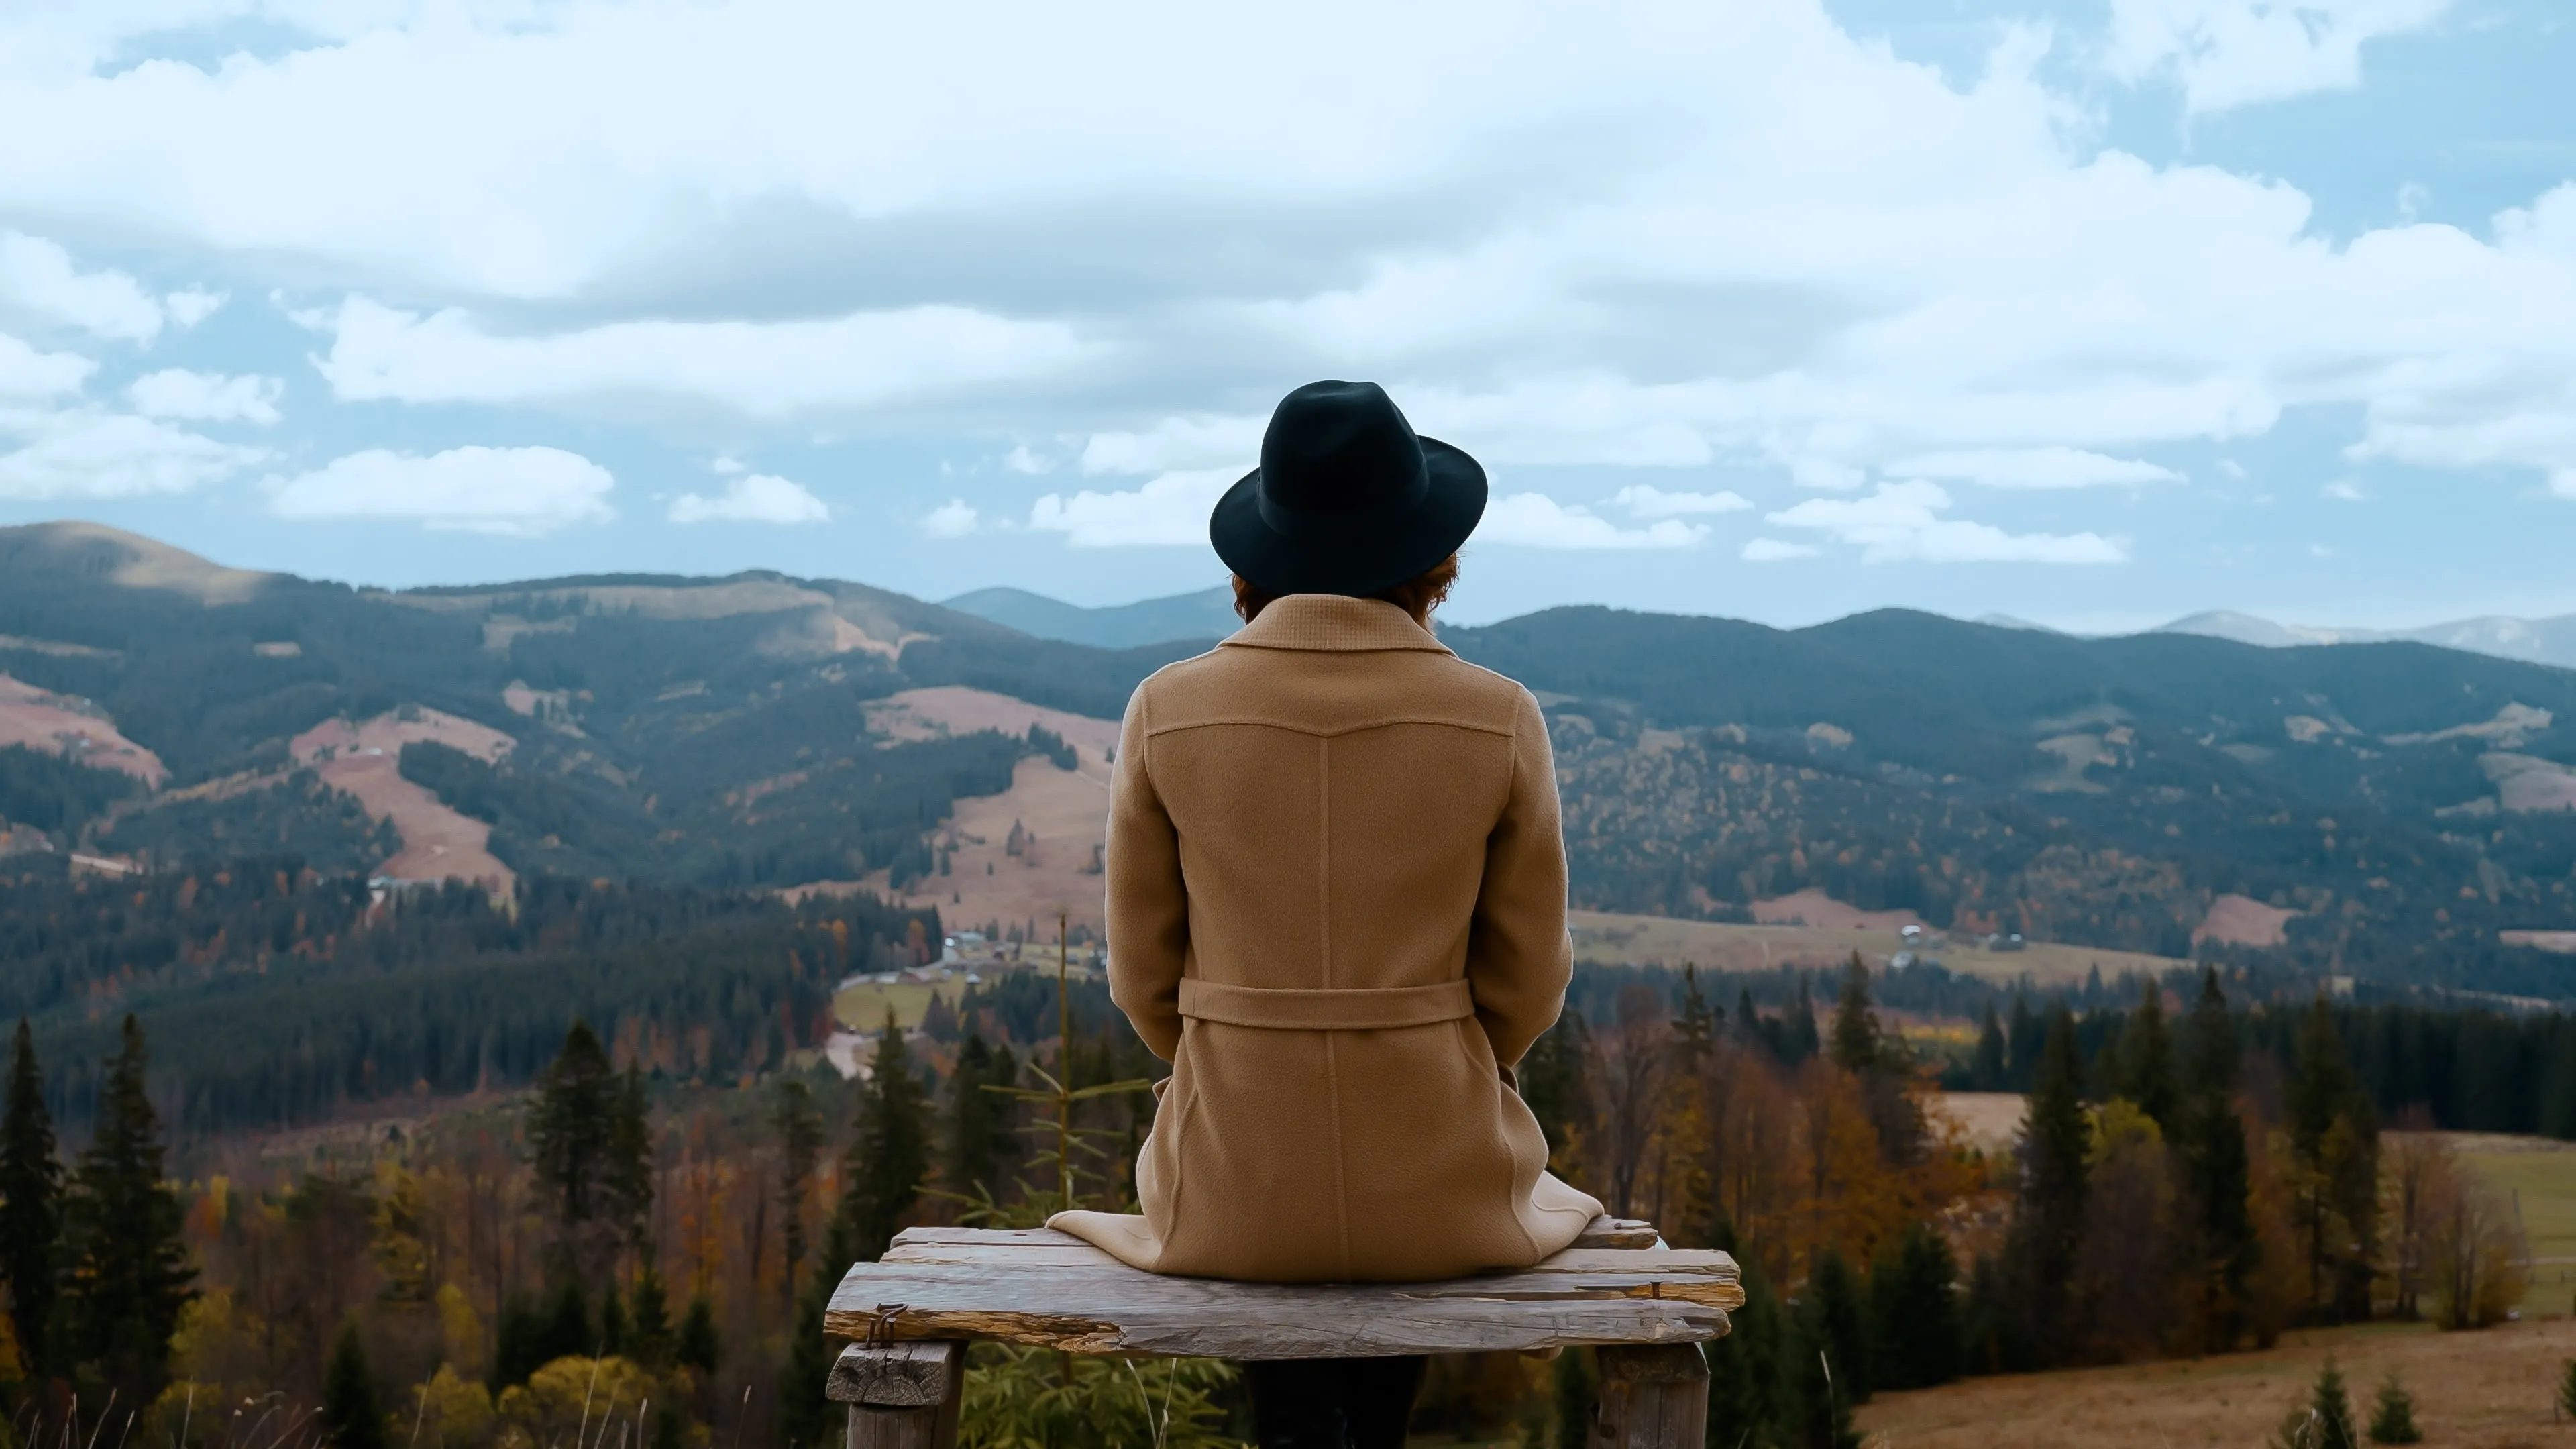
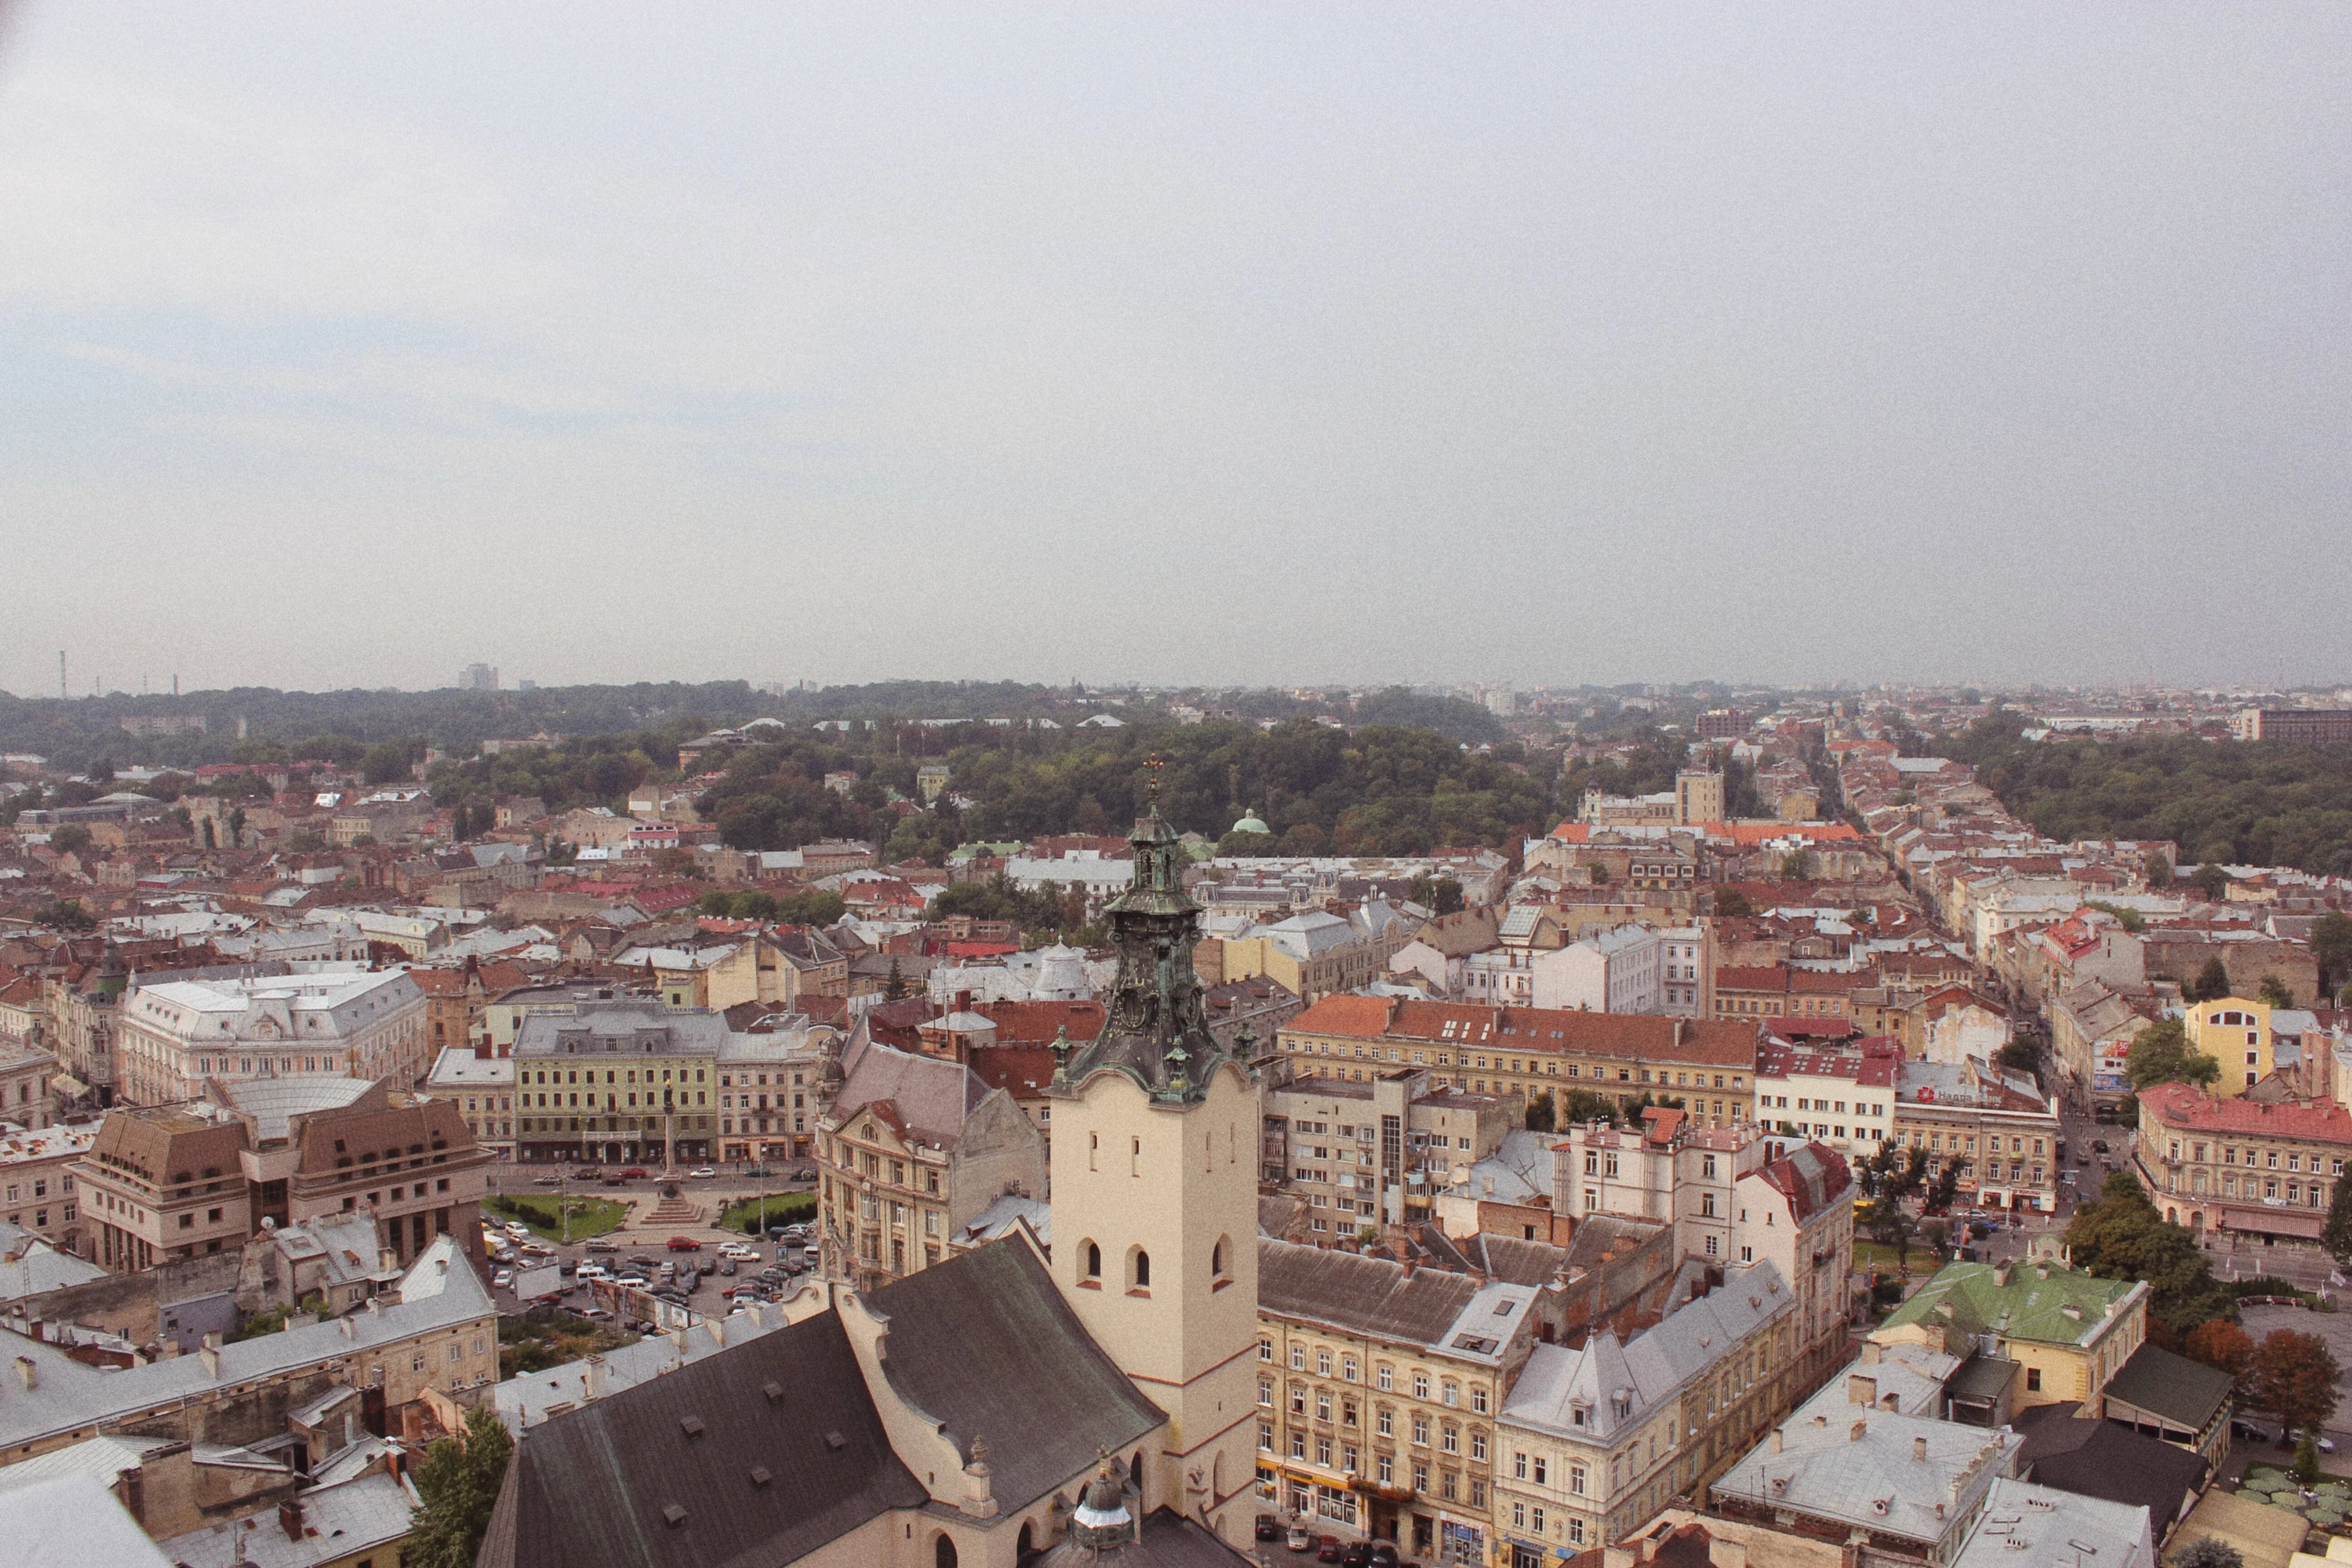
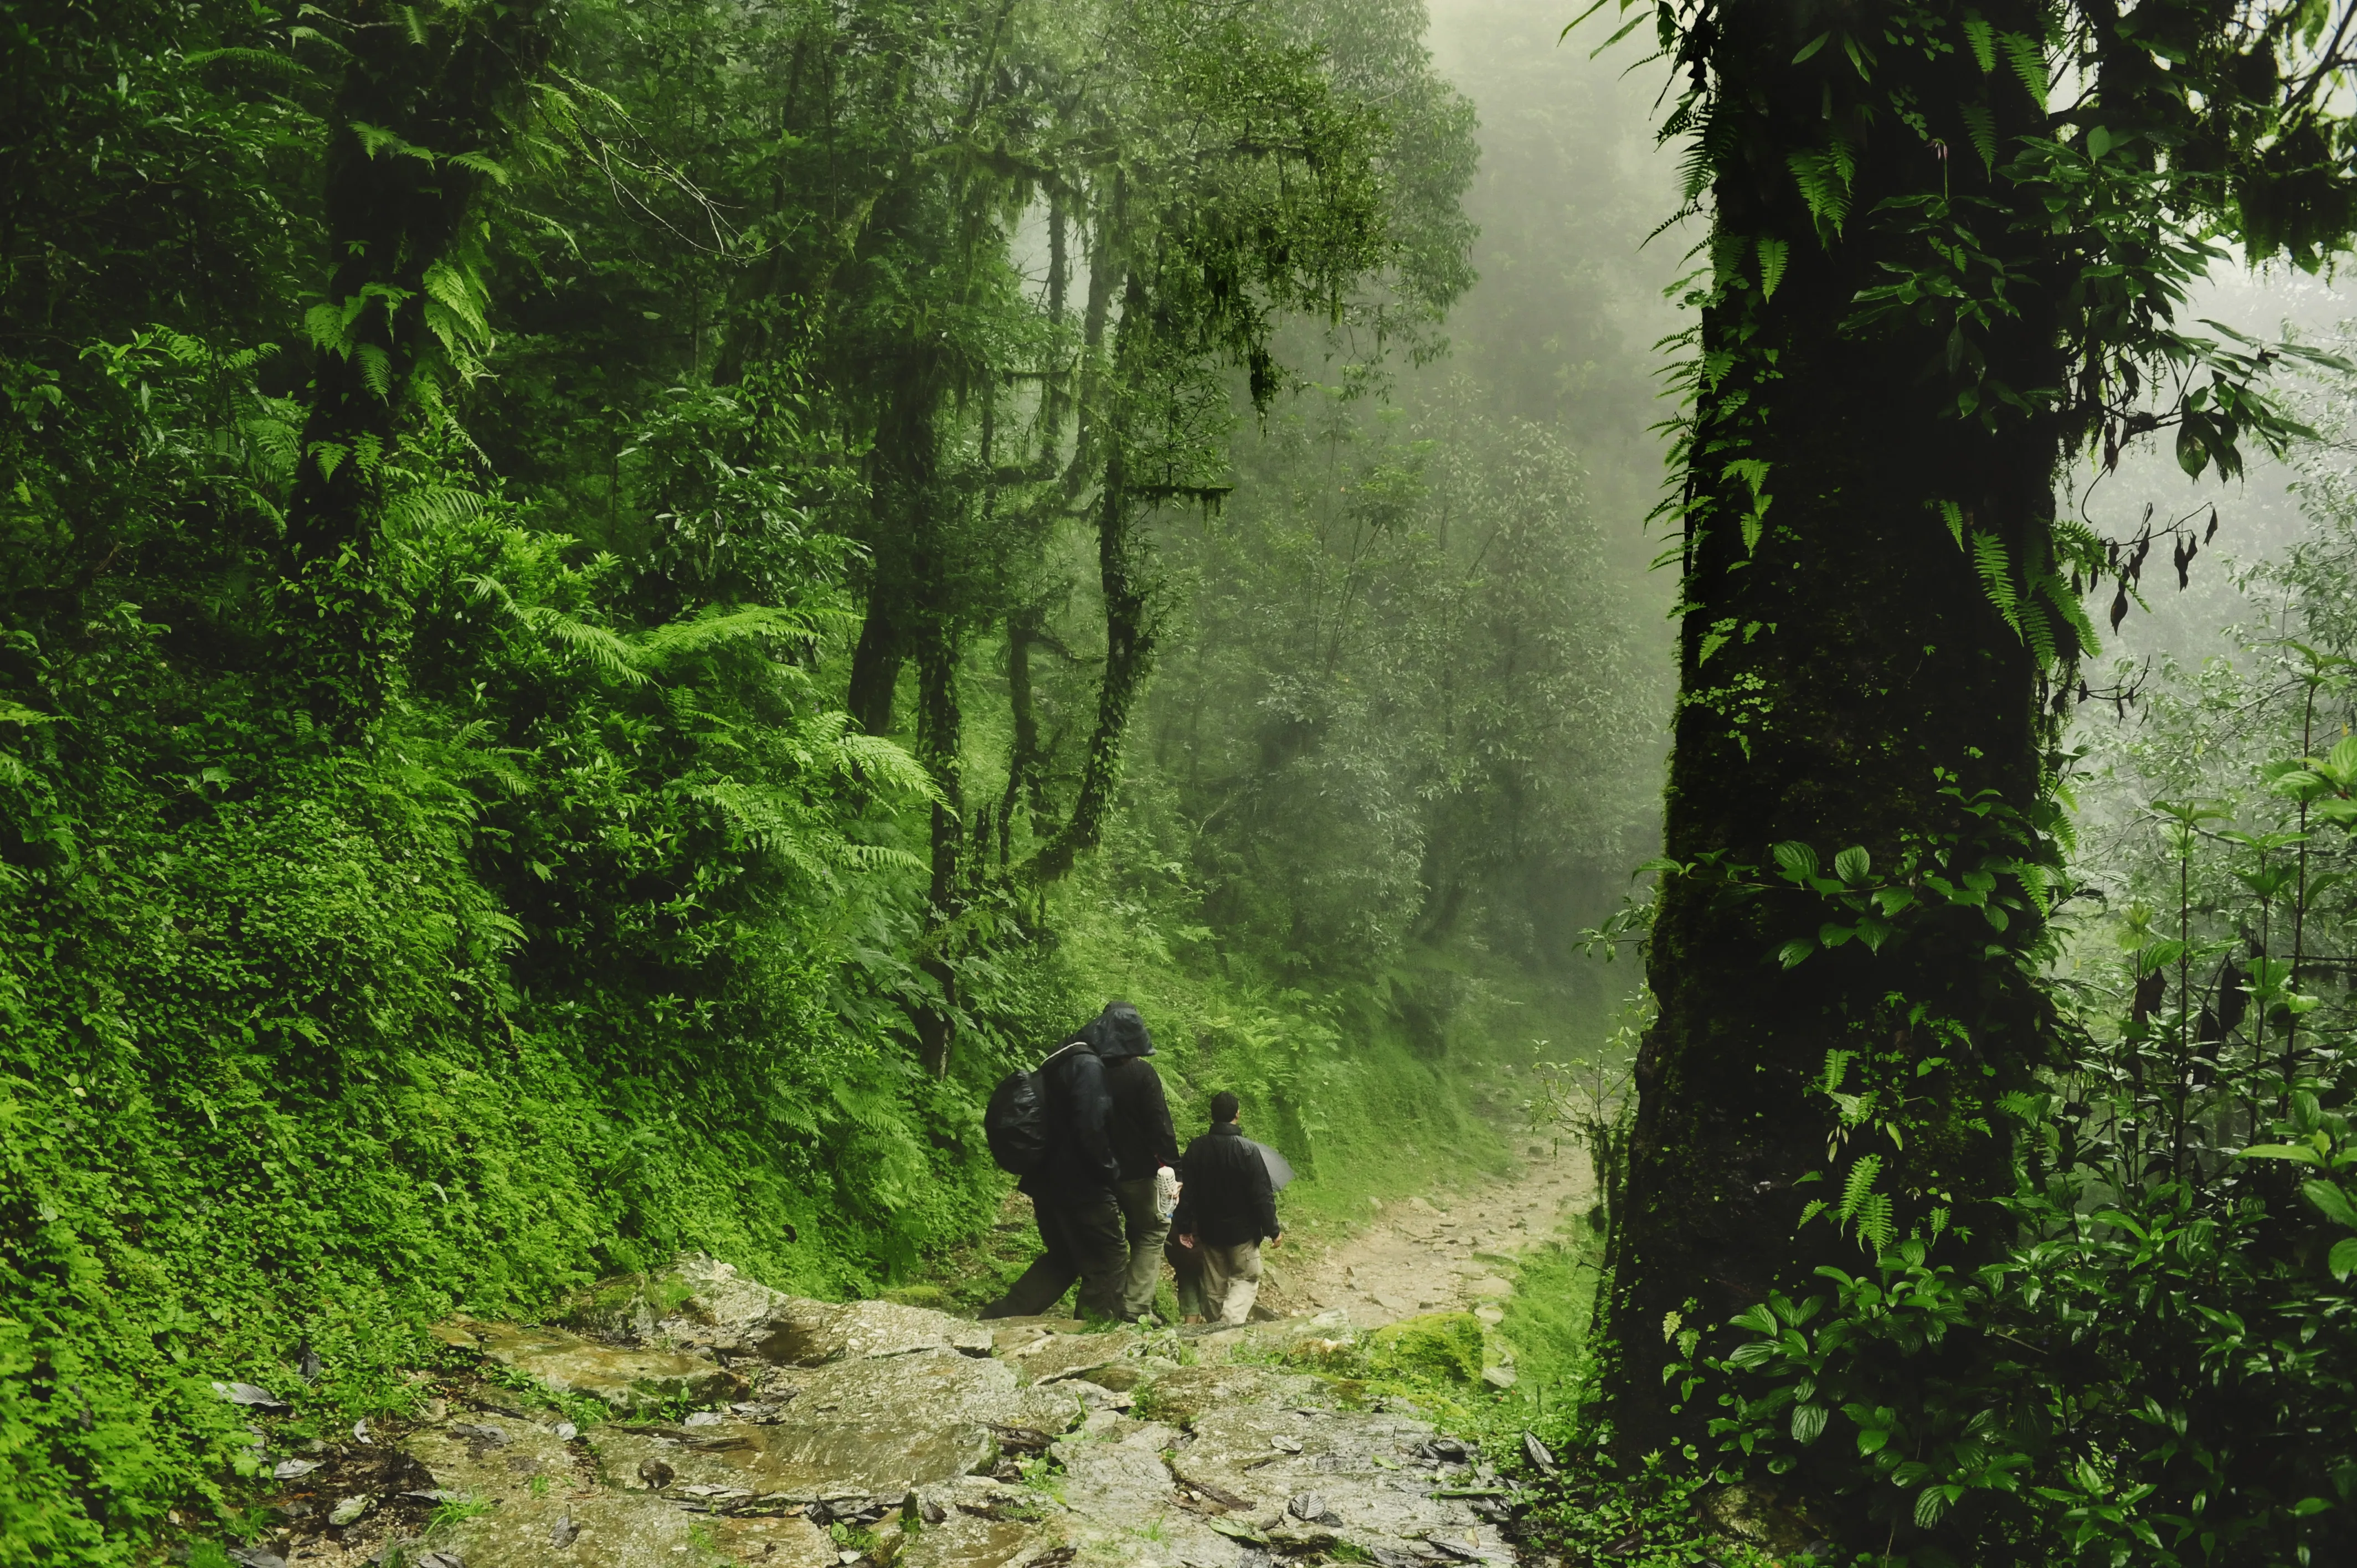
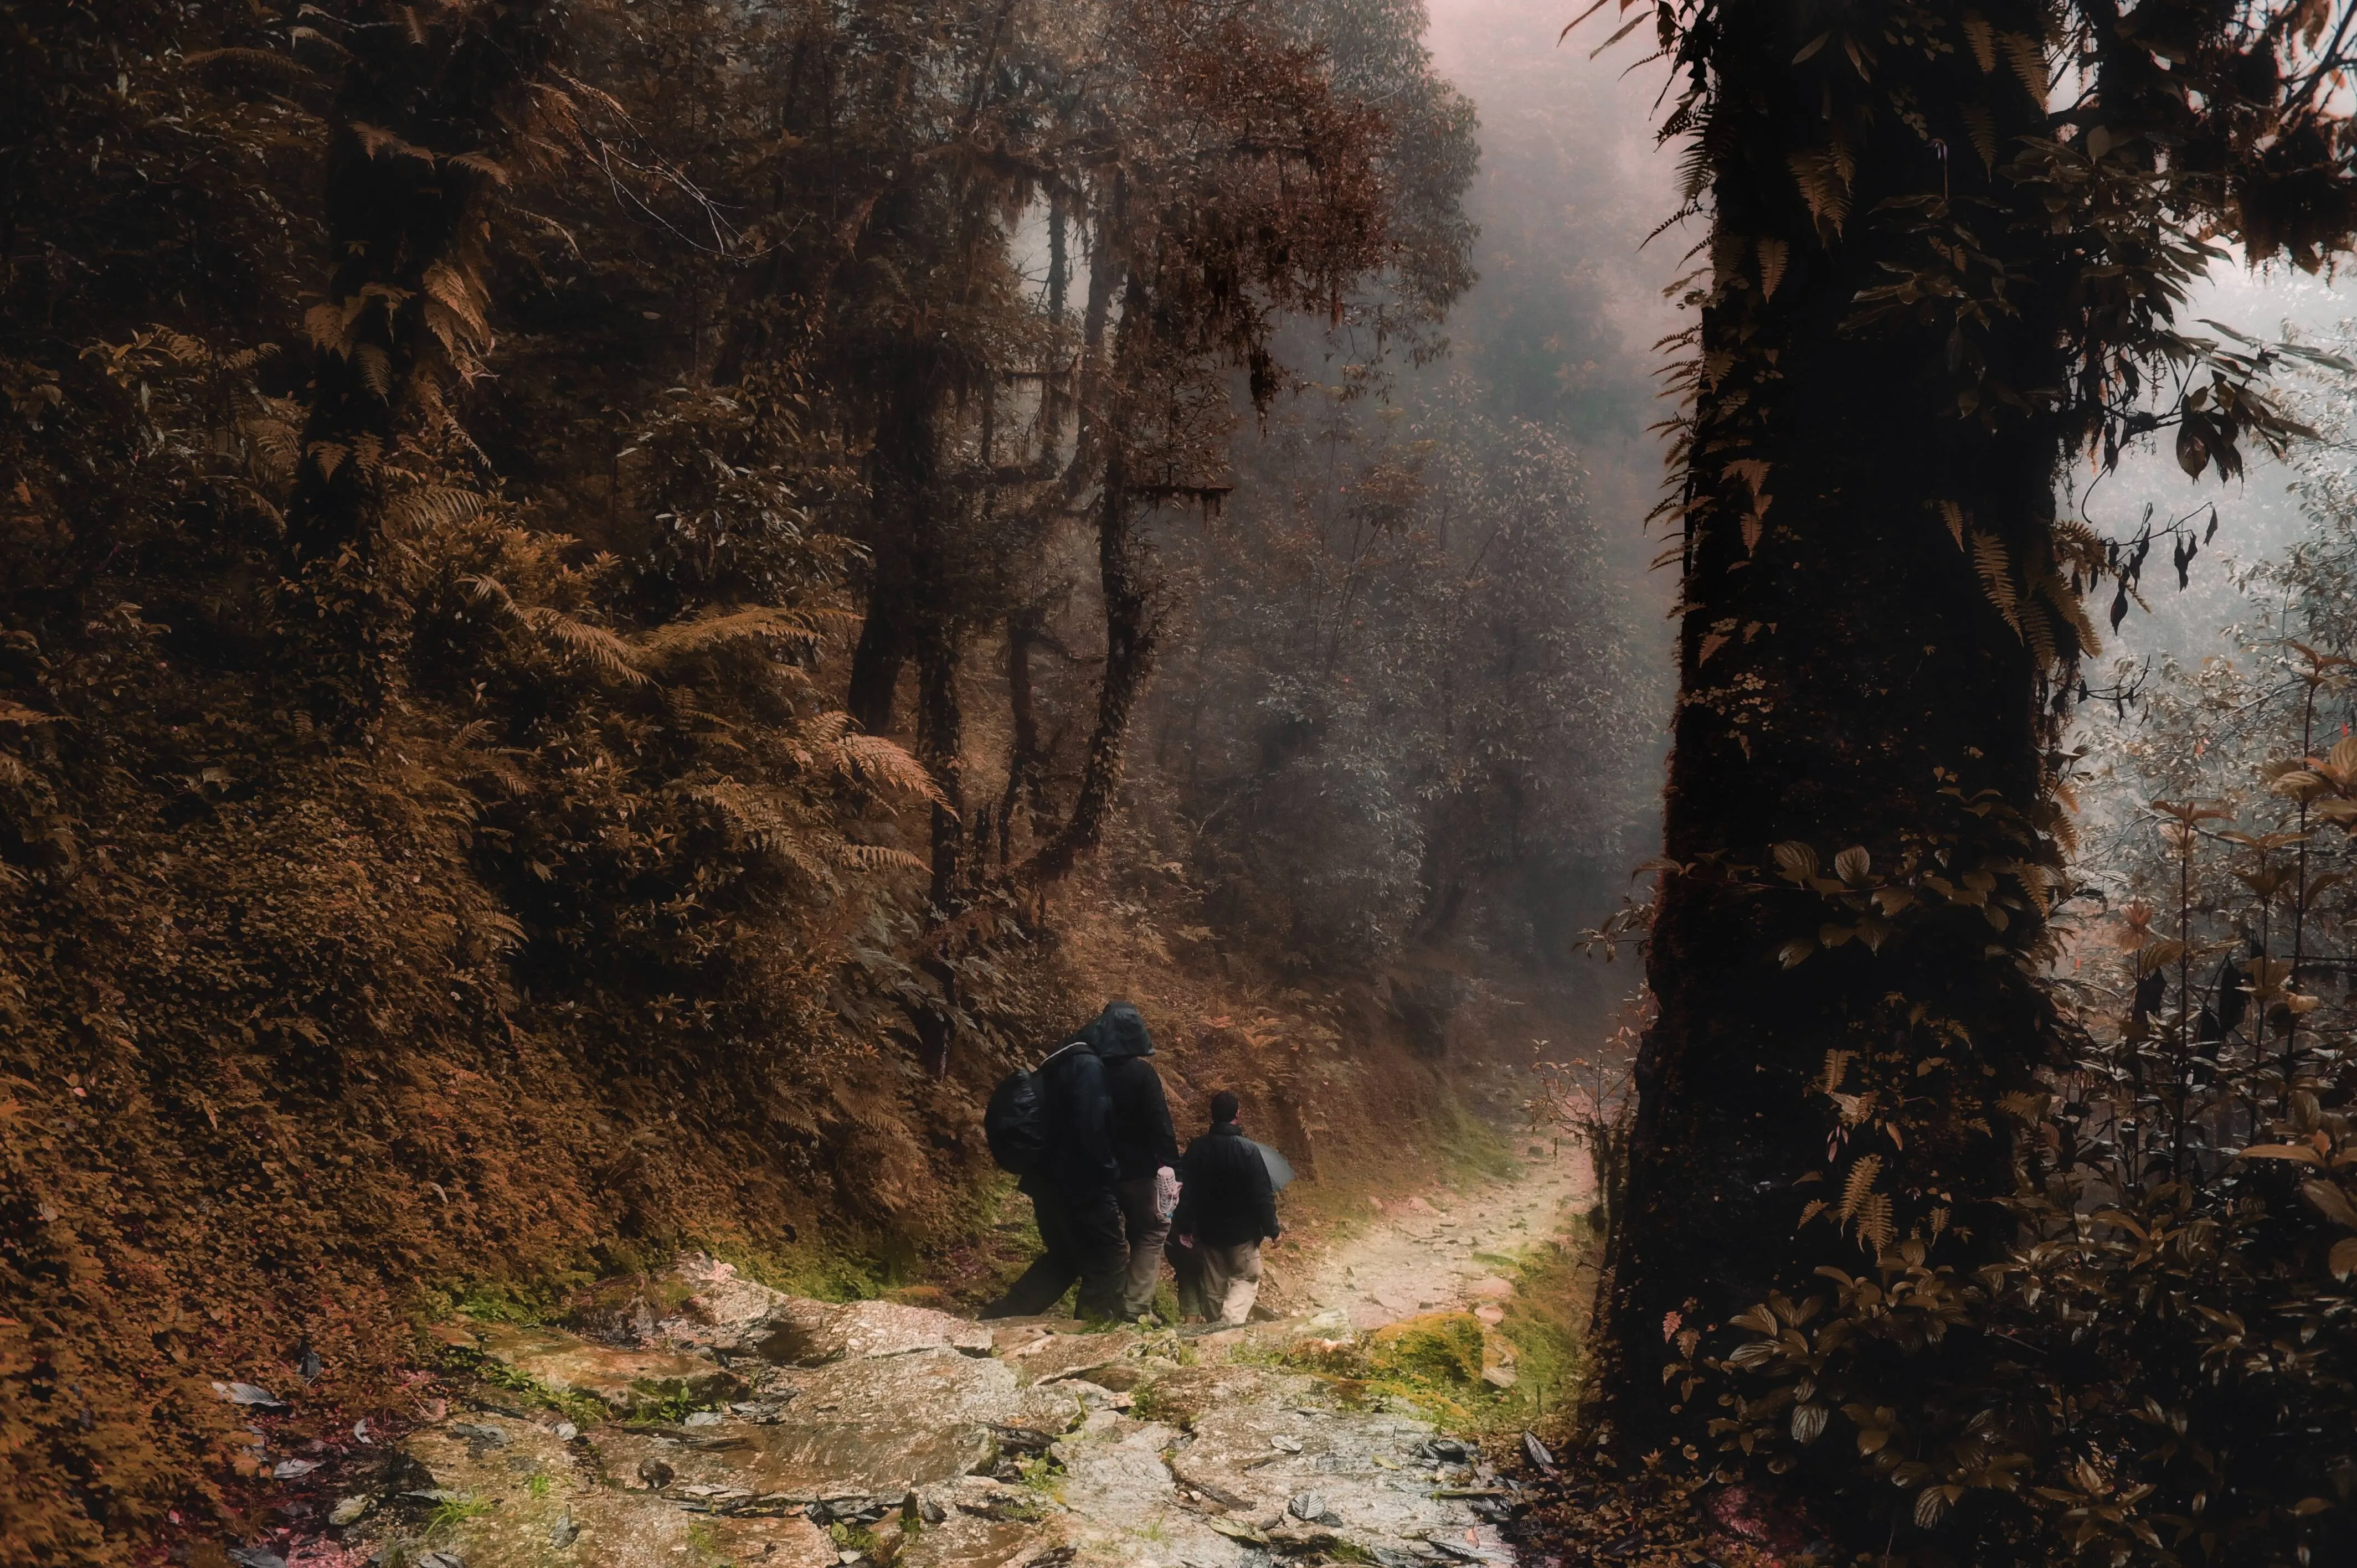
Achieve a faded effect in your photo by reducing the intensity of colors or tones in an image, giving it a softer and more muted appearance. Use it to create a vintage or nostalgic look or to enhance the mood and atmosphere of an image

View plans

How Do You Master the Art of Fading Images?

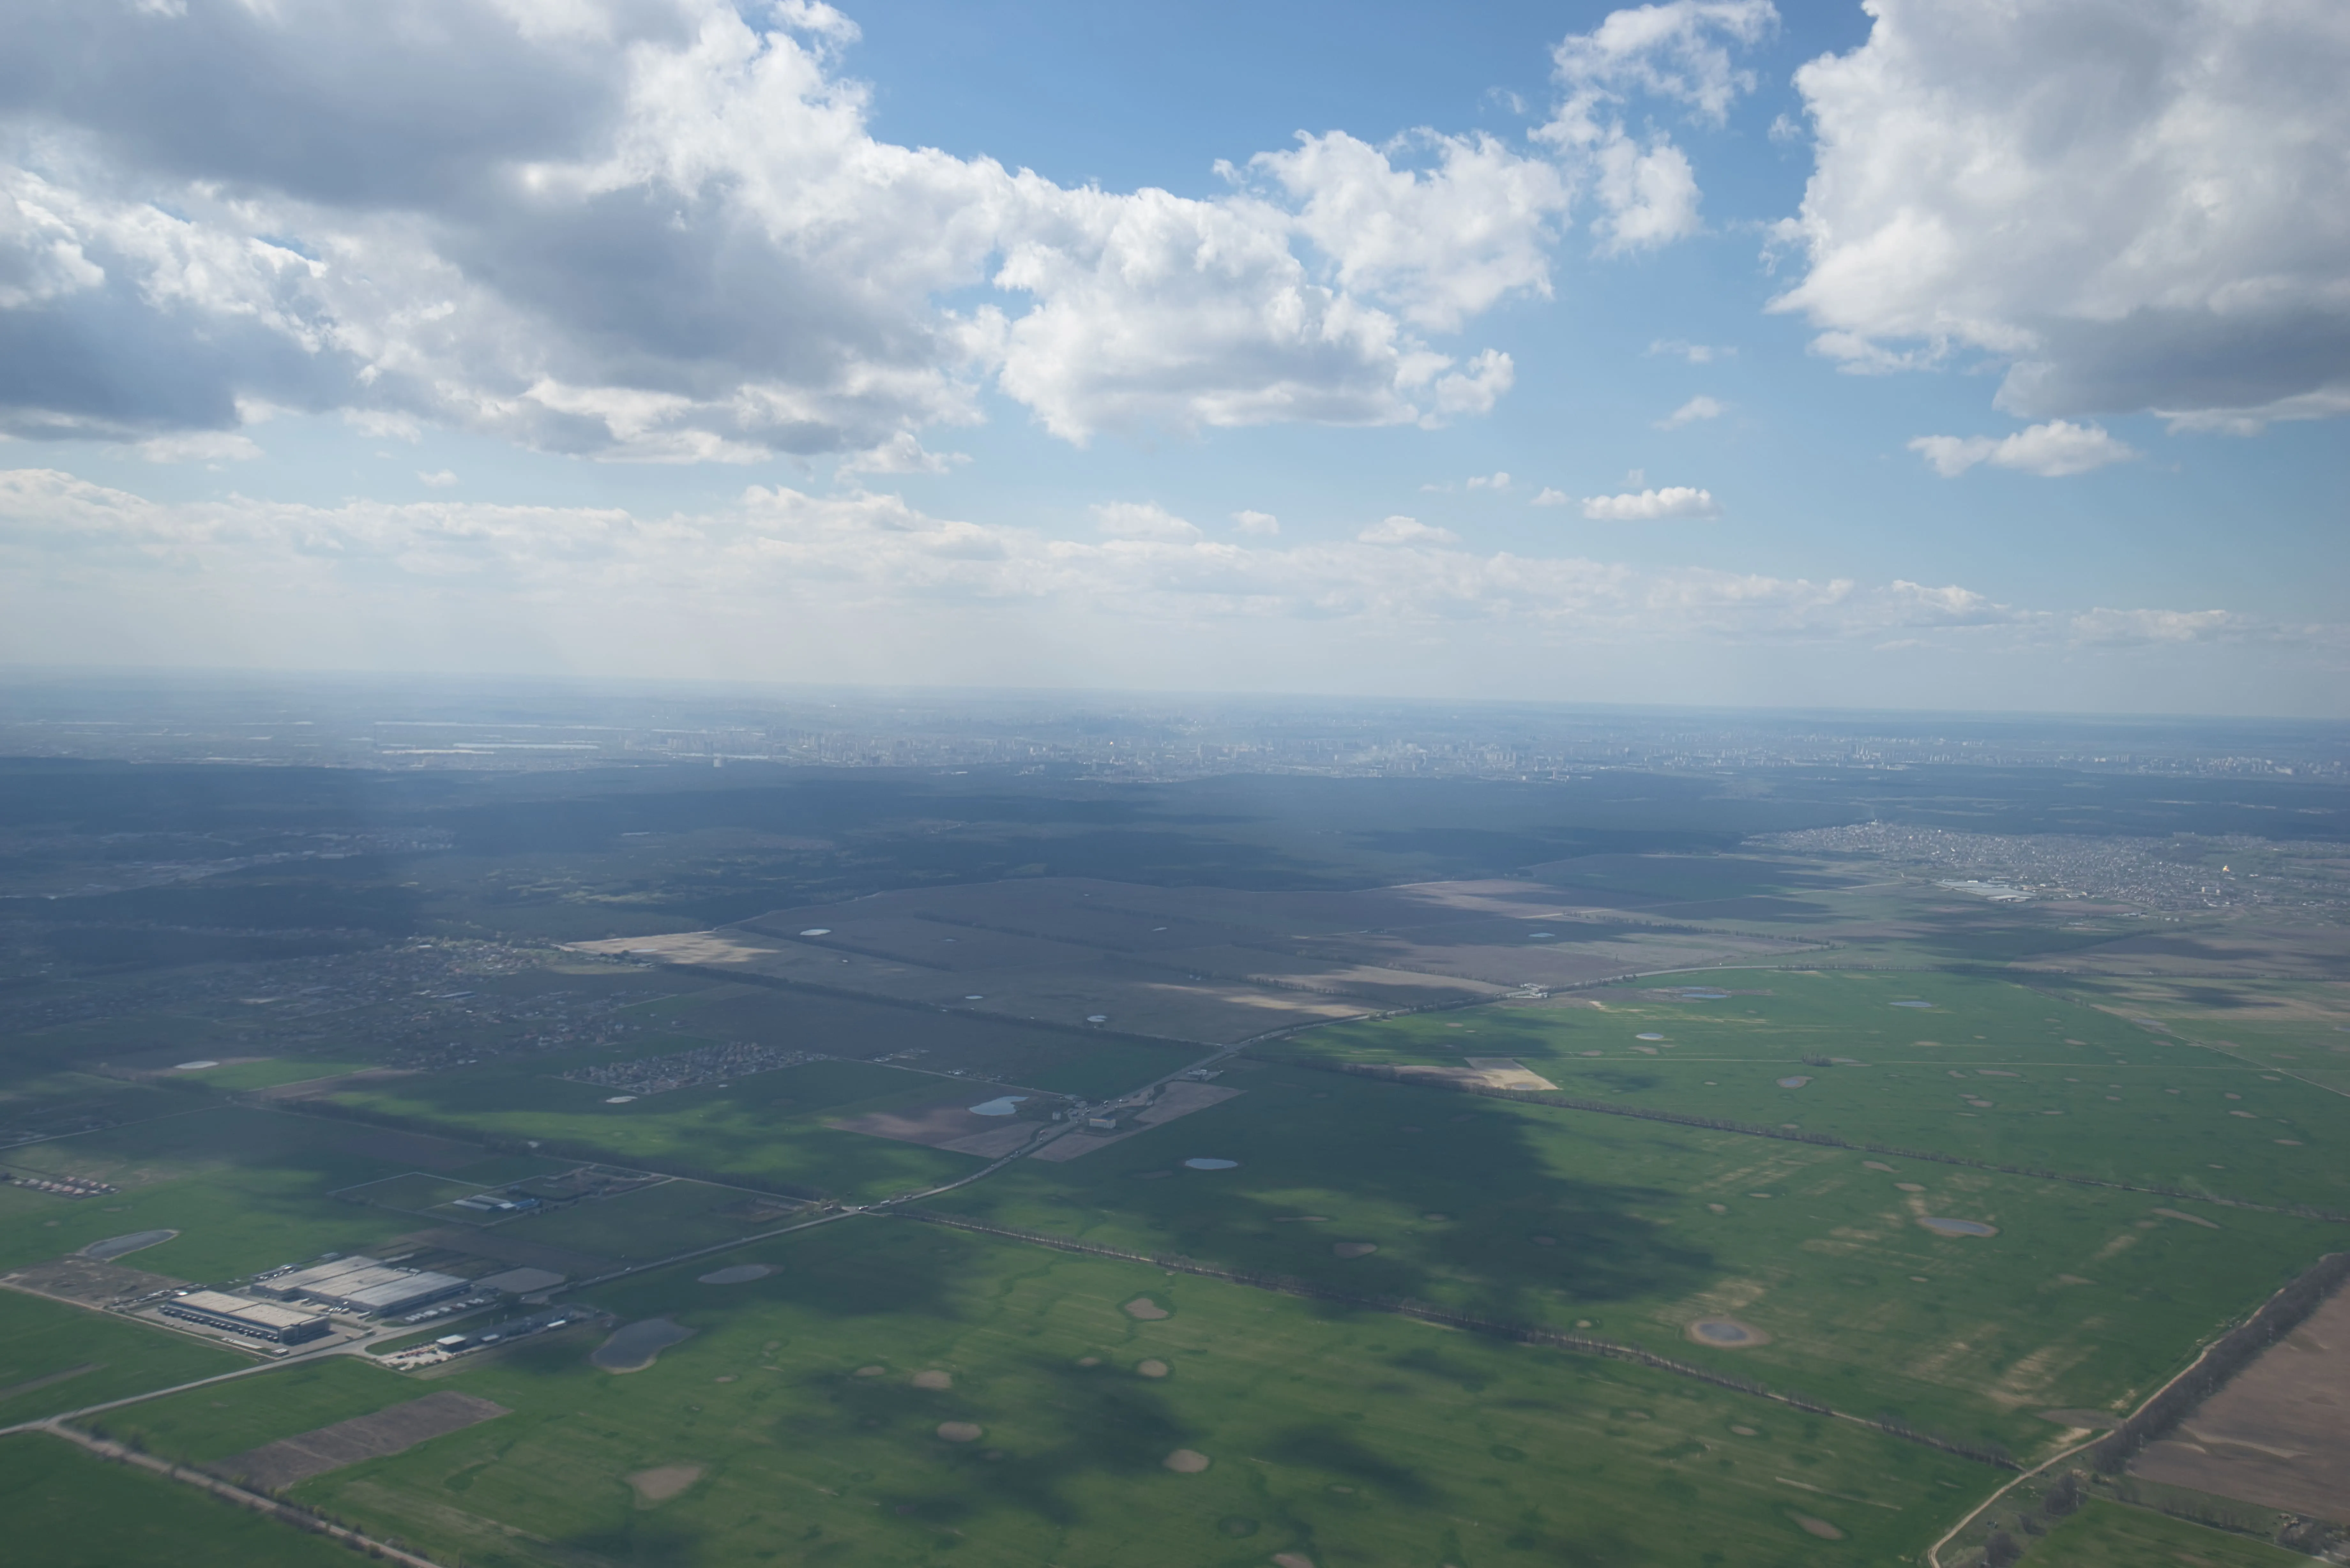
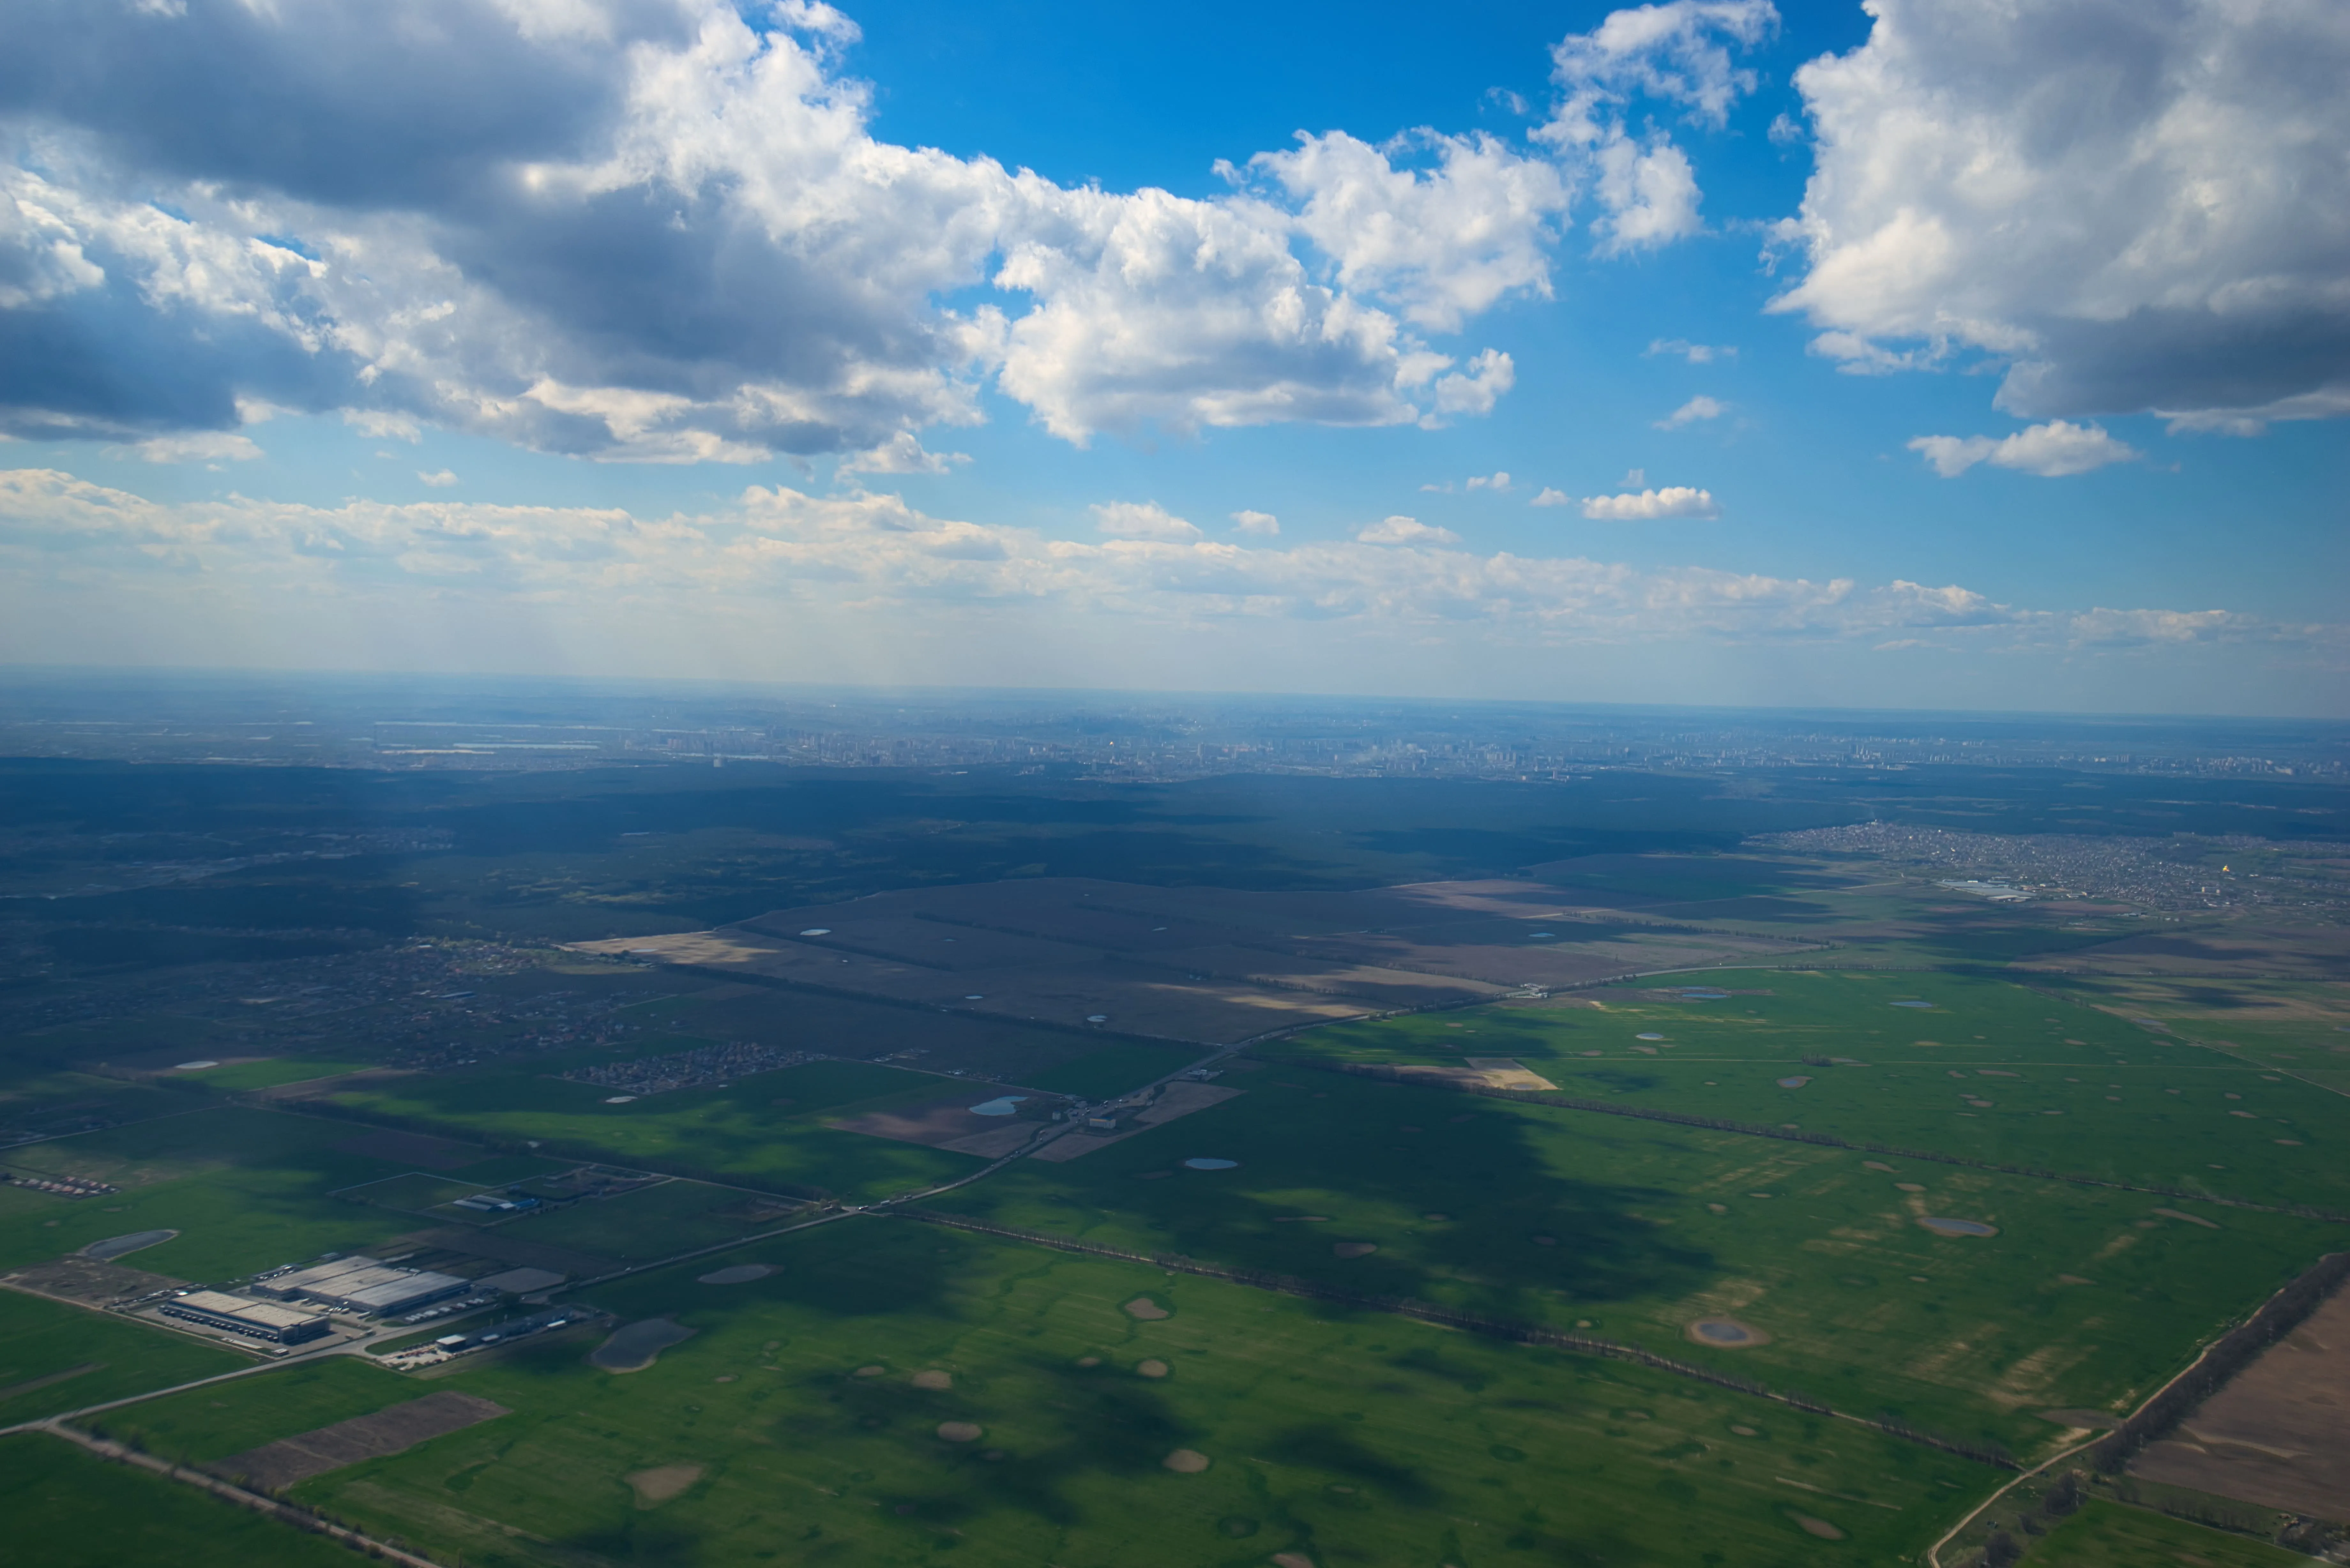
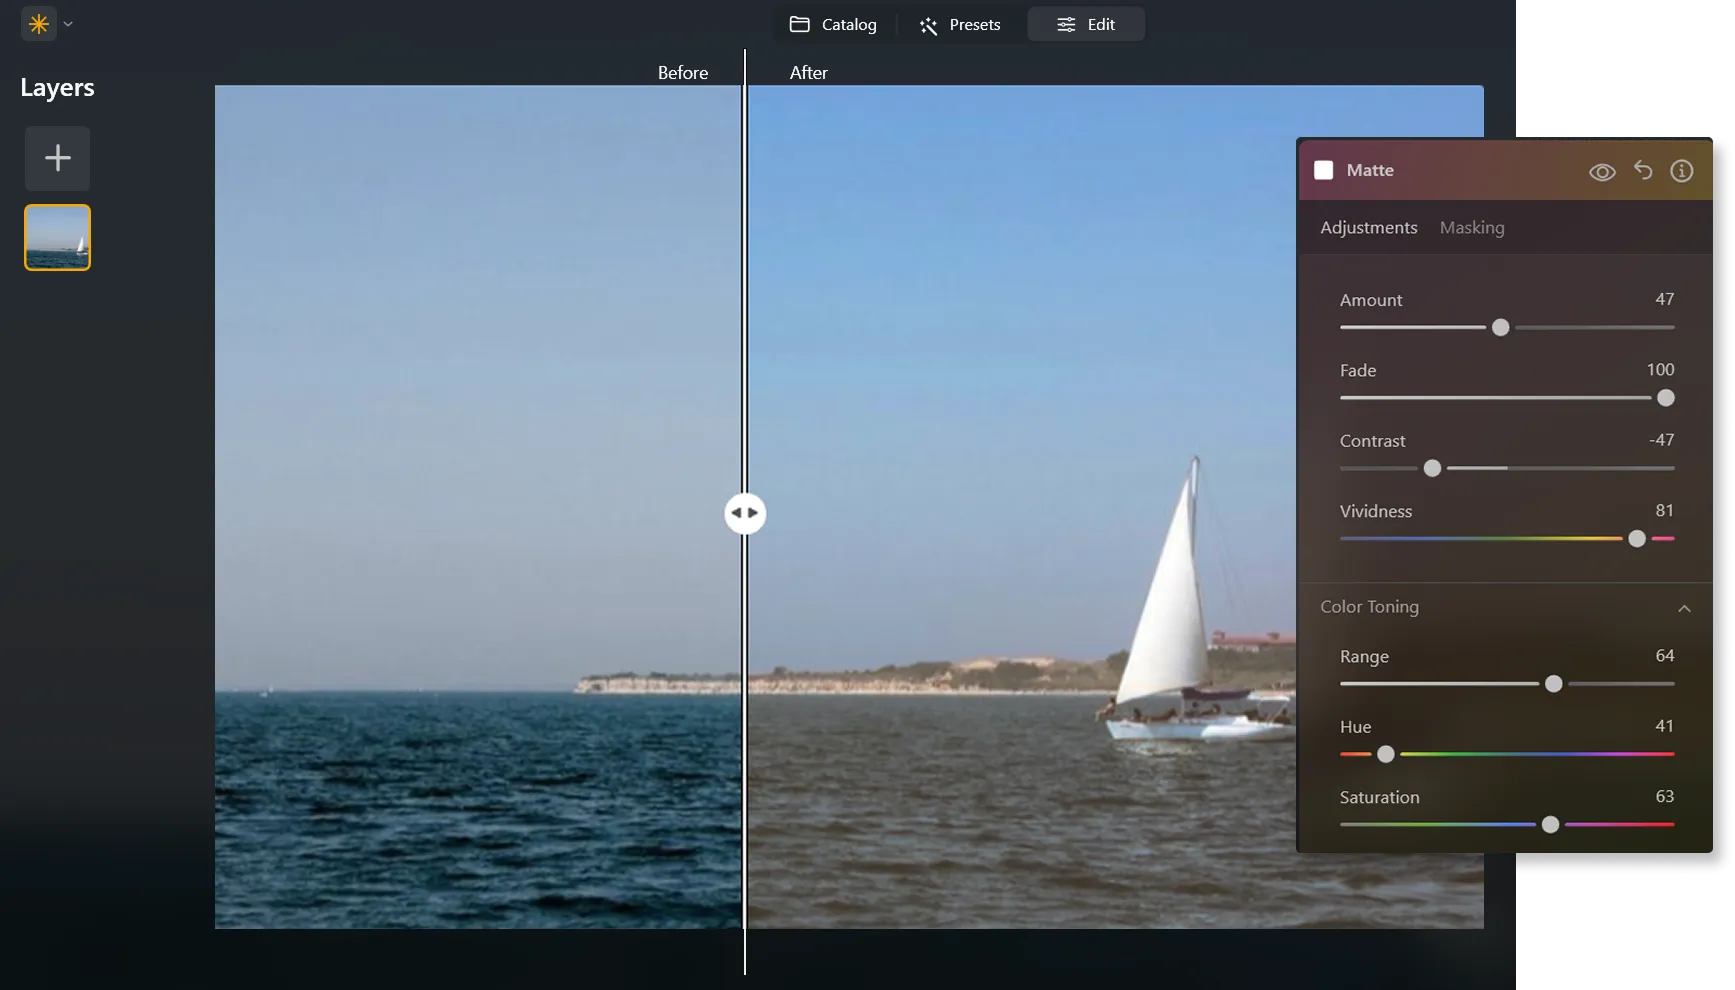
There are many different techniques you can use to achieve a photo fade effect. You can reduce the overall exposure or brightness of the image, add a gradient mask or reduce contrast and saturation.

Alternatively, you can use fade filter effects that you can apply in a click for the exact result you’ve been looking for.
(2)
(3)
(4)
(5)
Before
After

Why Should You Consider Editing with a Photo Fader Software?

It’s easier to achieve a faded effect using Luminar Neo. You can easily adjust exposure and brightness.

There are gradient masks that can help you with your fade editing and a variety of different Presets for experimenting with the overall look of your photo.

Explore the Aesthetics of the Fade Photo Effect

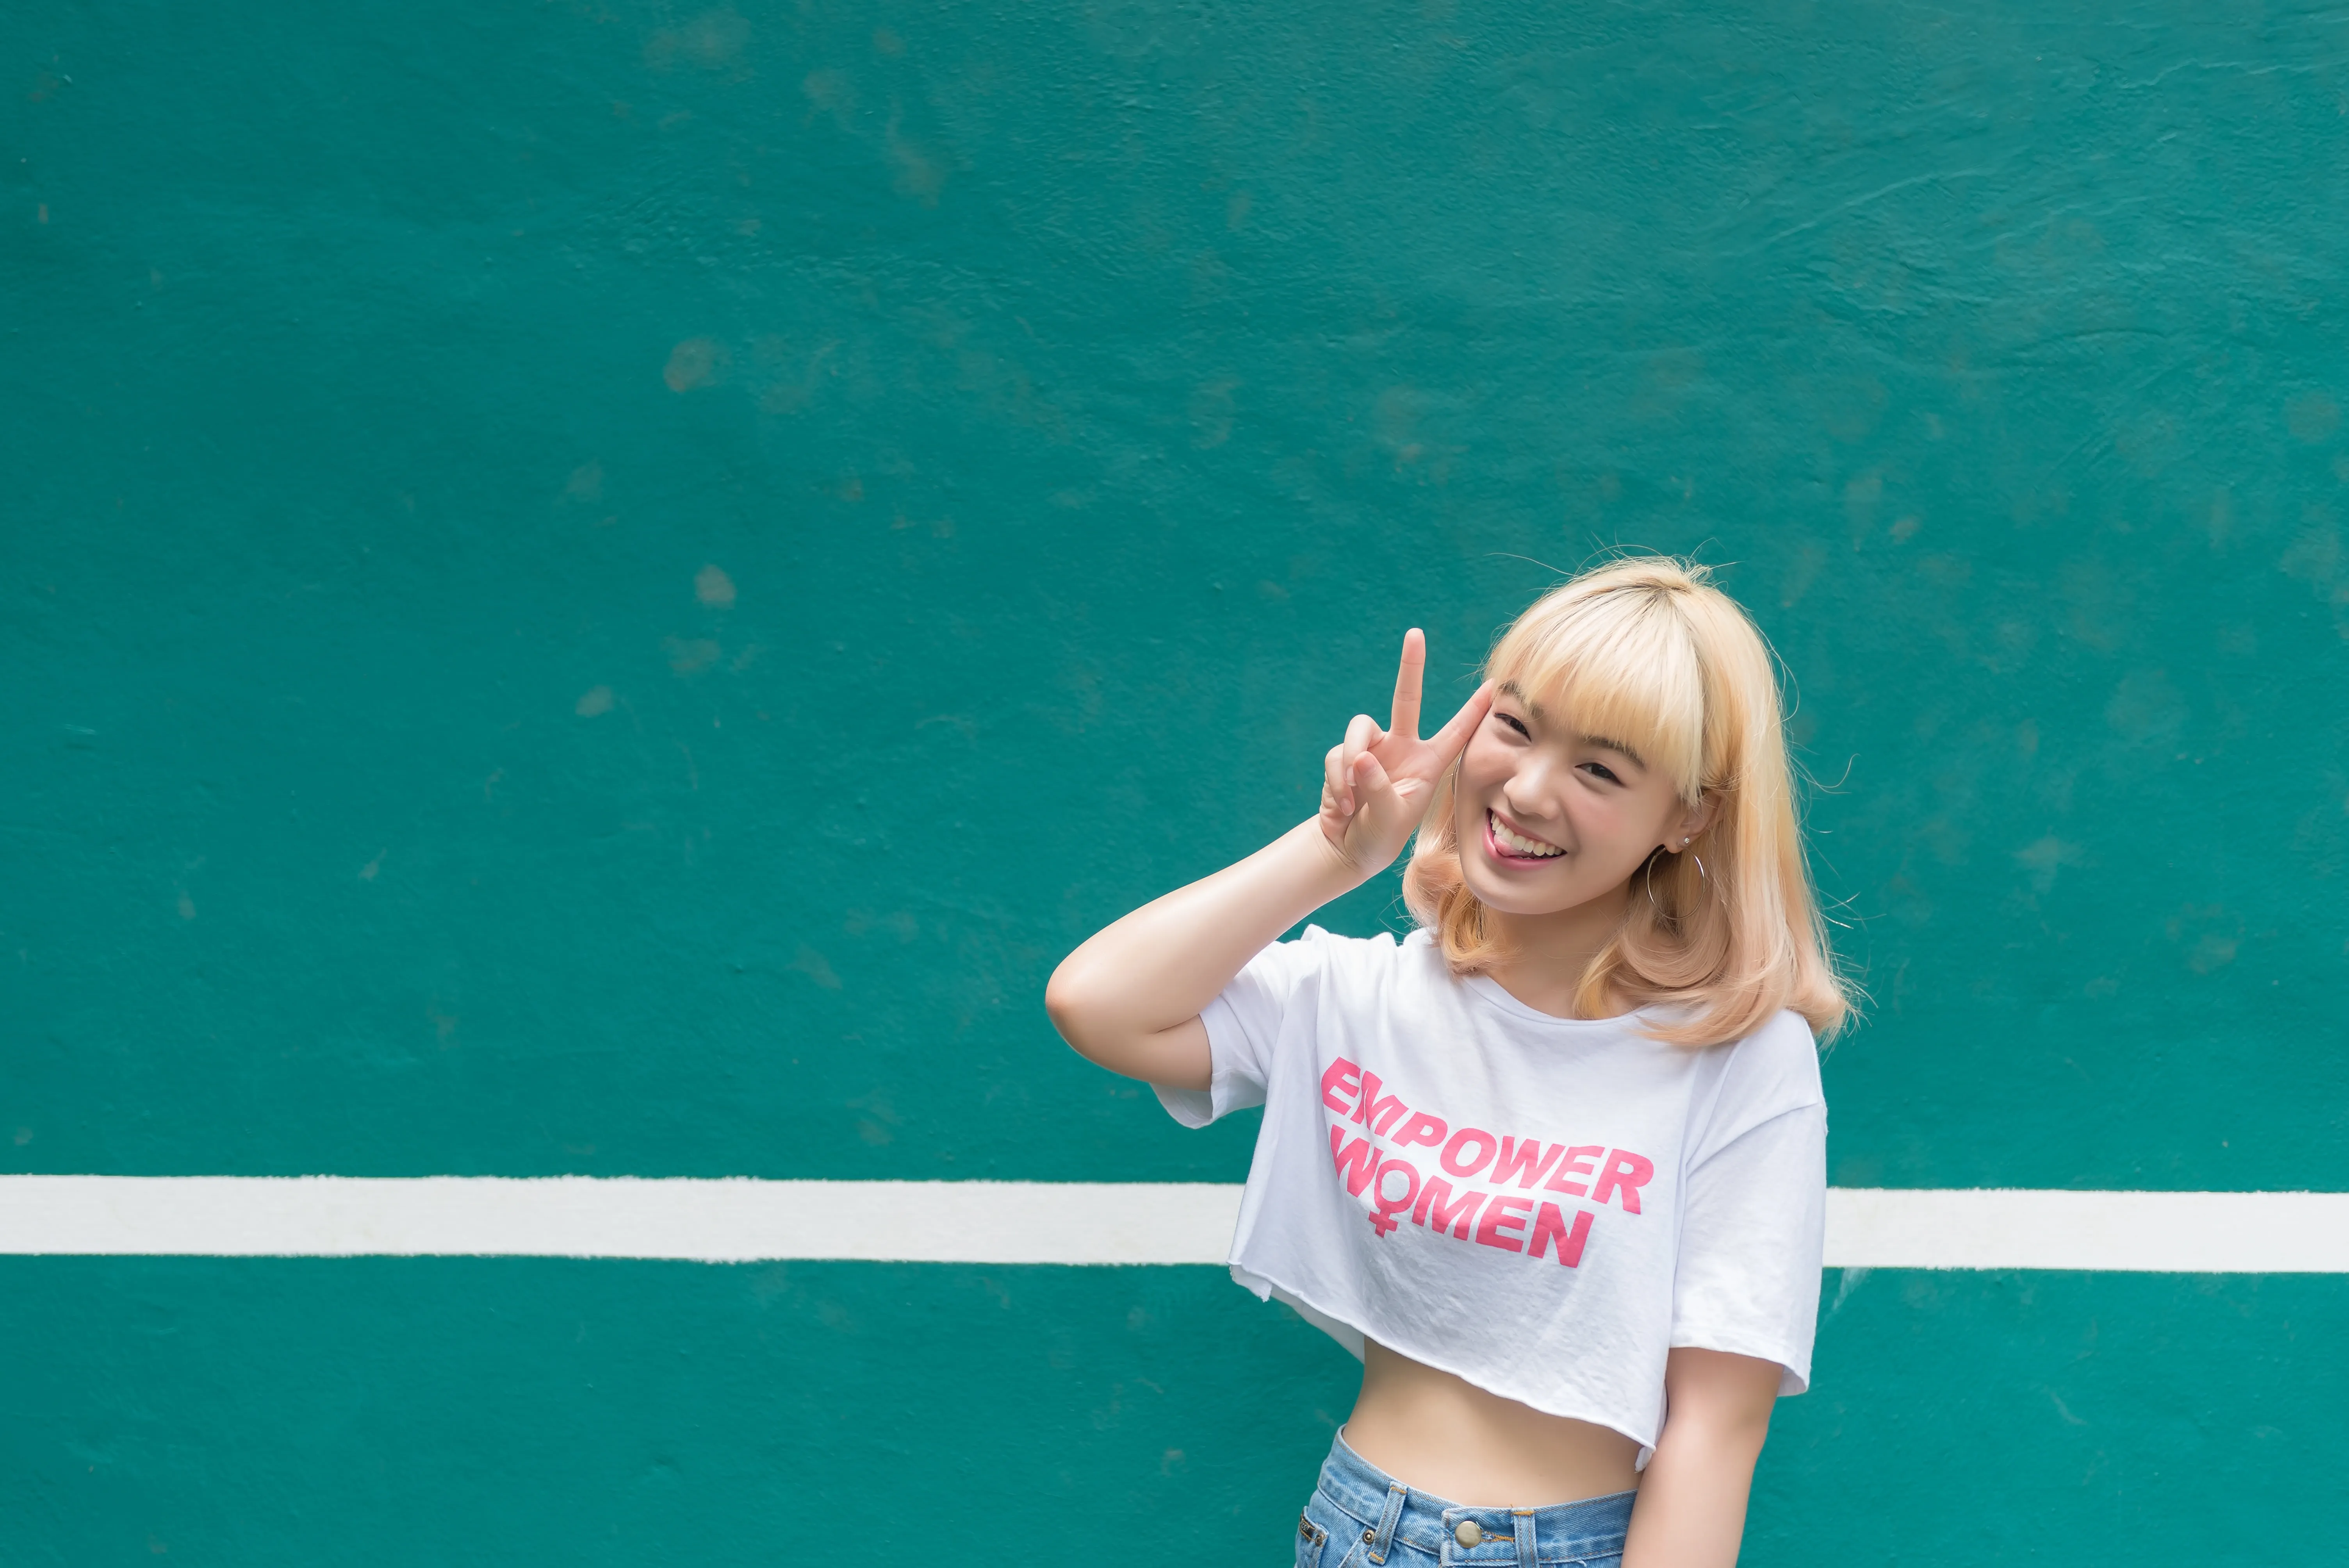
Give your photo a vintage or retro appearance, evoking a sense of nostalgia. Make your image resemble old photographs or film stills, adding a timeless quality to your work. Softening the colors and tones can make the photo feel dreamy, ethereal or romantic which is useful in genres like portrait, wedding or landscape photography. The possibilities are endless!
(6)
(7)
(8)
Before
After

How to Add a Fading Effect in Luminar Neo?

The easiest way to create faded pictures in Luminar Neo is by applying a one-click Preset.
1.Make sure an image is open in Luminar Neo.
2. Click Presets at the top of the window to switch to the Presets Browser. This opens the Presets panel.
3. Choose a Preset collection. Use suggested Presets in the “For This Photo” section or browse other collections organized by categories.
4. Examine the Presets available by exploring their icons.
5. When ready, click on a Preset name to apply it. To apply a different Preset to your photo, click on its name.

Explore Other Features

Luminar Neo has plenty of other features to help you edit faster and easier
(9)
Transparent Background
(10)
(11)
Before
After
© faraonsas
Transparent Background
Transform photos into unique art with Transparent Backgrounds!
(12)
Sepia Filter
(13)
(14)
Before
After
© shutterstock
Sepia Filter
Add a touch of vintage charm and warmth to your images with our easy-to-use sepia color filter.
(15)
Film Grain
(16)
(17)
Before
After
© Lisa
Film Grain
Our film grain effect transforms your pictures, adding a touch of nostalgia and artistic flair.
(18)
Background Removal AI
(19)
(20)
Before
After
© Ksenia Kazak
Background Removal AI
Use our advanced tool to automatically erase backgrounds behind any object in your images.
(21)
Enhance-AI
(22)
(23)
Before
After
© mathewbrowne_anglesey
Enhance-AI
Simplify your workflow and amplify your results. Experience the convenience of managing multiple adjustments with a single, AI-driven slider.
(24)
Hue Changer
(25)
(26)
Before
After
© reewungjunerr
Hue Changer
Easily correct tones, experiment with new looks, or add unique creative effects.

An application & plugin
For macOS & Windows

  • High-performance AI editor
  • 24/7 technical support

  • 30-day money back guarantee

  • Join community of Luminar Insiders

(27)view plans

By buying our products you help

🇺🇦 Support Ukraine

Frequently Asked Questions

How to fade images with Luminar Neo?


You can use a variety of techniques. Adjust exposure, reduce saturation, add a subtle faded out effect with a gradient mask or simply apply a Preset. The choice is yours!

Can I adjust the fade effect for my photo?


Of course! Whichever technique you choose, you can always adjust the fade effect. You have full control over the results in your photo.

Is it possible to fade one image into another?


Yes! This technique is called double exposure. You can achieve it by using Luminar Neo’s Layers feature.

Can I apply the fade effect to only a specific part of my image, like a background or an object?


Yes, you can make selective adjustments thanks to masking. 
(37)