10 Most Important Tips for a Good Milky Way Picture
August 08, 2024

Discover the secrets to photographing the Milky Way with Atilla Schweizer's expert advice on astrophotography and essential equipment.
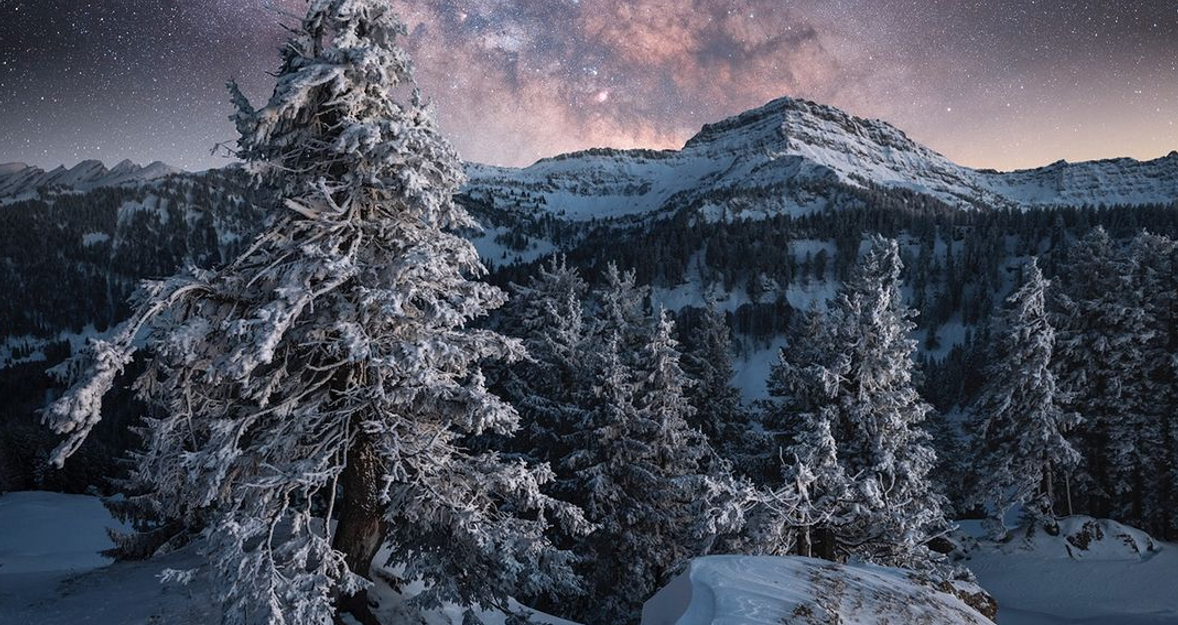
Photographing the night sky can be incredibly fulfilling and fascinating, especially when you pay attention to a few essential details and have the right equipment. In particular, the Milky Way makes for gorgeous night photos under the right conditions. Astrophotographer Atilla Schweizer has compiled 10 important tips for capturing stunning images of our galaxy.
1. Choose the Right Night
Aim for an optimally dark night between March and September, preferably during the new moon phase, to minimize light interference.
2. Escape Light Pollution
Move away from urban areas to avoid light pollution. National parks, rural areas, coastal regions, or mountains often provide the best conditions for Milky Way photography.
3. Use the Right Camera
A camera with a large sensor and manual settings is ideal. These cameras allow you to precisely adjust the exposure, ISO value, and aperture, giving you better control over your shots.
4. Select a Wide-angle Lens
A wide-angle lens (ideally 14-24 mm) with a large aperture (f/2.8 or lower) will capture more of the night sky and allow more light onto the sensor.
5. Stabilize Your Camera
A stable tripod is crucial to avoid camera shake during long exposures. Additionally, use a remote shutter release or your camera’s timer to minimize any movement.
6. Focus Manually
Set your focus to a distant star or to infinity. Use Live View mode and zoom in to check the focus, ensuring your stars are sharp.
7. Initial Settings
Start with an exposure time of 10-20 seconds, an ISO value of 3200-6400, and an open aperture (f/2.8). Adjust these settings based on the conditions you encounter.
8. Consider Using a Tracker
A tracker allows you to photograph the stars at a very low ISO value, reducing noise and improving image quality.
9. Stack Your Images
Take several images with the same settings (including white balance) and stack them to reduce noise and enhance detail.
Capture Every Detail with AI-Powered Focus Stacking
Discover it Now10. Use Filter Systems
Employ filters to make the reddish H-alpha areas of the Milky Way more visible, adding a unique dimension to your photos.
Need More Inspiration?
For more information and stunning examples of his work, visit Atilla's website and follow him on Instagram.


