Top iPhone Photography Tips for Better Photos in 2025
Last Updated on January 16, 2025
Life has proven that sometimes it's not so much what you take photos with, but how you photograph. And modern smartphones have high-tech cameras that let you capture truly amazing shots.
Today we're going to tell you how to take cool pictures with an iPhone. Believe us, you will discover a lot of interesting things, even if you already know how to create beautiful photo shots with your smartphone.
Improving photography skills is a common desire among individuals, especially iPhone users. Known as one of the top smartphones for its exceptional camera capabilities, it lets you take pictures that can rival the work of professional photographers. It's no surprise that captivating images are flooding social media feeds, making you want to enhance your own photos.
While iPhone captures remarkable pictures, it is the photographer's responsibility to find compelling subjects, create stunning compositions, and maintain stability for sharp images. Although these devices continue to improve with each new version, they still have inherent limitations when compared to DSLRs. Still, these smartphones are more than good enough for the majority of novices and amateurs, and some professionals have successfully built careers using only iPhones for photo sessions.
So, are you ready to embark on a new adventure? Explore the valuable iPhone photography tips to unlock the full potential of your phone and capture stunning pictures that will leave no one indifferent. You may even want to print some images. Things will be much easier if you choose one of the best iPhone printers.
Rating the iPhone Camera: Is It Impressive Enough?
Before we tell you how to take great pictures with iPhone, we need to discuss one important point. The cameras in these smartphones have consistently been praised as some of the best options on the market, especially in the flagship models.
The manufacturer has made significant technological advancements with each new release, and the latest phones continue to impress. So, let's look at a few key points that open up a world of possibilities to take great photos with your iPhone:
- The camera delivers superior image quality with sharp details, vibrant colors, and accurate exposure. The latest models feature high-resolution sensors, improved image-processing algorithms, and advanced HDR capabilities for stunning photos in challenging lighting conditions.
- Apple has made significant strides in low-light photography with features like Night Mode. This option allows users to take well-exposed, noise-free photos in dimly lit environments, making it especially useful for nighttime or indoor photography.
- Portrait Mode uses depth-sensing technology to create a natural-looking depth-of-field effect that can blur the backdrop and emphasize the model. This feature has been refined over the years and now delivers impressive results that often rival the capabilities of dedicated cameras.
- The manufacturer's commitment to computational photography has resulted in powerful capabilities such as Smart HDR, Deep Fusion, and enhanced image stabilization. These features use machine learning and advanced algorithms to enhance picture clarity, improve dynamic range, and reduce noise. You can also read how to make iPhone HDR photos in our blog.
 Of course, DSLR offers more features and flexibility in terms of overall picture quality and camera settings. Nevertheless, the photographer has a significant impact on the results. Regardless of the expertise of the crew or the state-of-the-art gear used, the outcome is ultimately determined by your skill and competence.
The key is to have refined taste, a discerning eye for beauty, and a touch of creativity. With these qualities, you can unlock the ability to create stunning visuals with nothing more than an iPhone. By the way, the Luminar Neo photo editor offers a variety of creative presets and filters you can apply to your shots. These effects can help you achieve different styles and moods in your images, allowing for artistic expression.
How to Take Better Photos with iPhone: The Best Tips & Tricks
So, taking amazing photos with your phone is incredibly easy. Just launch the Camera app, point your iPhone at your subject, and tap the shutter button. Next, the amazing software and robust processor work together to make your shots look breathtaking. But there are steps you can take to enhance your pictures. Below you will find a selection of our favorite iPhone camera tricks to help you improve your shots and capture some truly memorable moments.
And don't forget, you can use Luminar Neo online photo editor if you need to enhance an image quickly. With AI tools, you'll get amazing results as if you spent an hour in Photoshop.
1. Minimize Camera Shake
The slim form factor of today's smartphones and the way they are typically held can often lead to camera shaking, which in turn leads to blurry images. So, instead of tapping the screen, you can use the volume button on the side of your phone or press a similar one on compatible headphones as a remote shutter (always tap on the volume up).
 Using this option gives you a more stable grip on your phone, reducing the chance of blurred shots and resulting in clearer photos, especially in low-light situations or when capturing action scenes. This technique can be especially helpful when you're switching to the front-facing camera. It allows you to take better iPhone photos.
2. Maintain Focus Stability
To lock focus on the camera, you can tap and hold your finger on the screen. Also, be sure to highlight the main subject. This action not only sets the sharpness but also fixes it in place, ensuring that subsequent shots will maintain the same focus point. By keeping your finger on the screen, you can effectively prevent the phone from accidentally refocusing, resulting in sharper, more precisely composed photos.
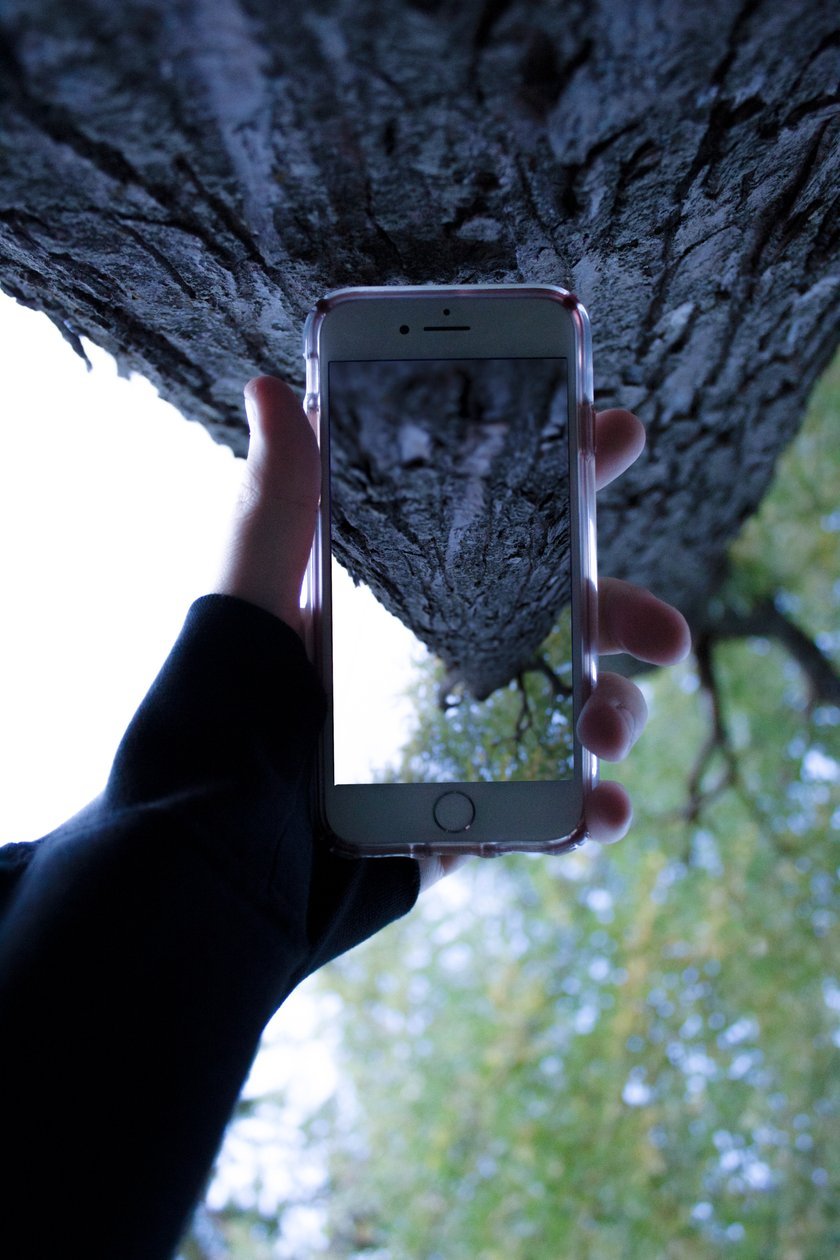 This feature is especially useful when you need to capture a model in a specific area of the frame. Also, try it when you want to keep the focus consistent in situations where the subject may move or the composition changes. And by the way, you can be even more creative with your pictures. Check out our blog to learn how to invert a picture on iPhone.
3. Use Upward Swipe for Advanced Features
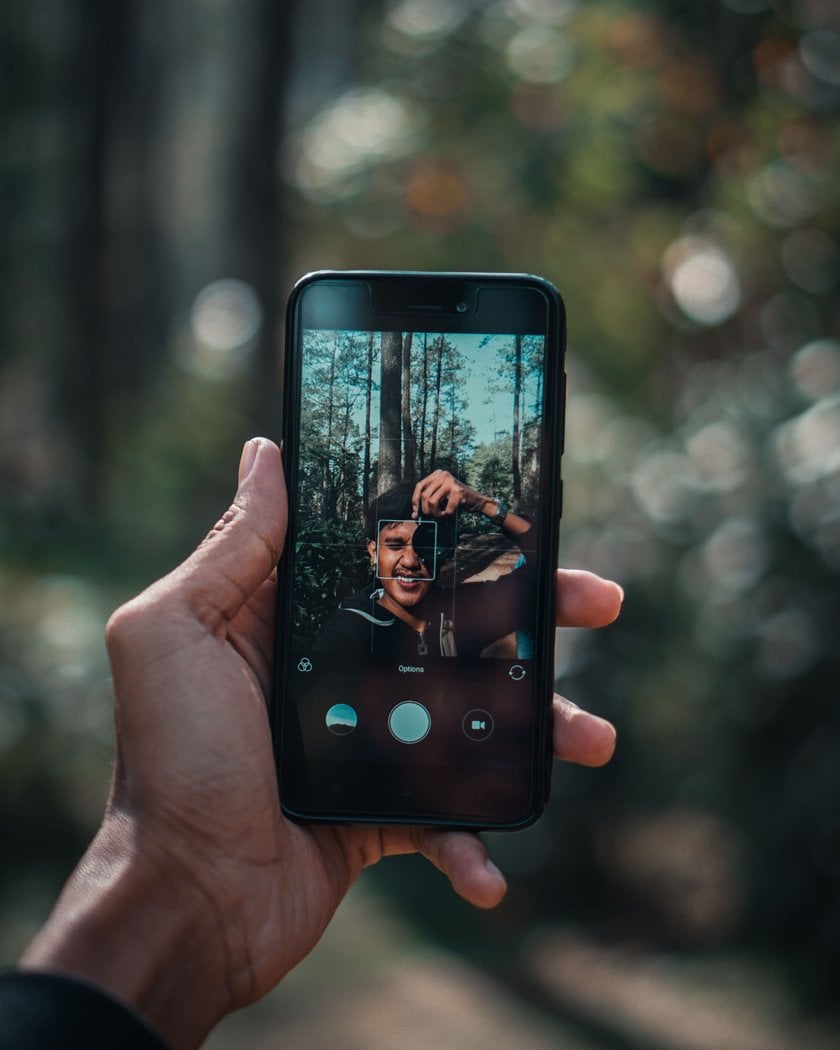
So, how to take good photos on an iPhone? Of course, you need access to as many settings as possible. Swiping up in the Camera app gives you access to additional controls and adjustments that give you more precise mastery over your photos. Here are some of the features and options you can find with a swipe-up:
- Adjust the exposure manually. This is useful in situations where you want to correct overexposure or underexposure.
- Choose from Auto, On, Off flash options, or even a flashlight. Adjusting these settings can help you achieve better lighting conditions.
- If you have a model that supports Portrait photo mode, you can also switch between different lighting effects for your shots.
- Enable or disable Live Photos. This feature captures a few seconds of video and audio before and after a photo is taken, adding a dynamic element to your images.
- Choose different aspect ratios by swiping up, such as square, 4:3, or 16:9. This can help you compose your pictures for specific social platforms.
- Set the timer and burst mode options. The timer allows you to delay photo capture, while burst mode captures a quick series of images.
- Enjoy a variety of built-in filters you can apply to your shots. Experimenting with this feature can instantly change the mood and aesthetics of your photos.
So no more clicking on the arrow at the top. You just swipe up and get instant access to all the settings. Just try it, it's very handy! This is one of the simplest yet most helpful iPhone photography tricks.
 And one more thing: even with the perfect settings and filters, you can rarely do without post-processing. If you are looking for intuitive yet powerful editing apps, Luminar Neo is perfect for you. It is an AI image editor that enhances various aspects of your photos, including color, tone, and clarity. This is the easiest way to create beautiful photo shots!
4. Create a Great Composition
One of the most important iPhone picture tips is to compose your photo correctly. Just go to the camera settings on your phone and turn on the Grid feature. This will superimpose a nine-part square on your screen, allowing you to use the rule of thirds, a basic compositional guideline. Position key elements of interest, such as the main subject or horizon, along these grid lines or at their intersections. This can create more balanced and visually pleasing photography in general.
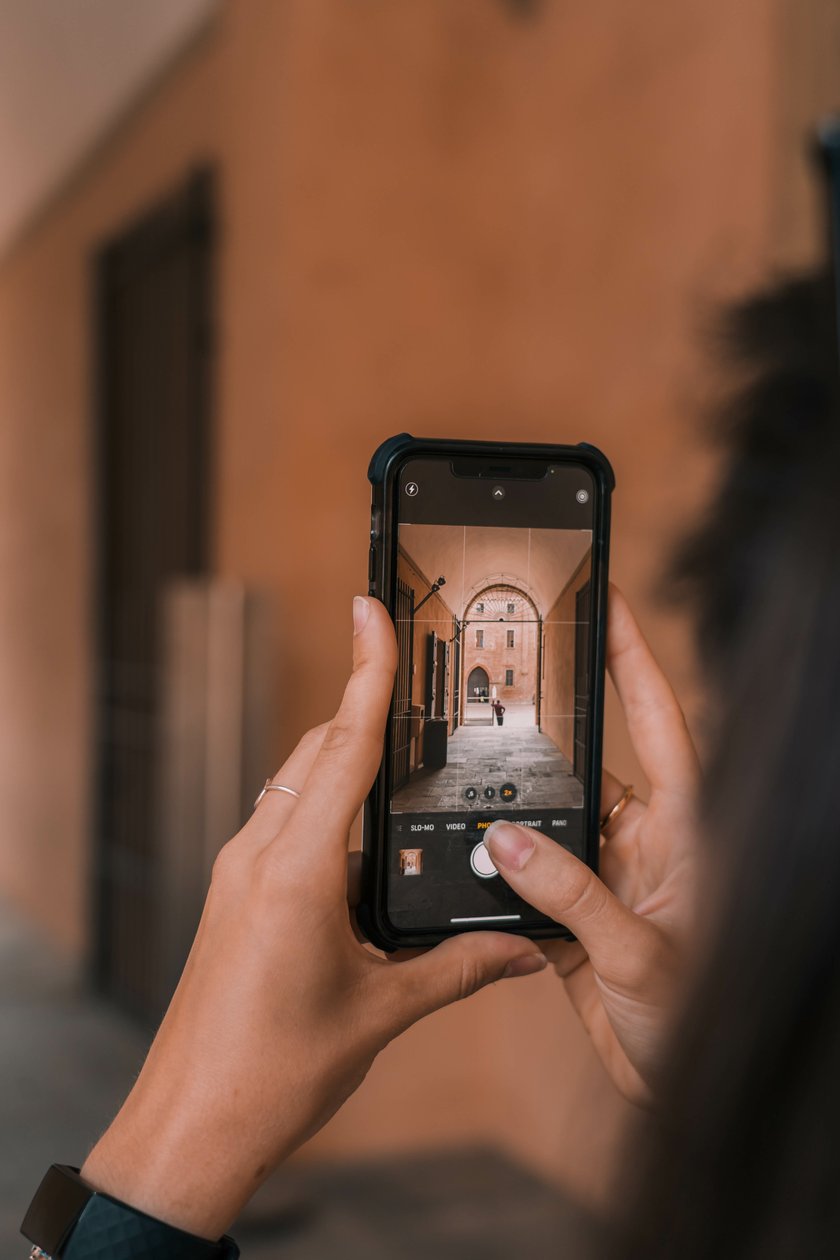 Another fascinating element to consider when composing your pictures is the use of leading lines. These may be in the form of roads, railroad tracks, or rows of buildings that guide the viewer's eye into the far distances. You've probably seen this technique used by many professional photographers because it's very easy to implement.
We also couldn't resist sharing some iPhone photo tips for those who love landscapes. When you're photographing nature, try to add some depth and play with layers. How do you do this? By simply adding an eye-catching element in the foreground, you can effortlessly create a sense of depth to the entire scene. In addition, Luminar Neo's masking and layers allow you to precisely edit specific areas within the image to achieve extraordinary and incredible results.
5. Organize and Edit Photos Like a Pro
The first step is to sort out the good shots and remove the bad ones. Moreover, organized photos can help you tell stories more effectively. By arranging photographs in a logical order or grouping them based on events or themes, you can create narratives or visual timelines that add depth and context to your memories. This is one of the simplest photography tips for the iPhone. After you capture stunning shots with your iPhone's camera, you can easily organize and access them in the Photos app by navigating through your Camera Roll.
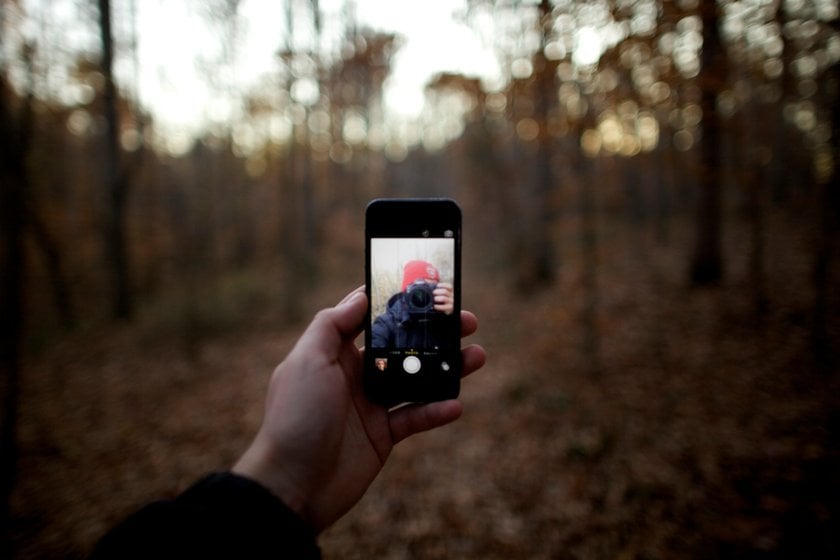 For more control over the final look of your photos before you share them, consider photographing in RAW. With advances in technology, iPhones now can shoot in this format, which allows you to capture more scene detail, resulting in larger file sizes.
So, RAW gives you a lot more flexibility when editing. Then you can use the Luminar Share app, which allows Luminar Neo users to wirelessly transfer images from desktop to mobile. So you can easily enhance a photo taken with your iPhone with Luminar Neo. For example, with just one AI tool, you can remove background from images with perfect accuracy and add more creativity to your best shots.
6. Use Accessorises to Get Better Photos
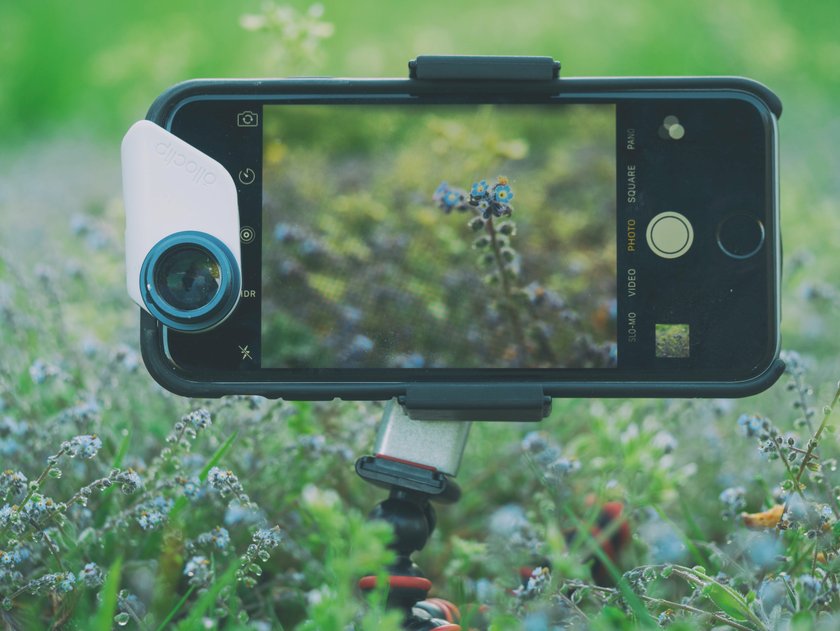
Using accessories can greatly enhance your iPhone photography and help you capture even more amazing images. For example, an external wide-angle lens captures more of the scene, a telephoto optic brings you closer to your subject, and a macro option gives you detailed close-ups.
And one more thing. The tripod provides stability and eliminates camera shake, especially in low-light situations. That's why one of the best tips for taking photos with an iPhone is to buy a couple of additional accessories for your smartphone.
We also recommend finding a good photo editor, as post-processing is crucial for presenting your vision. If you want perfect results without any hassle, AI-powered Luminar Mobile is the perfect option. You can edit right on your iPhone, eliminating the need to switch devices. Additionally, with RAW support, the quality of your photos will remain intact.
With Luminar Mobile, you can:
Easily remove unwanted objects in just three steps;
Enhance photo quality by adjusting colour, tone, and clarity with a single swipe;
Reveal hidden details while boosting contrast and texture for striking visual impact;
Effortlessly transform dull skies into brilliant one;
…and more!

Luminar Mobile’s AI tools simplify the editing process. For those who do not prefer detailed editing, there is an option to quickly apply presets for a professional look. With a vast number of presets available, you can enhance landscapes, portraits, and everyday moments effortlessly. Sounds perfect, right? Give it a try.
To Sum It Up
While it's true that professional cameras offer superior quality compared to your smartphone, it's also important to acknowledge that with the right subject matter, an iPhone can still produce stunning images. All it takes is discerning taste, a keen eye for aesthetics, and a dash of creativity to create something truly remarkable. We hope that our iPhone photo tricks will help you and wish you good luck!
FAQ
What Setting on iPhone Takes the Best Pictures?
The best camera settings on iPhone vary depending on the model and lighting conditions. You can turn on HDR mode for landscapes or use a dedicated mode for portraits. To capture fast-moving subjects or action shots, set the camera to Burst mode.
How Can I Be a Better iPhone Photographer?
Becoming a better iPhone photographer is a combination of practice, technique, and creativity. It starts with understanding your smartphone's camera settings, learning how to use lighting, and building a composition.
How Do I Get My iPhone Camera in Professional Mode?
Unlike some pro cameras, iPhone does not have a dedicated professional mode. However, with the right techniques and Luminar Mobile photo editor, you can achieve expert-level results.


