How To Edit Fall Photos To Bring Out The Fall Colors
September 11, 2023
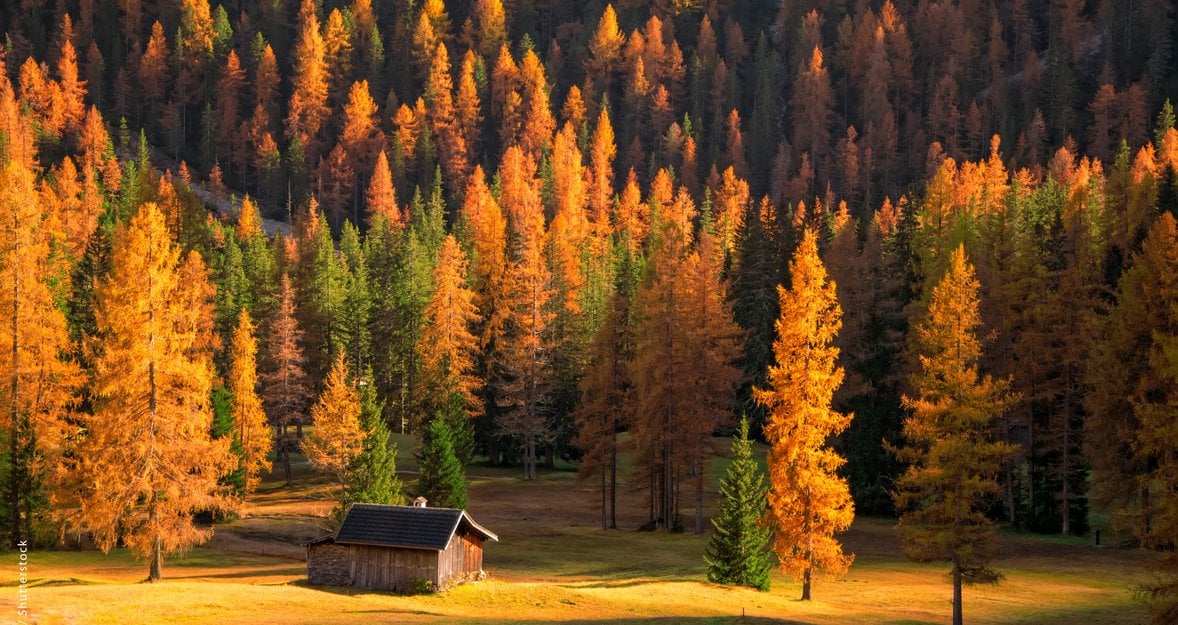
The fall season is knocking on our doors with its capturing and vibrant beauty. It is a perfect time for baking cinnamon rolls and reading your favorite romance book in the park around the golden leaves when the weather is sunny or under the warm, cozy blanket at home when it rains.
Autumn brings boundless creative opportunities, making it a delight not just for landscape photography enthusiasts. Photographing fall colors and conveying a sense of warmth, comfort, and visually pleasing landscapes constitute a distinct subgenre within landscape photography, one cherished by both creators and the audience.
In this digital age, photo editing plays a crucial role in bringing out the full potential of your works when it comes to fall colors for pictures. The following article not only gives you some basic fall colors photography tips. It also observes the outstanding abilities of the AI-based photo editing software Luminar Neo for your perfect fall edits.
Download Luminar Neo and Get a 7-day Free Trial
I'm in!So, let’s learn how to reach perfection in capturing the incredible fall colors before the best time for fall pictures to pass by!
Best Camera Settings For Fall Foliage
To become a professional photographer, you need a good camera. But simply having a device is not enough; you must also master its use and learn to select the right functions for each case. And photographing fall colors is no exception.
Below, we will introduce you to fall colors photography tips and explain how to set your camera perfectly.
Lens Choice Matters
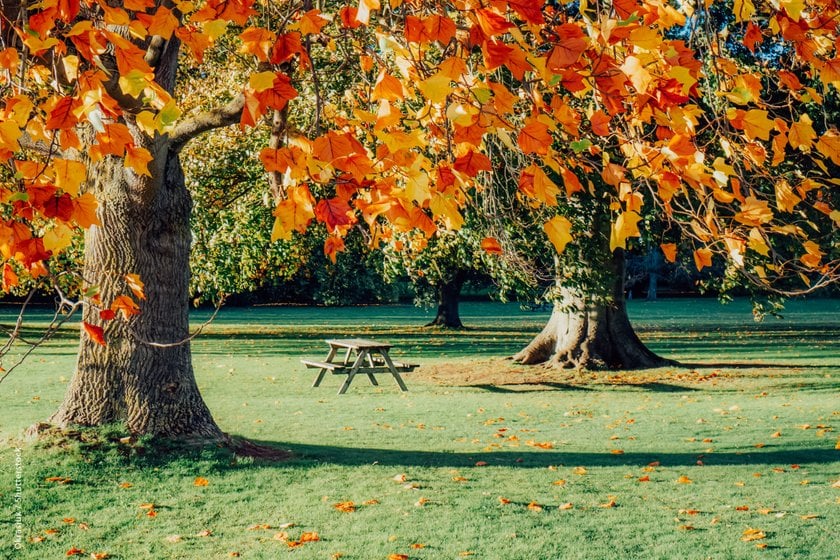 Lenses are the eyes of the photographer. So before you start your fascinating journey of capturing the autumnal landscapes, see clearly. There are several options, depending on the final result you expect.
Also read: How To Put A Black Background On A Picture In 5 Minutes
A wide-angle lens lets you capture sweeping landscapes with colorful foliage in the foreground. This variant is perfect for full-scale images. On the other hand, a telephoto lens can help you zoom in on individual leaves or details, which makes this type of lens a perfect choice for close-ups.
Keep Everything Under Control
 Start by setting your camera to manual mode. It gives you complete control over the aperture, shutter speed, and ISO. The manual mode consumes more time and effort than the automatic one, but the results are worth it, especially in such sophisticated genres as fall landscape photography. You can dive deeper into this topic by reading our article "How to Take Photos in Manual Mode".
Aperture Priority (Av) Mode
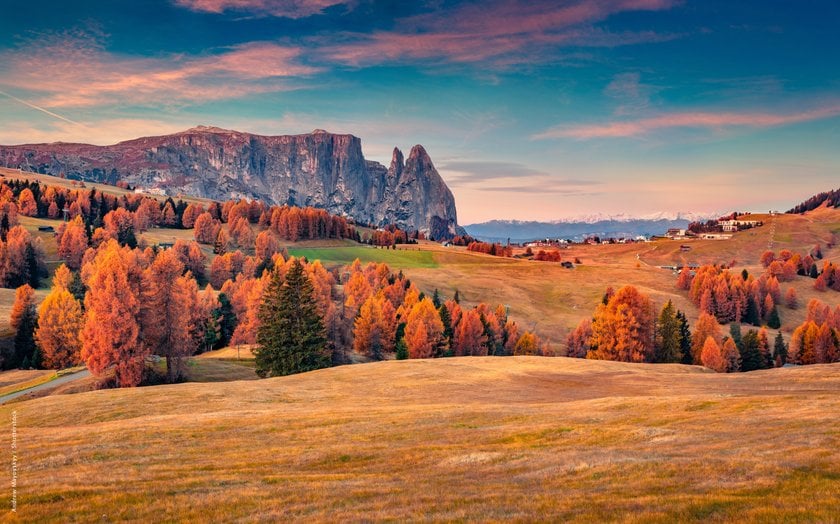 If you're not comfortable with full manual mode, use aperture priority. Set a low aperture (e.g., f/2.8 to f/5.6) to achieve a shallow depth of field. It will make your subject (the fall foliage) stand out while creating a pleasing background blur.
Adjust ISO Carefully
 Keep your ISO as low as possible to maintain image quality and reduce noise. Start with ISO 100 or 200, and only increase it if the lighting conditions require it.
Don’t Go Fast
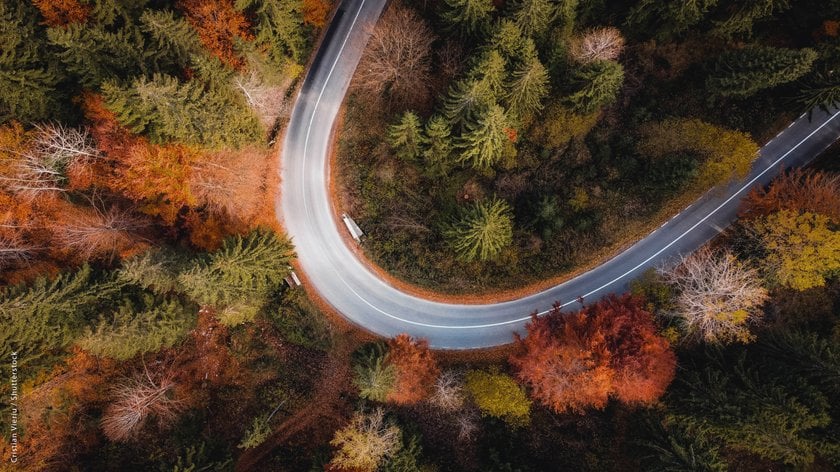 Use a slower shutter speed to capture fall foliage's rich colors and details. Experiment with shutter speeds between 1/30 and 1/125 seconds for handheld shots. If you have a tripod, use slower speeds to capture more light and details.
White Balance
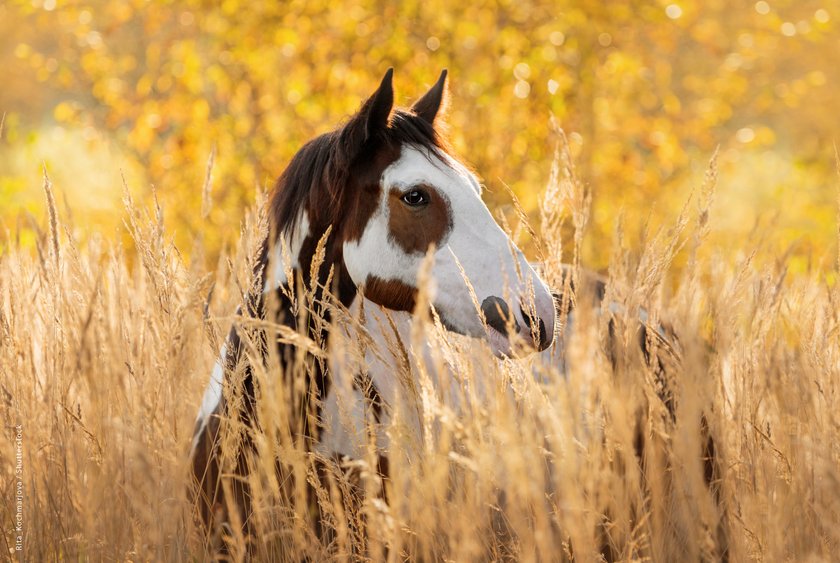 Adjust the white balance settings to "Daylight" or "Shade" to enhance the warm, golden tones of the fall season. This setting ensures that your photos accurately represent the vibrant colors of the golden season. For more information, read “What is Color Temperature and Why is it Important for Photography?”
Stability Is A Key
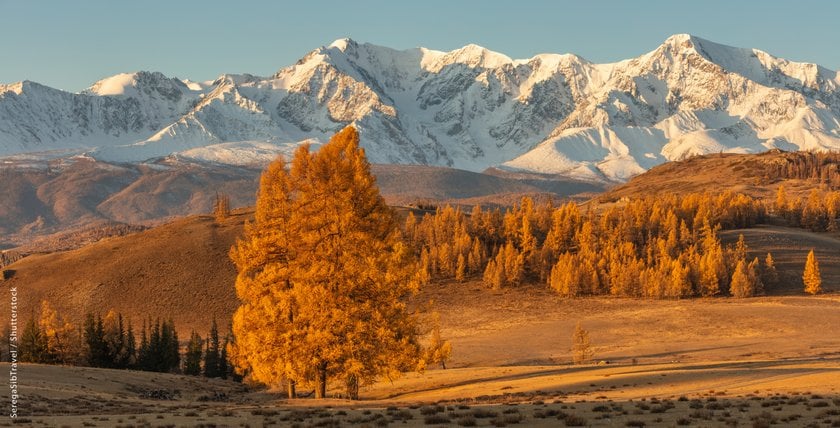 A tripod is indispensable when shooting at slower shutter speeds to avoid camera shake and ensure sharp images. It also allows you to take multiple exposures for later blending in post-processing.
Bracket Your Shots
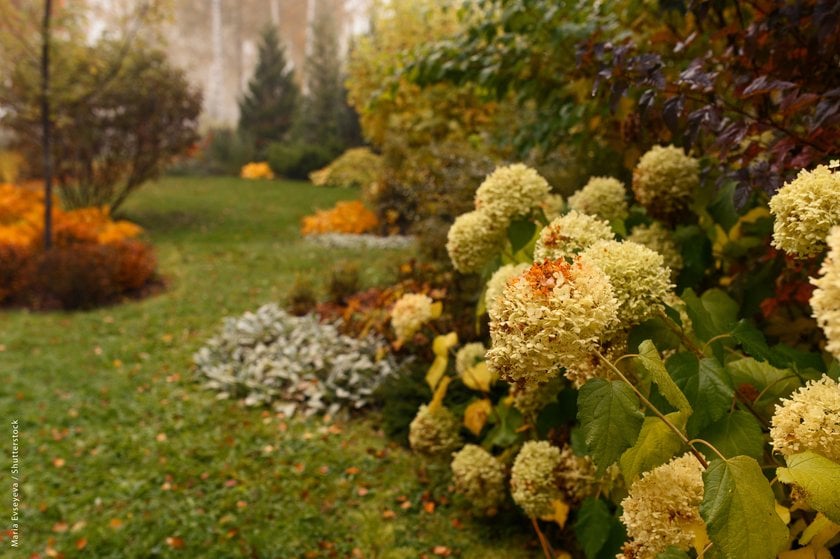 Consider bracketing your shots for tricky lighting conditions or to capture a wide dynamic range. It involves taking multiple photos at different exposures and merging them later to create a perfectly balanced image.
By applying these camera settings, you'll be well on your way to capturing the enchanting fall foliage in all its glory. Now that you've mastered capturing these golden wonders, let's explore how to make your autumnal photos stand out through expert editing techniques in Luminar Neo.
Your Go-To for Perfectly Balanced Photo Tones
Try it for freeHow to Edit Your Fall Photos With Luminar Neo
Enhancing your fall photos to showcase the season's vivid colors and magical atmosphere is where Luminar Neo truly shines. Follow this step-by-step guide to transform your fall snapshots into captivating artistic masterpieces:
Step 1. Import Your Fall Photo Into Luminar Neo
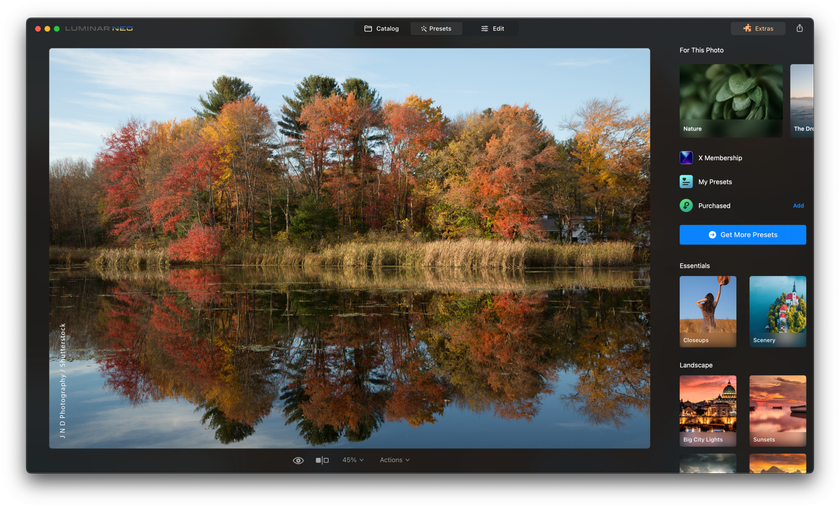 Launch Luminar Neo and open your fall photo by clicking "File" and selecting "Open," or drag and drop your image into the workspace.
Step 2. Start With The Essentials Workspace
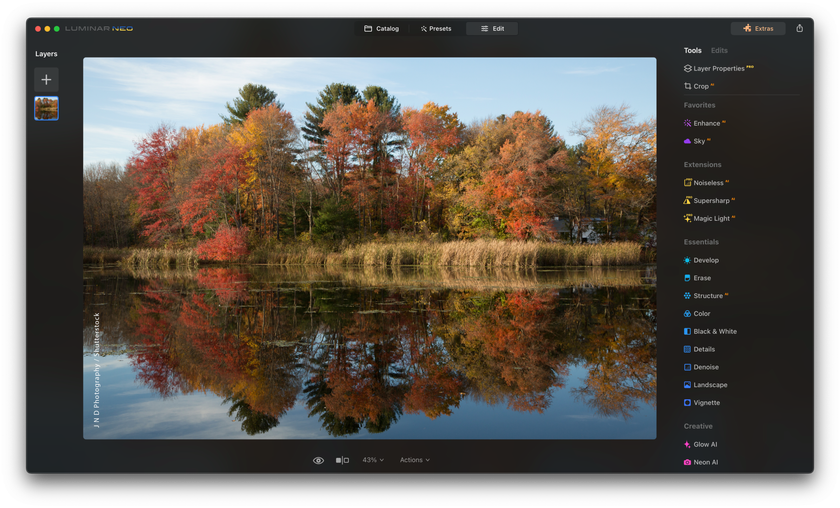 Click on "Workspace" and choose "Essentials" to access the fundamental editing tools.
Step 3. Enhance Color And Contrast
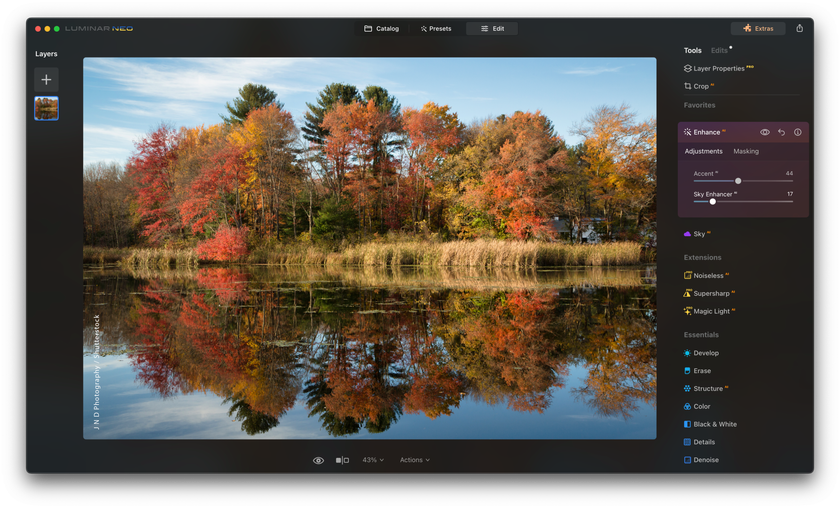 In the "Essentials" workspace, locate the "Enhance AI" slider and gently move it to the right. It will automatically adjust color vibrancy and contrast for your fall foliage.
Step 4. Fine-Tune Colors
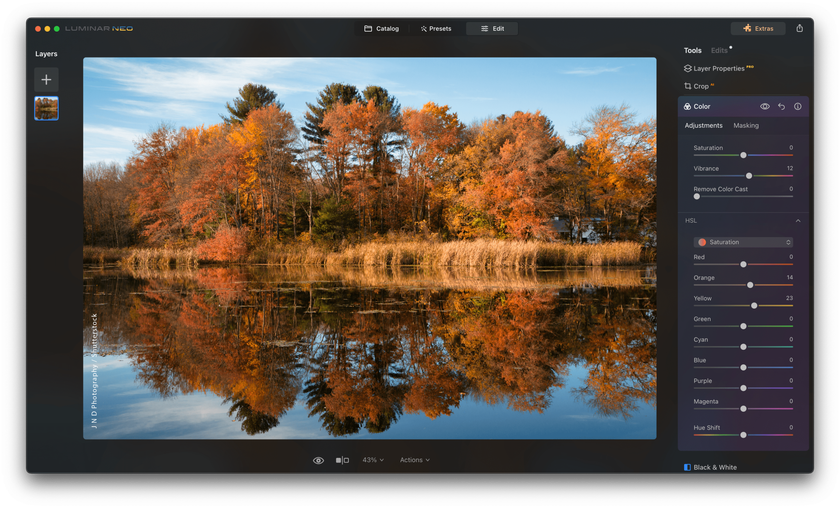 Click on "Color" and adjust the "Saturation" and "Vibrance" sliders to bring out the richness of the fall hues without oversaturating.
Step 5. Refine Exposure
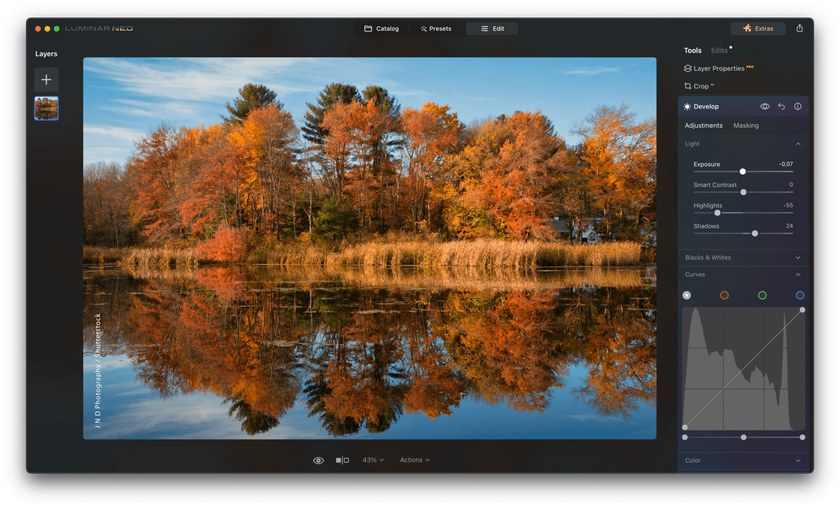 Under "Light," experiment with the "Exposure" slider to balance the overall brightness of your image. Don't hesitate to use the "Highlights" and "Shadows" sliders to recover lost details.
Step 6. Perfect The White Balance
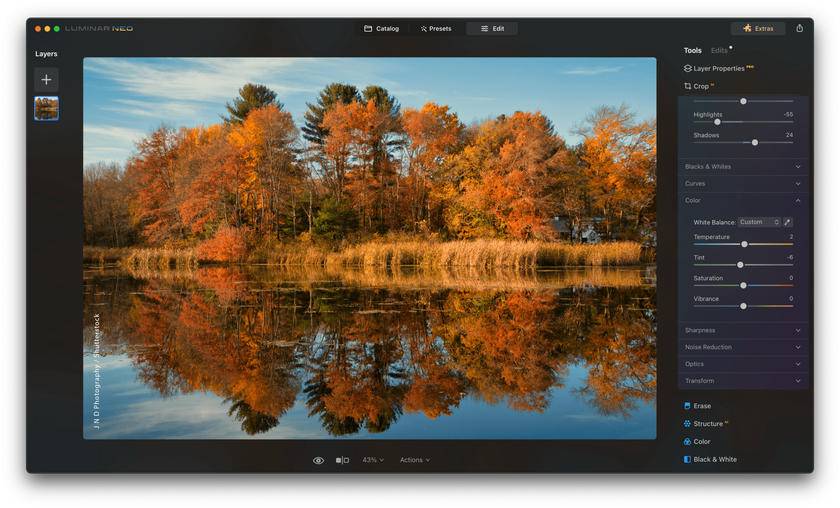 Go to "Color" and use the "Temperature" and "Tint" sliders to fine-tune the white balance. Aim for a warm, inviting color palette that captures the essence of fall.
Step 7. Add Filters For Depth
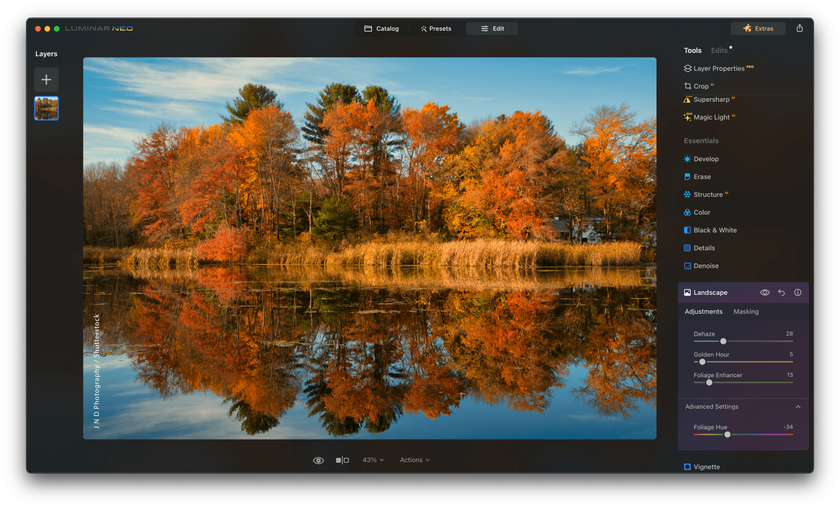 Explore the "Filters" panel to apply creative effects. Consider using the "Golden Hour" filter to infuse your image with the warm, soft light of cozy fall evenings.
Step 8. Crop And Straighten
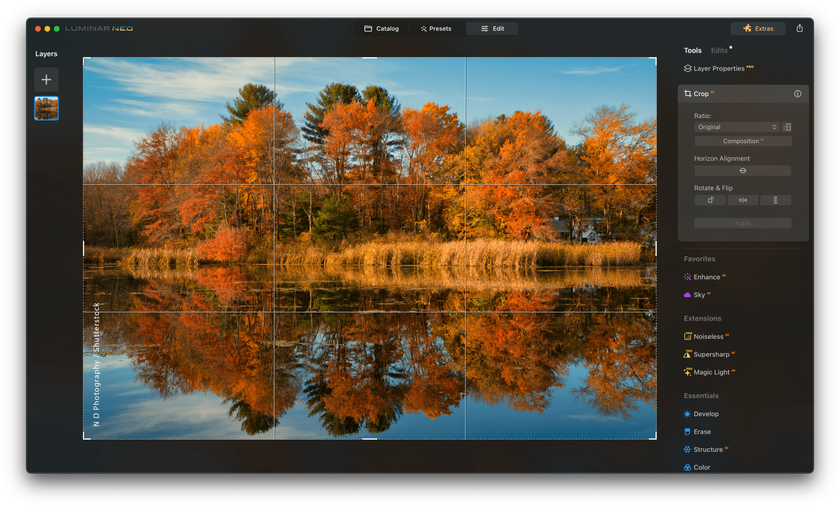 Use the "Composition" tools to crop your image and straighten horizons if needed. Focus on highlighting the most captivating elements of your fall scene.
Step 9. Sharpen And Reduce Noise
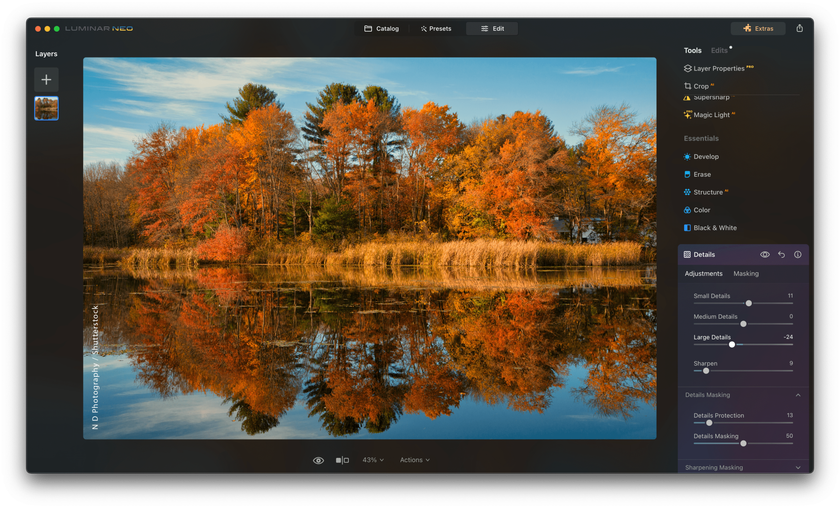 Navigate to "Details" and apply sharpening to enhance the fine details of leaves and textures. Adjust noise reduction settings if your image has any graininess.
Step 10. Save Your Masterpiece
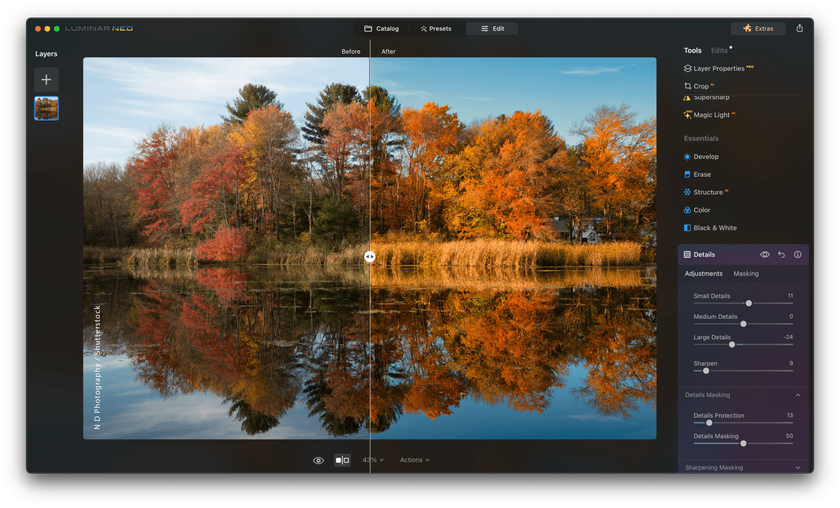 Once satisfied with your edits, click "Export" to save your enhanced fall photo. Choose a high-quality format like JPEG or TIFF to preserve all the vibrant details.
And one more small bonus tip from us. If you captured the sky in your photo, try the Sky AI function and Perform sky replacement with one click. When shooting portraits against a background of gold leaves, use the Skin AI function to facilitate post-processing and retouching. You can also enhance the effect of the sun's rays by using a little magic from Luminar Neo. Here is a short instruction on How to Use Sunrays in Luminar AI. Combine various processes to achieve the most attractive effect.
Unleash Your Creativity with Luminar Neo's Auto Photo Editor
Try it Now!By following these steps and harnessing the power of Luminar Neo, you can breathe new life into your fall photos, making the colors pop and the atmosphere come alive. Remember that practice makes perfect, so don't hesitate to experiment with these tools to achieve your desired artistic effects.
Bottom Line
As we draw the curtains on this journey through the art of photographing and editing autumnal colors, you've gained the essential skills to capture the enchanting essence of this romantic and bright time of the year. Armed with the knowledge of the best camera settings for fall foliage, every landscape photography enthusiast, whether a pro or hobbyist, can easily seize the season's magic through the lens confidently.
Our exploration continued further. We dived into the world of digital editing, where Luminar Neo proved to be an invaluable AI-based image editing tool in bringing out the vivid hues and atmospheric charm of fall. From enhancing colors and contrast to fine-tuning exposure and adding creative filters, this software allows users to transform their fall photos into true works of art.
Fall photography is not only about capturing fiery reds, golden yellows, or rustic browns. It is about transmitting the slow romanticism, bittersweet nostalgia, and vivid brightness of this remarkable time of the year to the audience that often forgets to notice and appreciate the beauty of the world around them.
Keep exploring, keep clicking, express your passion through pictures, and celebrate the wonders of this golden season through the perspective of your unique creative vision!


