Blue Hour Photography: Setting, Ideas and Tips
April 09, 2024
Explore the transformative power of blue hour photography! Discover insights and professional tips for capturing stunning images during this brief yet magical time.
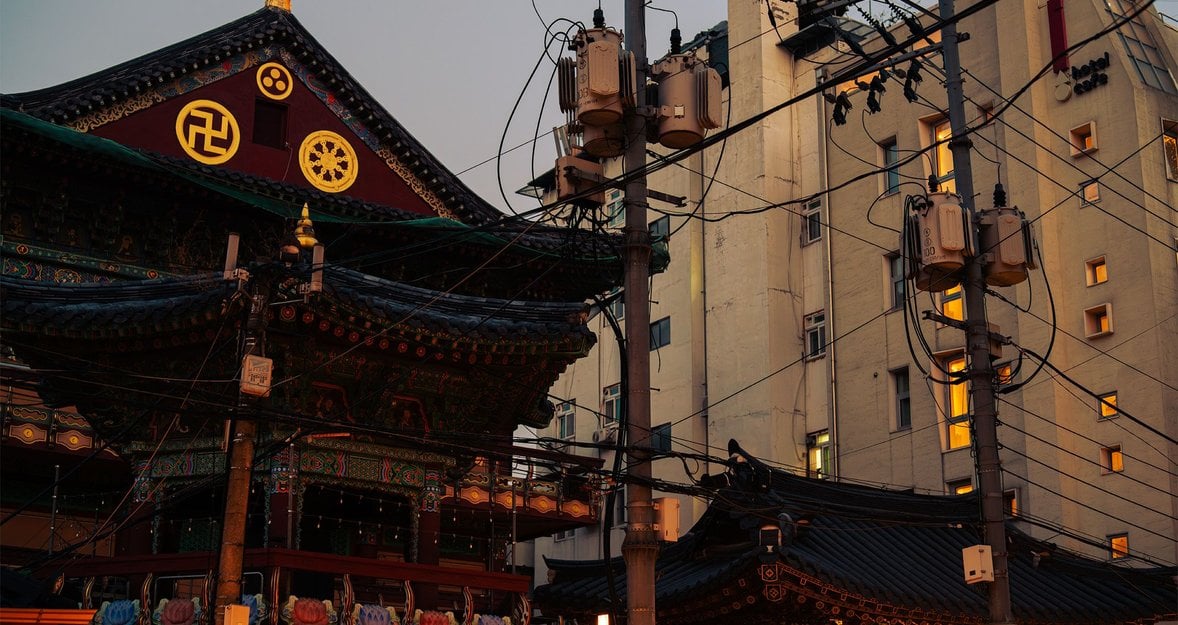
Recently, whilst shooting in Seoul, my friend and I faced a challenge: capturing decent shots during a day with “yellow dust” weather. Yellow dust occurs when fine sand flies over from the Gobi Desert, creating a hazy atmosphere, and resulting in flat, uninspiring images. Even during golden hour, we struggled to get anything noteworthy too, it was starting to feel like we would return home empty-handed.
Just when we had given out all hope, blue hour arrived. All of a sudden, deep contrasts emerged, and as Seoul’s city lights began to twinkle we had this small window of extreme productivity. The sky was transitioning to a deep blue hue, contrasting with the street scenes in front of us. Our shots suddenly gained the mood and intrigue that had been missing earlier in the day.
In this article, we’ll delve into the world of blue hour photography and everything it has to offer, exploring its unique challenges and opportunities. Given the fleeting nature of this time, I’ll share professional tips to help you maximise this brief period, ensuring you go home with incredible-looking shots. Let’s dive into the world of blue hour photography.
What is Blue Hour Photography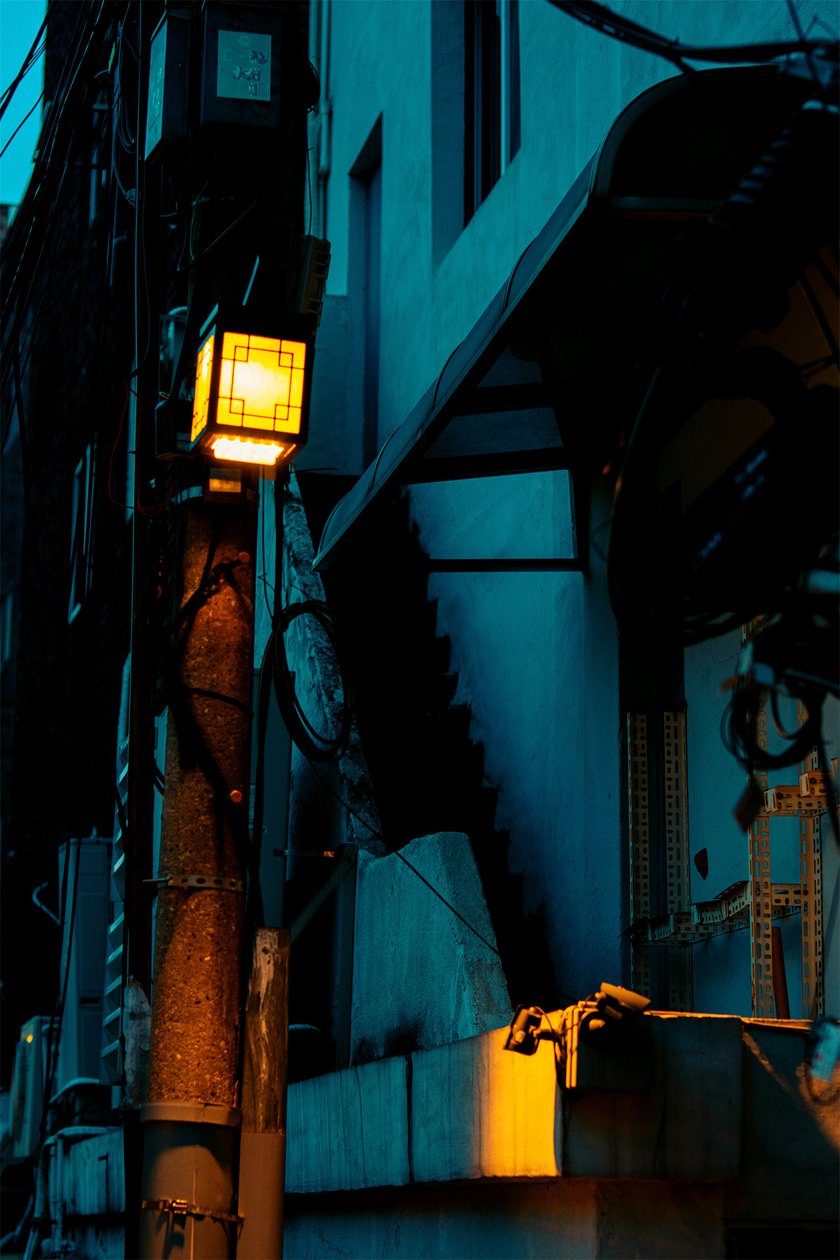
Let’s start by defining what blue hour photography is. Blue hour photography defines the space of time just before sunrise and just after sunset when the sun is just below the horizon, also known as twilight. Unlike the warm, rich tones of golden hour, blue hour presents cooler, more serene tones with a distinct blue hue.
From landscape to street photography, blue hour provides a moody aesthetic. It offers sufficient light to see the details within your scene as opposed to night photography, and whilst you will have to make adjustments for the low-light conditions, it is generally more accessible than the technical demands presented by night photography.
Best Settings for Blue Hour Photography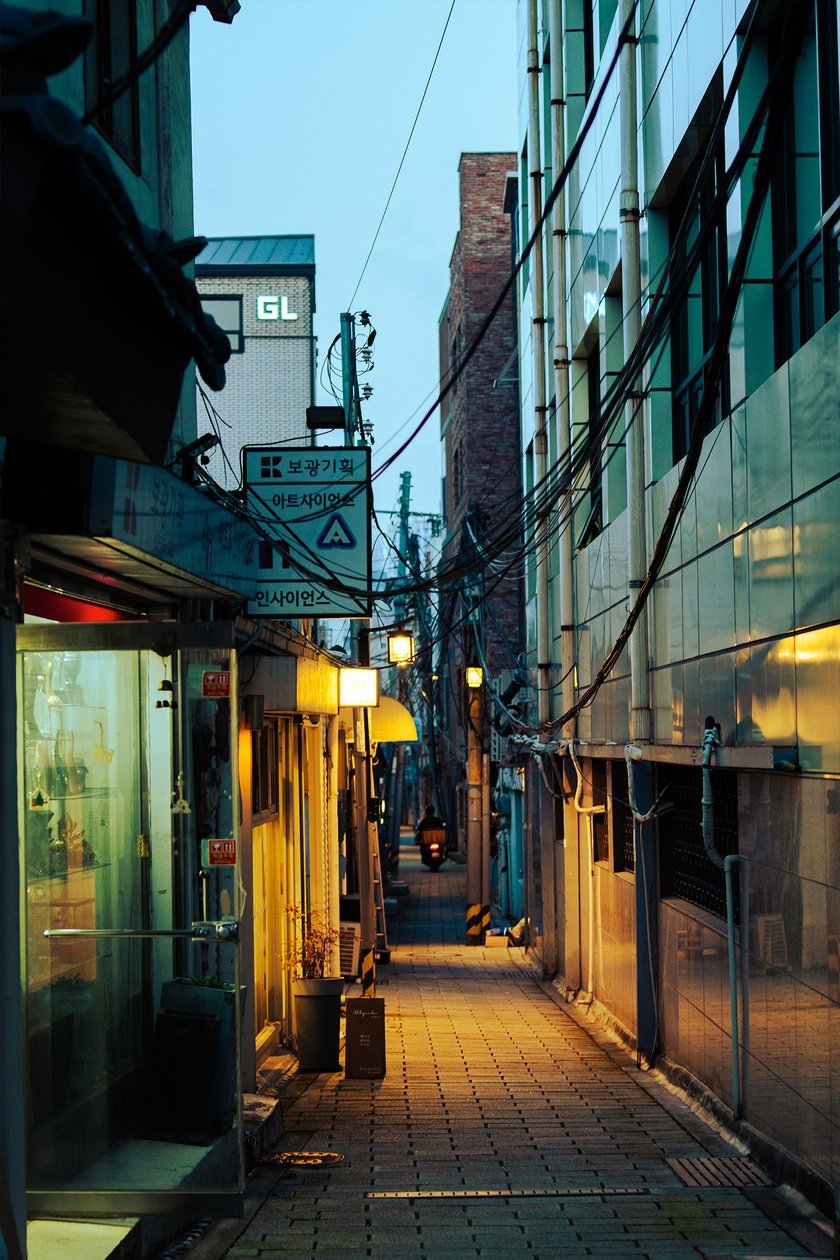
During the low-lit conditions of blue hour, our primary goal is to ensure that we are getting as much light as possible for crisp, clear images. Herein lies the challenge, as you’re often working with a relatively bright sky and various light sources but at the same time contending with darker, shadowed areas.
Shooting in RAW is essential in these conditions. RAW files offer a wider dynamic range than JPEGS, storing more information in both shadows and highlights. As mentioned in this article about night photography, “shooting for the highlights” is crucial and applies here as well. Overexposed areas in your photos are more difficult to correct than underexposed ones, so aim to capture light sources accurately.
Your Solution for Effortless RAW Image Transformation
Apply it Now!Camera and lens characteristics vary, making it impossible to recommend a universal setting. However, unlike night photography, blue hour doesn’t typically require high ISO settings, which helps keep noise to a minimum.
Your choice of aperture will depend on your subject. For landscape photographers, your static scenes can still allow for smaller aperture settings and slow shutter speeds providing you with a greater depth of field and enough light for cleaner shots. Street photographers, or those shooting more dynamic scenes, will need to shoot for both artificial light sources and moving subjects. Therefore, it is best that you use a wider aperture to allow enough light in, and a faster shutter speed to reduce motion blur.
Blue hour is a small window of time, meaning rapid experimentation is key to finding the right settings. Be prepared to adapt quickly as the light changes making the most of this brief time. It is what makes this period so exciting, it is fast-paced and over before you know it so make sure you’re keeping an eye on your results and adjust accordingly.
Ideas for your Blue Hour Photography Photos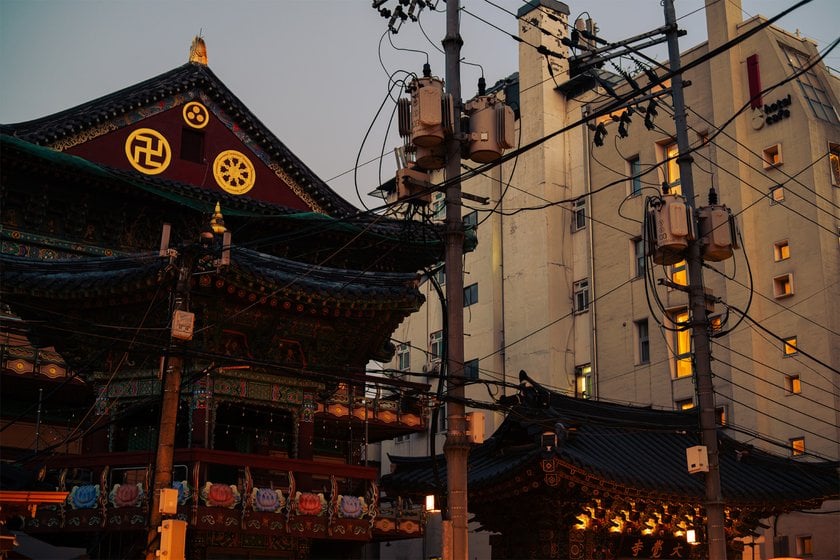
The weather can play a pivotal role in blue hour photography. Clear skies offer deep blues and striking gradients, while cloudy conditions provide diffused, softer light.
Landscape and Nature
During blue hour, landscape photographers will want to focus on the beautiful gradients that the twilight sky has to offer. This time also coincides with heightened animal activity, enhancing your landscape and nature shots.
Twilight enables the capture of stars, bright planets, and the moon, and is divided into three phases:
Civil Twilight: With the sun up to -6° below the horizon, only the brightest stars and planets will be revealed. The landscape remains detailed under the natural light.
Nautical Twilight: At up to -12° below the horizon, more stars will become visible and mountains will begin to silhouette against the deepening sky.
Astronomical Twilight: When the sun is up to -18° below the horizon, with anything below -18° being considered nighttime. The landscape darkens significantly, setting the stage for capturing silhouettes against the night sky, with stars and celestial bodies shining bright above.
For landscape shots, using a tripod is crucial for long exposure times to capture detailed scenes without overexposing the sky.
Urban & Portrait Photography
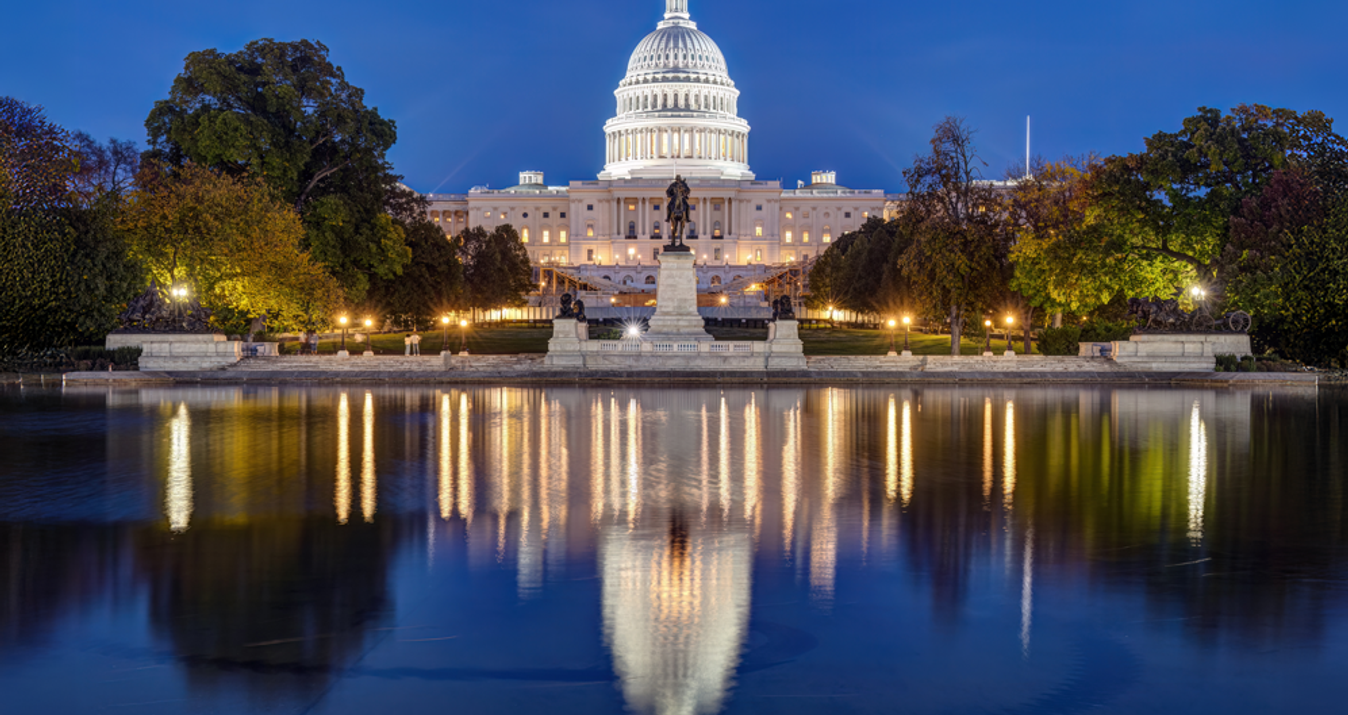
Blue hour looks fantastic in the city, where a cooler blue sky with the warmth of artificial lights contrasts beautifully. For cityscapes or street scenes with the sky visible in between buildings, you will see fantastic results, and the same goes for your portrait shots too. Position the model in scenes featuring artificial light with the sky in the background. There should be enough light to provide crisp and sharp details for your shots and as twilight gradually deepens you can even experiment with silhouette shots too.
Architectural photography also benefits from blue hour, capturing buildings’ lighting and details against the twilight. Long exposure during this period can yield stunning images of the cityscape under a twilight sky, possibly even including stars if light pollution is minimal.
Blue Hour Photography Pro Tips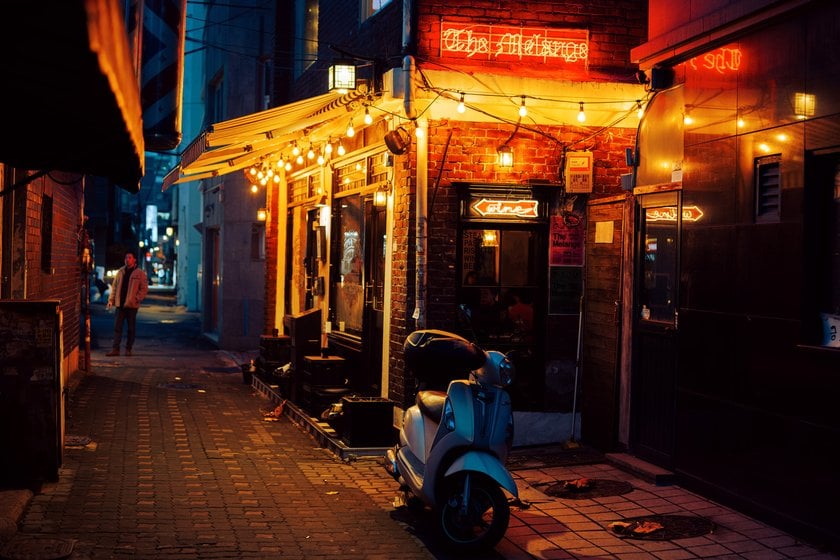
White Balance
My recent auto-white balance experimentation during blue hour yielded chaotic results. The white balance fluctuated between cool and warm tones due to the contrast between artificial light and the increasingly darkening sky, which led to inconsistent lighting in my shots. To counter this, manually select a white balance to maintain consistency across your shooting, opting for cooler settings to enhance the mood of blue hour.
Editing
When it comes to editing, Luminar Neo has some great tools on offer for you to use to make your blue hour shots look fantastic. The colour harmony tool like twilight photo editor will help you control the deep blue tones from the sky and the colours cast by the artificial light sources of the city.If you are doing urban photography, I would also suggest using the Landscape tool. The golden hour parameter within this tool will allow you to get more warmth from your light sources without adding warmth to the image globally.
Preparation
As with all photography, preparation is key, but blue hour severely contrasts the leisurely stroll of an afternoon photo walk. This short window of time can last around half an hour despite its name, with conditions changing rapidly. You need to arrive at your location early, with your camera and gear set up and ready to go. Adapt and fine-tune your settings as twilight progresses to ensure you are getting the best shots.
Advanced yet easy-to-use photo editor
Get Luminar Neo NowThe Bottom Line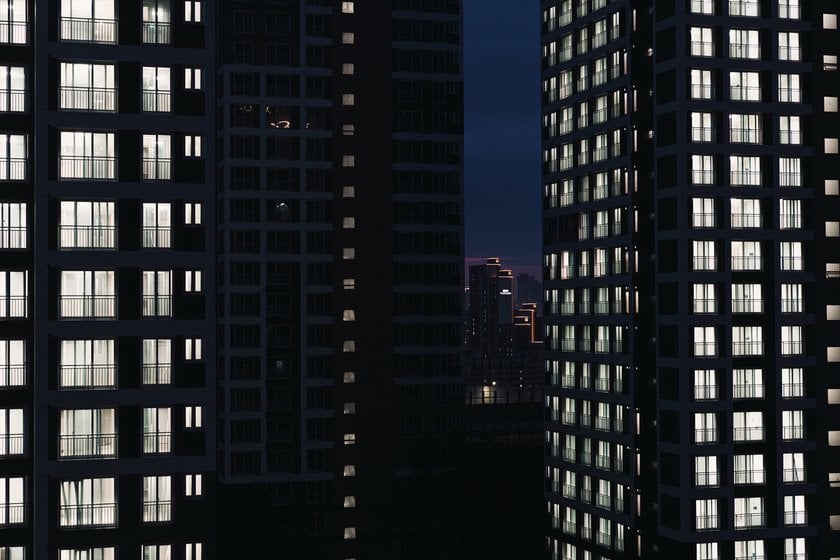
Blue hour photography provides photographers with a unique opportunity. We can capture the moodiness of night photography but still have enough natural light to capture the detail of the scene before us. Not only that, our shots will benefit greatly from the deepening blue of the sky and may even allow us to capture stars. We can get some great results from this very short period, as long as we prepare and adapt as time progresses.
If you’re yet to attempt blue hour photography, go out and see for yourself the magic of this time with your camera in hand and get ready to behold the unique beauty that twilight has to offer.


