The Technical Art of Astrophotography
Last Updated on June 27, 2025
Discover the best camera settings and techniques for astrophotography. Learn how to capture stars, constellations, and galaxies with clarity, emotion, and precision.
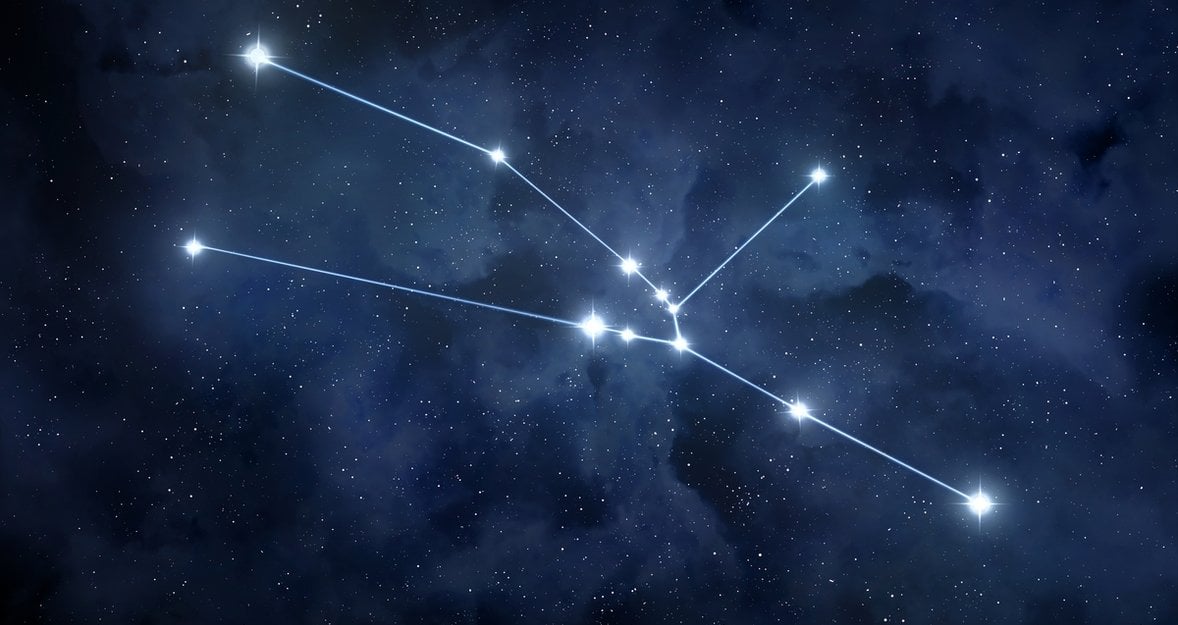
Stars have always been of genuine interest to people, who have looked for secret meanings in constellations, used them to determine the direction of the world, and memorized routes when they were not yet able to draw maps. Now they are mostly interested in scientists specializing in the study of space and all that it encompasses. However, people close to art found their beauty in this cluster of dots and galaxies. Now you will learn about the best camera settings for astrophotography and how to capture the stars in your pictures properly.
The Longer it Takes to Adjust, the Better the Result?
 Astrophotographers face numerous factors that can interfere with their work. For example, the artificial light created by cities distorts the color and makes the stars less visible, resulting in an image that may appear too bright and with low contrast. Adjusting the focus requires honed skills and precision. Otherwise, you'll end up with a black sky with some light spots. The wrong lens will result in blurred edges and colored halos around bright objects. And the list is completed by complex post-processing of the final result.
Low-light conditions when shooting only complicate the work. The reflected light of nebulae and stars is not strong enough for high-quality photography. This problem can be partially solved by adjusting the ISO; you need to set 800-6400, depending on the capabilities of your technique. Too high a value will amplify noise; to fix this, you can sharpen pictures.
Your AI-Powered Photo Editor for MacOS and Windows
Discover Now!There should be no problems with the aperture, because there is little light, so you should open it wider and be happy. But this can lead to distortion of the image; your stars will look more like comets at the edges.
Shutter speed also takes an active part. Again, it doesn't make everything perfect in one click; a long shutter speed will make the photo blurry even if you used a tripod. The Earth will not stop for the sake of the photo, and the dots moving imperceptibly to the human eye will become ellipses. If the photo is taken at too short a shutter speed, you can try to brighten a picture in programs.
Space is not lacking in mesmerizing views, but the human eye will not see it. But with good technique, the immensity of space with nebulae, galaxies, and clusters will make your photos unique. You can also tell everyone that your photos are from the past, because the stars that are left on your photos may not be there at the time of shooting. Atmospheric conditions, choice of technique, and processing style will also add to your uniqueness.
DSLR vs Mirrorless Cameras
 The choice of gear you take with you greatly affects the outcome. The most basic is the camera:
DSLRs;
mirrorless;
astronomical;
astronomical.
These are the ones you should pay attention to, from more amateur to professional. There are a lot of cameras, and you need to know how to choose the right one for your subject. Now we'll only look at 2 types: DSLR and mirrorless. After all, they are best suited for working with astrophotography.
Camera type | Principle of operation | Pros | Cons |
DSLR (mirrors) | Uses an optical viewfinder with a mirror and pentaprism | Reliability Long battery life Wide range of lenses Less risk of overheating | Large weight and size Slow, continuous shooting speed Mechanical shutter |
Mirrorless | No mirror, uses an electronic viewfinder (EVF) | Compact and lightweight High-speed shooting Precise exposure preview Quiet electronic shutter Good stabilization | Shorter battery life Risk of overheating Limited selection of specialty lenses |
The first option will provide reliability, durability, and access to a large number of optics. The second is for those who want lightness, speed, and advanced features.
The Best Lenses for Astrophotography
 Let's consider several lenses for different categories of shooting and what their features are. For clarity, we will put them in the table.
Lenses | Features | Category |
Sony 14 mm f/1.8 GM Sigma 14 mm f/1.8 DG HSM Art Samyang/Rokinon 14 mm f/2.8 (MF) Canon RF 15-35 mm f/2.8L IS | Luminosity minimal distortion at the edges Good sharpness across the entire field | Milky Way Landscape astrophotography |
Sigma 40 mm f/1.4 DG HSM Art Canon EF 200 mm f/2.8L II USM Samyang 135 mm f/2 ED UMC Nikon 300 mm f/4E PF ED VR | High resolution Minimal chromatic aberration Moderate weight for tracking mounts | Galaxies Nebulae |
Sigma 150-600 mm f/5-6.3 DG OS HSM Canon RF 600 mm f/11 IS STM Telescope-lenses | Long focal length Good light transmission | Moon Planets Outer space |
Tamron 35-150 mm f/2-2.8 Di III VXD Nikon Z 24-70 mm f/2.8 S | Flexible focal lengths Good aperture | Universal zoom lenses |
When choosing a lens, you should pay attention to aperture, lack of coma (edge distortion), sharpness, weight, and manual focus.
Tripods, Shutter Release, and Other Necessary Accessories
Let's take a look at what extras will help you crank out your photos to the max.
Tripod. For working with long shutter speeds, this way the photo won't come out blurry.
A cable release. Even a light touch can ruin a shot, as it allows you to press the shutter button without touching the camera.
Star tracker. Compensates for the rotation of the Earth.
Backlight filter. It cuts off the light from flashlights and enhances contrast.
Intervalometer. Automatically takes a series of shots.
As a starter kit for shooting, you can take only a tripod, a cable, and an intervalometer.
Recommended Settings for Astrophotography
 Choosing the right settings is one of the 3 whales on which your results are based. The camera, processing, and accessories also make a big difference. However, incorrectly exposed figures can ruin all your efforts, such as overexposed stars.
Rule of 500
This is a formula for calculating the maximum shutter speed at which the stars will remain dots in the photo. This is used in the absence of a tracker, which usually compensates for planetary rotation and allows you to set a slower shutter speed.
Manual Camera Settings for Astrophotography
Manual settings are quite difficult, especially for beginners. Shooting mode, aperture, shutter speed, ISO, white balance, and focus are the most important ones. The best settings for astrophotography are those that complement each other.
Object | Diaphragm | Shutter speed (seconds) | ISO | White balance | Focusing |
Milky Way (24 mm FF) | f/2.8 | 20 | 3200 | 4000 | By star in Live View |
Nebula (with tracker) | f/4 | 120 | 1600 | 3800 | Bahtinov Mask |
Wide Landscape (14 mm) | f/2.0 | 30 | 2500 | 4500 | On the high beam |
With this tip, you won't have to spend a lot of time figuring out your own settings for astrophotography.
Manual Focusing Techniques
Now, it's worth discussing the focusing methods mentioned in the table. Let's examine each of them in more detail.
On a bright star. To do this, you need to switch to manual mode, turn on Live View, and point at the brightest star.
Bahtinov Mask. Put it on your camera and, in Live View mode, focus on the brightest star. If you did it right, your star will look like a cross with diffraction beams. Adjust the focus until the center line is exactly in the middle.
By moon or distant light. Find a bright object (moon or streetlight). Turn on Live View and 10x magnification, focus until the outline is clear, and switch to the stars without changing anything.
Applications. Suitable for DSLR cameras only. Connect it to your laptop or phone and enable focus mode in the program. Use the histogram or FWHM (full width at half maximum) algorithm to obtain the minimum value.
Using these techniques, you will avoid problems with blurry shots.
RAW vs JPEG: File Format for Post-Processing
RAW is the best option for working with astrophotography. It gives you full control over the photo, and it is easier to edit. It saves data even in near-black areas, and there's a chance to save the image with processing. It allows you to correct white balance with a single click. Many programs remove noise only from RAW files.
White Balance: What and Why to Set
This setting illustrates how the camera perceives white in various lighting conditions. In astrophotography, it allows you to capture natural color, correct color casts, and simplify post-processing. If you've already made a mistake when shooting, the Image Color Editor can help you fix it.
Advanced DSLR Camera Settings for Astrophotography
 In addition to the basic settings, also pay attention to other minor details. Fighting noise, vibration, camera overheating, and more will affect your results in any case. Let's break down some useful chips in more detail.
Enabling Bulb Mode for Long Shutter Speeds
This mode allows you to manually control the exact exposure time and set shutter speeds longer than 30 seconds. To enable it, go to manual mode and scroll the wheel to “Bulb”, which can also be labeled as “B”.
Disable Autofocus and in-camera Sharpening
Autofocus doesn't work on stars, so you should just turn it off. Instead, use the focusing methods we discussed above, Live View with 10× magnification, bright star/moon focus, or Bahtinov Mask. In-camera sharpening can also play against you by degrading the quality of your photos. The algorithm may mistake noise for detail, halos around stars, and darker parts of the sky will suffer.
Use Mirror Lock and Close the Viewfinder.
Mirror locking reduces vibration when shooting to ensure good photo clarity. In DSLRs, the mirror rises before the sensor is exposed, creating vibrations, and this is critical when shooting at slow shutter speeds.
Closing the viewfinder is usually used to prevent extraneous light from illuminating the sensor, as this affects the quality of the pictures.
Tips for Histograms and Exposure in the Field
The histogram shows the distribution of pixel brightness in the image. For example, for a normal night sky, you might want to place the dark sky on the left side of the image, but don't push it to the edge. At the same time, do not overload the right side with highlights or clusters of stars. If the histogram is shifted too far to the left, the frame is underlighted; if to the right, overlighted.
Editing a Photo with Luminar Neo
 Processing is the final part of the work that can save even the least successful shots. Let's look at how to use astrophotography settings with the best picture editor, Luminar Neo.
The first step is to load the photo into the editor and apply basic corrections. This includes white balance and exposure. The next step is Noise Removal, Enhance Details, and Supercontrast.
Exclusive Tools of Endless Possibilities in One AI Editor
Explore Now!Further work with color and contrast, try to increase saturation without overloading the color “Color” → “Vibrance”. If you need to add contrast, “Curves”. “Masking” → ‘Brush’ or ‘Gradient’ will help highlight the foreground. You can also use ready-made presets for photos to save time.
The final point will be to fade the edges with “Vignette”, soft glow with “Orton Effect”, and export your results.
Common Mistakes in Astrophotography and How to Avoid Them
 Many people, through ignorance, can make mistakes when camera settings for astrophotography. It is therefore worth taking a quick look at common mistakes and how to avoid them.
Problem | Error | Correction |
Poor focus | Instead of stars, they're blurs | Using manual focus Using a Bahtinov mask |
Too long a shutter speed | Stars become dashes | Using the 500 rule Shutter speed reduction Using the astrotracker |
High ISO | There's a lot of noise in the photo | ISO 1600-6400 (depending on camera) Calibration shots Using AI-denios in processing |
Incorrect white balance | The sky is green or orange | Shooting in RAW White balance correction during processing Using the histogram |
Lack of calibration frames | Spots Vignetting Uneven noise | Short shots with a minimum shutter speed Same shutter speed, but with the lid closed Shots of an evenly lit surface |
Ignoring composition | Lack of emphasis | Add foreground Plan your shot through apps |
Viewfinder not closed | Illumination through the eyepiece | Close, tape, or use a stopper |
Post-processing errors | “Plastic” sky Unnatural stars through over-sharpening | Amplify only the details Use the Loya masks for local correction Avoid saturation overload |
Memorize this sign and you will find it several times easier to work, and your photos will be top notch.
From Dots to the Masterpiece
 The stars will always be a part of our lives, and you can show them from a whole new side through photography. After reading this article, you should have no problem dslr settings for astrophotography, creating them, or processing them. You will be able to find the right equipment and use it correctly easily. Even though stars no longer serve a useful function, they can still be admired even through a lens.