A Primer into Panorama Photography
Last Updated on February 24, 2025
Understanding panorama in photography opens up new creative possibilities for capturing expansive scenes.
Panorama photography or pano photography is a technique through which photographs can capture vast, sweeping scenery or city views in one frame. By joining a number of photos together, the method delivers stunning images representing more than the usual frame allows. You can elevate your photos by understanding how to accomplish panoramic shots, adding depth and perspective.
What is a Panoramic Picture?
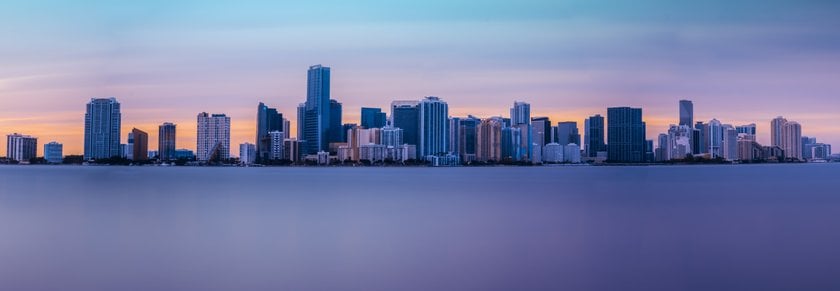
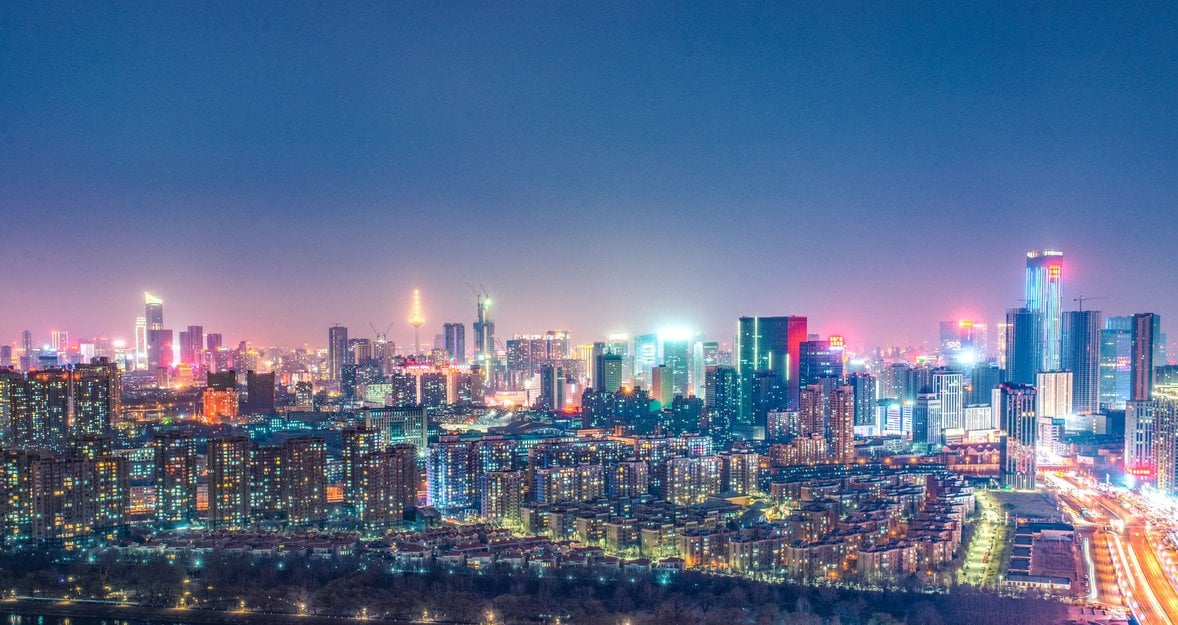
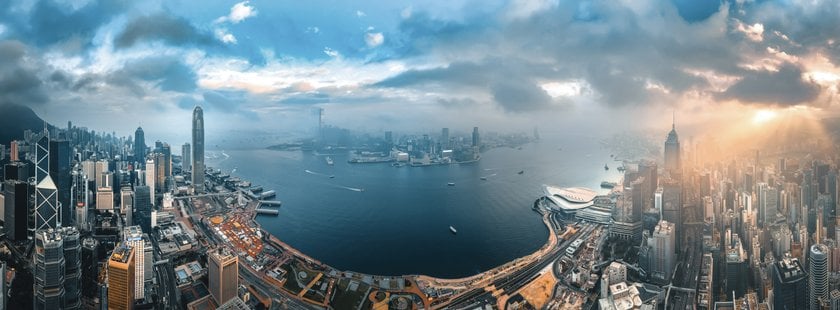
A panoramic photograph is a wide-angle photo that captures a wider field of view than a standard image. The panoramic shot definition refers to a picture usually 180 degrees or more in width, providing a broad, sweeping view. This technique is often used to photograph wide landscapes, cityscapes, or crowds so the whole scene is captured in one frame. Such images can be achieved by shooting with specialized cameras or stitching together several photographs in post-processing.
History of Panoramic Photography from Film to Digital
The history of the panoramic photograph began in the 19th century when the very first panoramas were created with large-format cameras. Photographers experimented with using rotating cameras to capture wide expanses. Photographic film cameras with panoramic functionalities were utilized by photographers in the mid-1900s to create better picture quality and added flexibility.
With digital photography, stitch panoramas became popular because several images can be stitched to produce a single wide shot. Today, digital tools make 180-degree snaps more accessible, allowing photographers to capture wide-angle photos with ease and precision.
How To Take A Panoramic Phot
 Creating panoramic images is a skillful process beyond merely pointing and shooting. It involves a blend of technical know-how and artistic vision. If you’re wondering how to take a panorama photo, here are some key techniques:
1. Find the Right Location and Composition
The first thing to do when taking a panorama is to decide on the right location. The beauty of this type of photography is that it can absorb wide, sweeping views. Thus, select places that offer wide views or spacious interiors.
After deciding on your location, consider the composition. Recall the rule of thirds, where the picture is divided into a 3x3 grid, and try to position interesting elements at these points. A good composition will lead to a more engaging panorama.
2. Adjust Camera Settings
Consistency is key when it comes to pano photography. Set your focus, exposure, and white balance manually and maintain these settings for each shot. We also recommend setting your camera to shoot in RAW mode, allowing greater post-processing flexibility.
If you’re unsure about the perfect exposure for your panoramic shot, remember that it’s better to underexpose than overexpose. Details lost in overexposed, washed-out areas can be hard to retrieve, while those in underexposed, darker regions can often be brightened in post-production. This is another reason why we recommend shooting in RAW mode.
3. Take the Shots
Taking a panorama photo involves capturing a series of images you will stitch together. To achieve the best results when learning how to use panorama, ensure that your shots overlap by at least 30% for seamless stitching. This overlap is crucial for successful stitching in post-production. While shooting, use a tripod to ensure the camera remains at the same level throughout the sequence.
4. Stitch the Panorama
After shooting, the next step is to stitch the photos together. For an even more refined process, consider using specialized panorama stitchers. These dedicated tools analyze the photos, look for similarities and overlaps, and then blend them to create a wide image.
We recommend using the Panoramic Photo Stitcher in Luminar Neo. This AI tool, intended to boost beginner landscape and cityscape photographers’ skills, smartly picks and merges frames around the selected subject. It also provides a range of settings and adjustments to give users more control over panorama creation.
Experiment, practice, and, most importantly, have fun. There’s no limit to how to take panoramic pictures you can capture through the lens.
Your Go-To for Seamless Panorama Captures
Explore in Luminar NeoPost-Processing and Editing Panoramic Images
Capturing and stitching shots does not completely create a panoramic shot. Post-processing plays a significant role in making the final stunning, wide-angle view. So, we recommend using Luminar Neo, one of the best panorama stitching software.
1. Focus on Composition and Perspective
Like in any photograph, composition in panoramas can make or break your image. Distortion is common with stitched pics, especially in those with a significant foreground. Use Luminar Neo warping or perspective correction tools to help reduce this distortion. Also, cropping is a crucial step in panoramic composition. Due to the nature of stitching, you’ll likely end up with uneven edges. A thoughtful crop can help maintain focus on the key elements of your photo.
2. Manage Lighting and Exposure
Lighting can be tricky in these photos due to the wide field of view. One end of your panorama may have significantly different lighting from the other. Use Luminar Neo to adjust the exposure, contrast, and shadows in each part of your image to achieve a consistent look. If you’re trying to make a photo brighter, software tools can be indispensable in carefully adjusting the exposure and brightness.
Consider using graduated filters in your editing software if your panorama includes a bright sky and a darker foreground. These allow you to adjust exposure differently for your image’s top and bottom halves, achieving a more balanced exposure throughout.
For skies that are overexposed in panoramas, experiment with using Sky AI within Luminar Neo. Sky AI will adjust and balance exposure automatically for you so that the sky is natural and balanced compared to the rest of the photo.
3. Fine-Tune Color and Detail
Color correction is vital in panorama photography. Since you’re stitching multiple images together, slight color differences can occur. Adjusting saturation, vibrancy, and white balance will help you achieve uniformity. Employing an image enhancer can be an effective way to handle these adjustments smoothly.
Details are important, too. Sharpening your shot and enhancing textures can make your panorama pop. But remember, moderation is key. Over-sharpening can lead to a noisy image.
Wrapping Up
What is a panorama photo? Panoramic photography is an amazing way of taking broad, sweeping photographs with huge depth. Learning the techniques, from discovering the perfect spot to edit your photos, allows you to snap beautiful pictures. From merging multiple images or employing Luminar Neo to alter exposure and illumination, these strategies create value for the final product.
FAQ
What are the benefits of shooting panoramas?
First, panorama in photography allows you to capture a much wider field of view than what’s possible in a standard photo, making them perfect for showcasing broad landscapes, cityscapes, or interiors. Second, the high resolution of panoramas makes them ideal for large prints as they retain detail even at larger sizes.
Do I need specialized equipment for panorama photography?
While specialized equipment like panoramic heads and stitching software can make shooting panoramas easier and more precise, they are not strictly necessary. It is possible to shoot them hand-held and stitch them together. What’s most important is understanding the technique, which includes knowing how to overlap your shots, maintain consistent exposure, and keep the camera level.
What is image stitching, and how does it work?
Image stitching is the process of combining multiple overlapping photos to create a single, wide-field view. The photos are overlapped so that the joining lines are as invisible as possible. Specialized software analyzes the photographs, identifies similar points, and seamlessly merges the shots. The result is a single, high-resolution panoramic photo providing a wide view.
What are the best practices for printing and displaying panoramas?
Printing and displaying panoramas can be more challenging than standard photos due to their unusual aspect ratios. For printing, ensure you choose a printing service that supports custom dimensions, or you may have to crop your image to fit standard sizes. When displaying your wide-angled photos, they work best as a focal point on a wall, with minimal surrounding distractions. Given their wide format, they work well above a bed, a couch, or along a hallway. Remember, the print size should be proportional to the wall space for the best visual impact.