Understanding Luminar 3 in five minutes or less
June 06, 2019
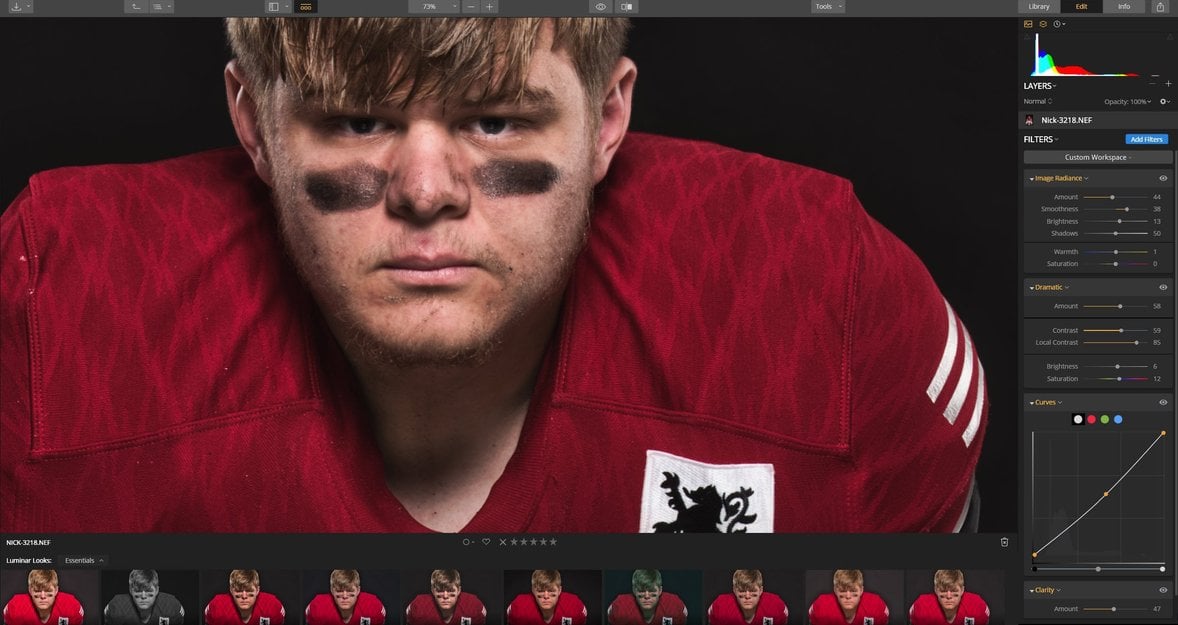
Learning new software can be challenging and frustrating. This can cause some users not to upgrade or try something new even if it’s better than what they are using.
Here’s how to understand Luminar 3 in five minutes or less to start processing your images frustration-free.
What is Luminar 3
Luminar 3 is a modern-day digital darkroom used to process digital photos. It’s a free upgrade to Skylum’s popular photo editing software Luminar 2018. Luminar 3 adds a new library feature that lets you view, organize and edit images faster and more efficiently. This new release takes it one step closer to becoming a full Digital Asset Manager (DAM).
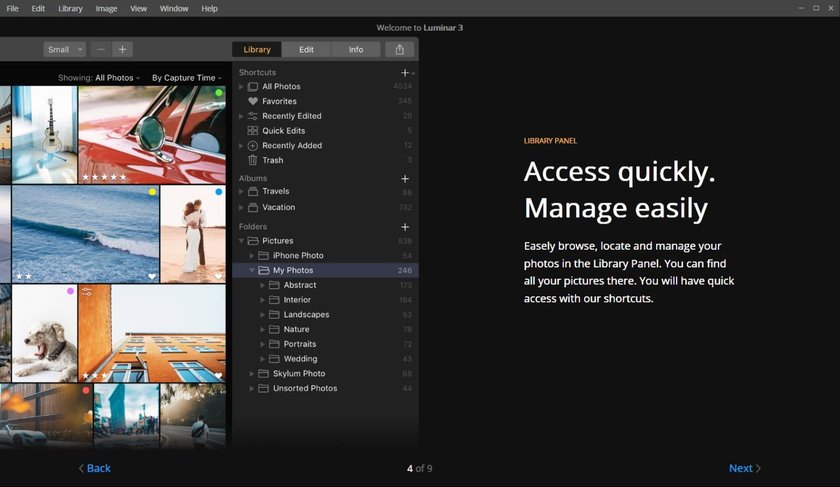
A Luminar Library stays in sync with your folders
A Luminar Library creates a catalog that stores a reference to the location of folders and subfolders that contain your images on your computer. This can also include external drives and cloud-based storage. Think of a Library as a filing cabinet that holds a catalog of your images. The images are organized into folders that are labeled and sorted alphabetically to make them easy to find.
The difference between the filing cabinet example and Luminar is a filing cabinet stores the files, where Luminar only stores a reference to where the file is located on your computer or disk drives. You can move, add or delete an image — either from Luminar or your computer — and both Luminar and your disk will stay in full sync.
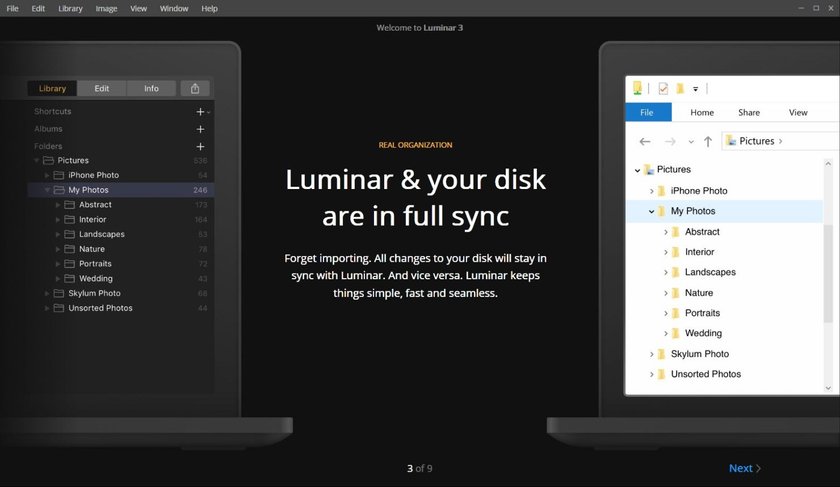
Think of Luminar Looks as recipes and Filters as ingredients
To quickly understand Luminar Looks and Filters, let’s use cooking as an example. Think of Luminar Looks like a cooking recipe. A recipe is a set of instructions — including a list of the ingredients required — to prepare something. The ingredients used in Luminar Looks are Filters. These filters can be used individually or combined to create a particular style or Look.
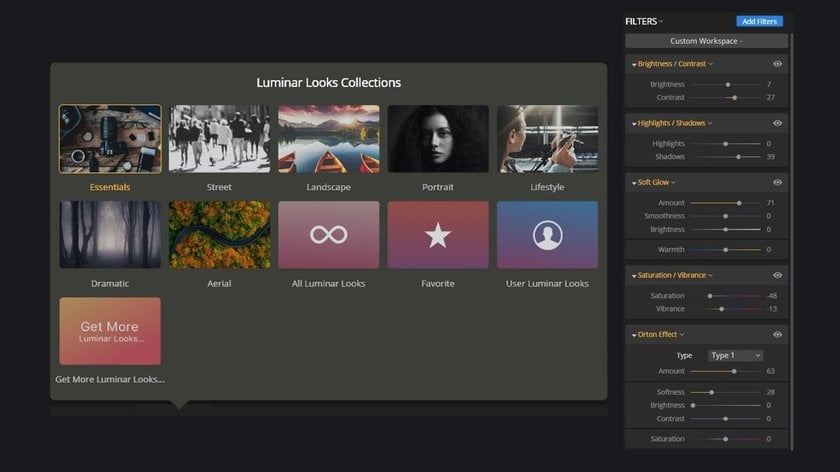
Learning Luminar Looks
A Luminar Look is made up of filters as well as the settings used for each of those filters. They can also include blending modes and opacity changes made to a filter or a layer. Luminar 3 has an extensive collection of over 50 Looks created by professional photographers from around the world and members of its education team. Select a Luminar Look and apply it to an image. If the strength of the Look is too strong, adjust the amount slider.

This is a great one-click option to edit our pictures, but don’t stop here. Learn how this Luminar Look was created by viewing which filters and settings were used. This information can be found in the Edit panel under the Filters control. Click the filter’s visibility icon (it looks like an eye) to toggle the individual filter on and off.
Examine the settings and how the combinations of filters added to the overall style to create the Luminar Look. Here’s the best part: You can make changes to the settings or add additional filters, then save the new Luminar Look as your own!

Learning Luminar Filters
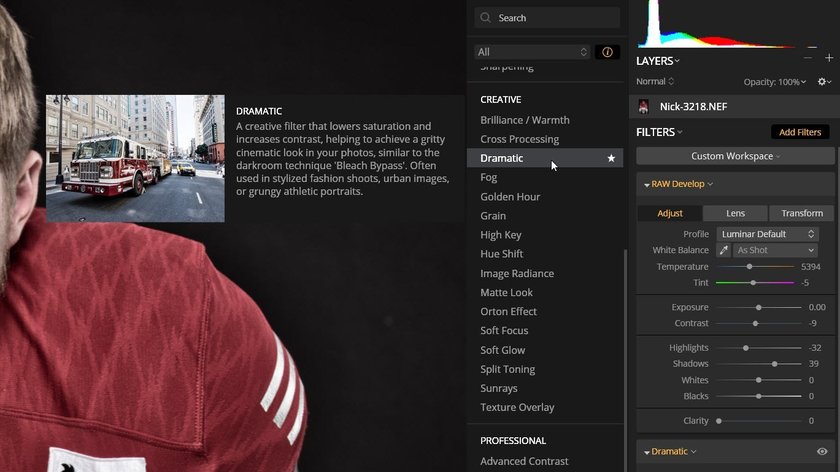
Click the Add Filter Button to access the Filters catalog. Luminar 3 has over 50 filters organized into five categories:
- Essentials
- Issue Fixers
- Creative
- Professional
- Utility
To learn about each filter, click the information icon (a lower-case letter “i” in the center of a circle) next to the category drop-down menu. Hover your mouse pointer over a filter to display a description of the filter. Use this information to decide which images will benefit from this filter. How cool is that?
Support, videos and extra information is a mouse click away
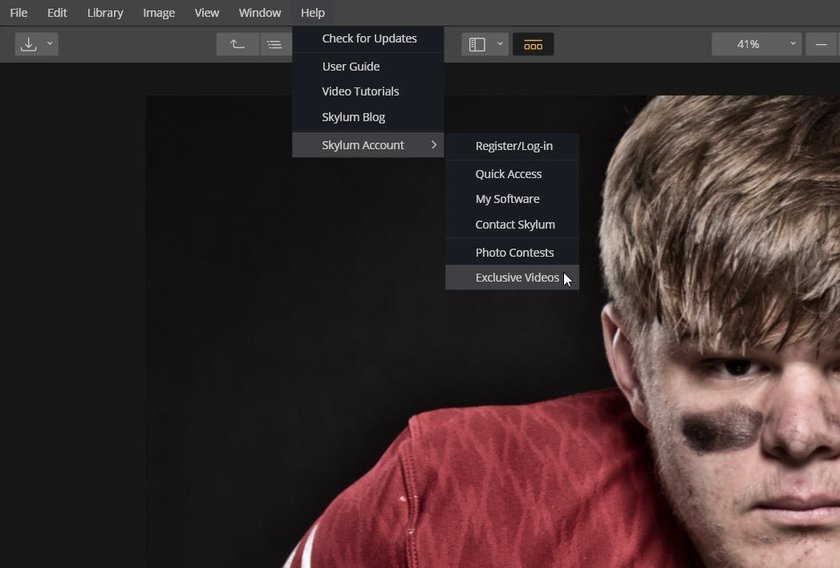
Skylum is dedicated to education. Built into the Help menu are additional resources to help users learn more about Luminar and photography. You can watch videos, read articles on photography, contact support, be inspired to enter a photo contest and view exclusive videos just for Skylum members.
In a short five minutes, you gained an understanding of Luminar 3 and how to use Luminar Looks and Filters to teach yourself. This companion video walks through these steps plus adds a few extra tips.
>
Source media: Photofocus


