The Art of Cloud Photography: Tips for Capturing Gloomy Skies
November 21, 2024

Transform dull skies into dramatic masterpieces! Explore top tips for photographing clouds and making the most of overcast days.
Capturing gloomy skies is a skill that any landscape photographer should master, as the sky in a photo always plays a big role in the final result. In this blog post, we will talk about the technique of capturing gloomy skies to add extra mood, drama and atmosphere to your outdoor shots to get the best possible result.
Understanding the Different Types of Gloomy Skies
 Gloomy skies cover a number of different situations, generally including overcast, stormy, foggy and rainy skies. Each type of gloomy sky has different characteristics and often requires specific photography techniques.
- Overcast skies are typically represented by heavy grey clouds that cover the entire sky. The clouds provide the advantage of a diffused soft and even light., which is ideal for capturing less contrasty and moody scenes.
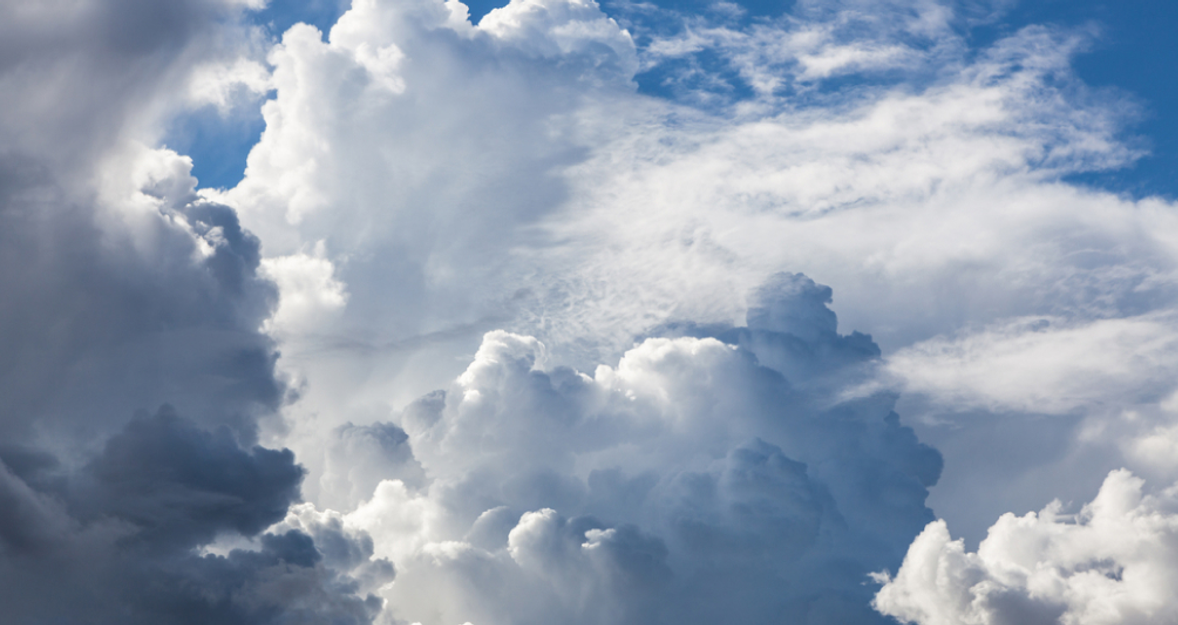
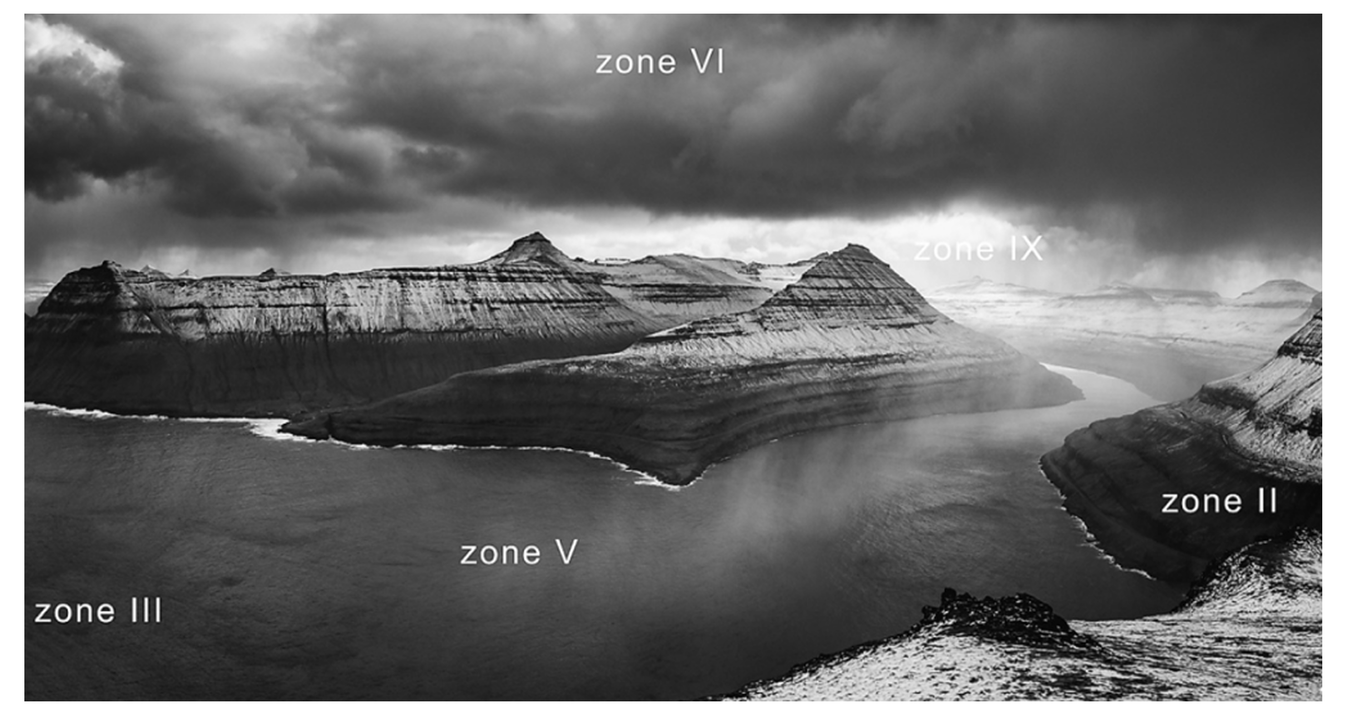
- Stormy skies are easily recognisable for their dark and contrasty clouds, often fast-moving before and after the storm. This can provide unique lighting conditions with light rays and illumination of specific areas. The stormy skies are great for adding extra drama and tension to your shots.
- Foggy skies are a true example of what we refer to as gloomy skies. They often bring low visibility and blur and are perfect for creating a dreamy and mysterious atmosphere together with soft and diffused light.
- The typical rainy skies with low and dark clouds are often present and visible during a constant rainy day. The diffused light created by the clouds and wet surfaces can create moody reflections and soft and muted tones, adding texture to the overall photo.
Choosing the Right Time and Location
 Location: Gloomy skies are ideal for certain types of subjects. For example, stormy skies can work well with coastal photography in combination with elements like lighthouses, cliffs and rock formations. Rainy skies often provide a great addition to cityscape captures in big cities and smaller villages. Foggy skies are ideal for historic buildings like cathedrals or medieval castles. Finally, overcast skies are probably the most versatile gloomy skies as they can add extra depth and atmosphere to many subjects. Anything from dramatic mountains, lochs, lakes and forests will work well with an overcast sky.
Change the Mood of Your Photos with Luminar Neo's Sky AI
Try it now!Weather patterns
The key to capturing a gloomy sky is taking advantage of the weather forecast, as it will allow you to anticipate ideal sky conditions for your scene and subject. You can find many websites or applications that can be used for this, and many of them will notify you about the upcoming desired forecast. Many photographers like to use applications like AccuWeather, the Weather Channel or Rainspotter.
Time
Timing is an essential factor in capturing gloomy skies. Foggy skies are mostly common early in the morning, while stormy skies are often the most dramatic just before or during the Golden Hour. Overcast and rainy skies can be captured at any time of the day. Remember that their natural lack of light will have an impact on the light conditions at the beginning and end of the day.
Camera Settings for Cloud Photography
 Capturing gloomy skies requires specific camera settings. It is preferable to use the Manual Mode as it gives the most control over the final result. Here are some examples of efficient camera settings for capturing gloomy skies. However, keep in mind that the exact settings will depend on the light conditions and specific location.
- Aperture (f-stop): To capture a gloomy sky as part of landscape photos, try setting your aperture between f/8 and f/11.
- ISO: The goal for adjusting the ISO is to try staying as low as possible to avoid introducing additional digital noise, especially in low light conditions typical for gloomy skies. To start, set your ISO between 100 and 400. Depending on the result, you can increase it up to 800.
- Shutter Speed: When capturing skies hand-held, a shutter speed between 1/125s to 1/250s will ensure that you capture the movements of the cloud and keep the image sharp. Additionally, you can try to highlight the cloud movements even further by using the long exposure technique with the exposure between 1/2s to 30s.
- Exposure Compensation: Gloomy skies can often trick your camera into overexposing the scene, making the sky too washed out and bright. Exposure compensation is the easiest/fastest way to adjust this by dialling the exposure down.
Composing Your Cloud Photos
 When composing your shots with a sky, you can be very creative. However, to make the task easier, some composition rules can help make an impact.
- The Rule of Thirds is a classic photography composition technique often used in landscape photography to compose the sky and the landscape. To use it, simply divide your image into three equal horizontal parts and, depending on the composition, place the sky into the upper third of the composition, leaving the other two-thirds for the landscape. If the sky is the main subject of your image, do the opposite and place the sky on the two top thirds of the photo and the landscape on the bottom third.
- Depth is another traditional photography composition technique that focuses on using the foreground, middle ground and background in your images. Using foreground elements like trees, buildings, or mountains will help you add context and depth to your pictures.
Post-Processing Techniques
 When editing images with gloomy skies, there are a number of tools and adjustments that can help you get the best possible result. For a natural look, use basic development tools like Contrast, Highlights, Saturation and Sharpening. Furthermore, many modern photo-editing applications, such as Luminar Neo, have additional tools that can enhance the creative possibilities regarding sky editing. An advanced way to adjust the sky in an image is to use masking features and adjust specific parts of the sky individually, creating more depth and contrast.
Conclusion
 Photographing gloomy skies and using them as a part of your photos can have a big impact on the final result. Gloomy skies will add more interest than, for example, an empty blue sky or a plain white sky. While the information in this blog post offers a great starting point, we recommend experimenting with different camera settings, times of the day and weather conditions. By doing that, you will improve your photography skills and be one step further to creating your own photography style.


