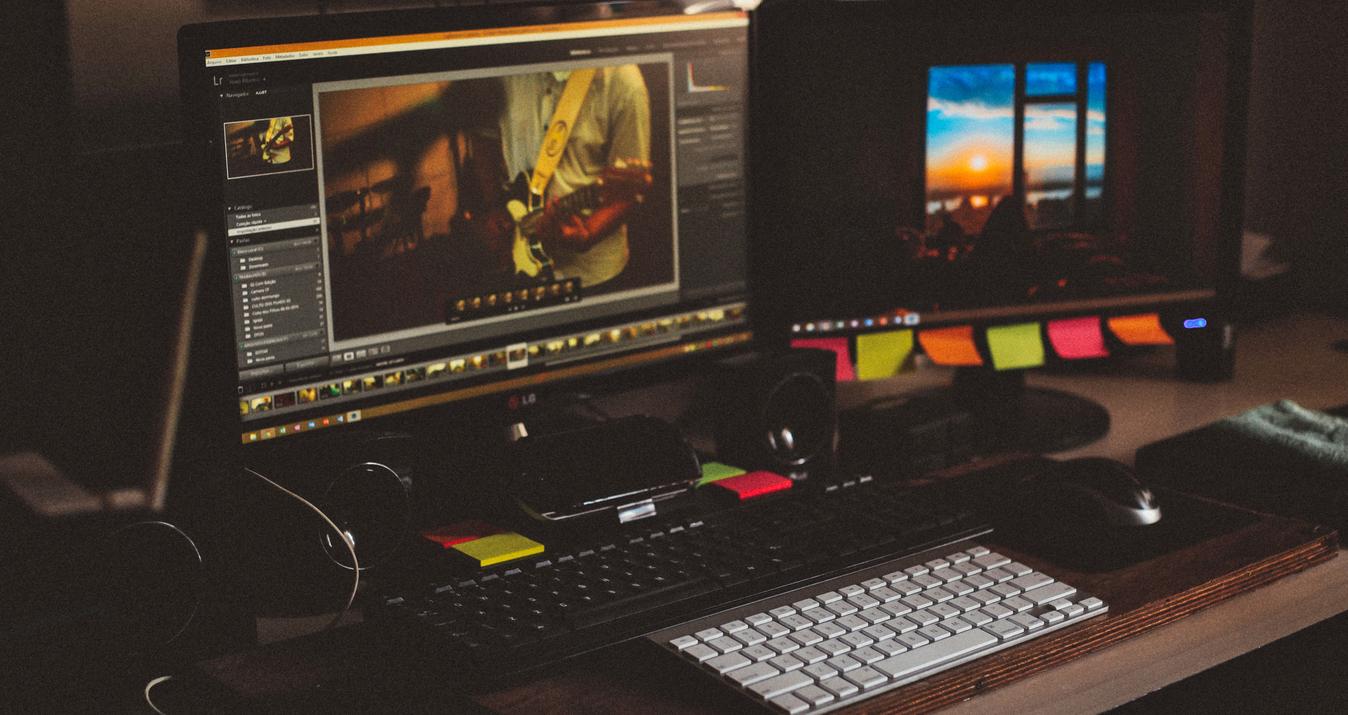
Mastering Skyscape Photography: Techniques for Stunning Shots
January 02, 2025

Ready to master skyscape photography? Learn how to capture dramatic skies, glowing sunsets, and moody clouds with these photography tips and tricks.
The sky is ever-changing, and photographers love capturing its beauty, drama and mood. Unlike landscape photography, where the land often occupies the main part of the photo, skyscape photography focuses mainly on capturing the sky's beauty, drama and mood. The sky is ever-changing, so skyscape photography opportunities are endless, and photographers love them.
However, skyscape photography has its challenges: skills, patience and timing are key to capturing breathtaking photos of the sky. In this blog, I will share my knowledge about skyscape photography, so you have all the tools you need to become a skilled skyscape photographer.
1. Understanding Skyscape Photography
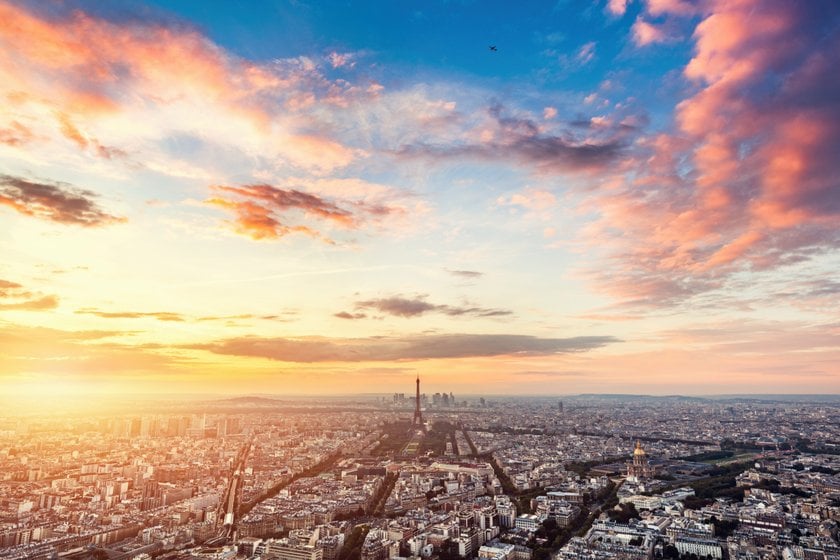 In traditional landscape photography, the land is often the main focus, whereas skyscape photography focuses on capturing the sky as a photo's primary subject.
The sky changes constantly and offers photographers countless opportunities to capture its colors, hues, drama, mood and beauty.
Skies can also have a powerful emotional impact on the viewer (a sunrise can represent hope and renewal, and a stormy sky can represent drama and tension).
Skyscape can be a stand-alone genre or complement other photography styles like landscape or seascape photography, where the sky will enhance the overall image.
2. Essential Equipment: A Checklist
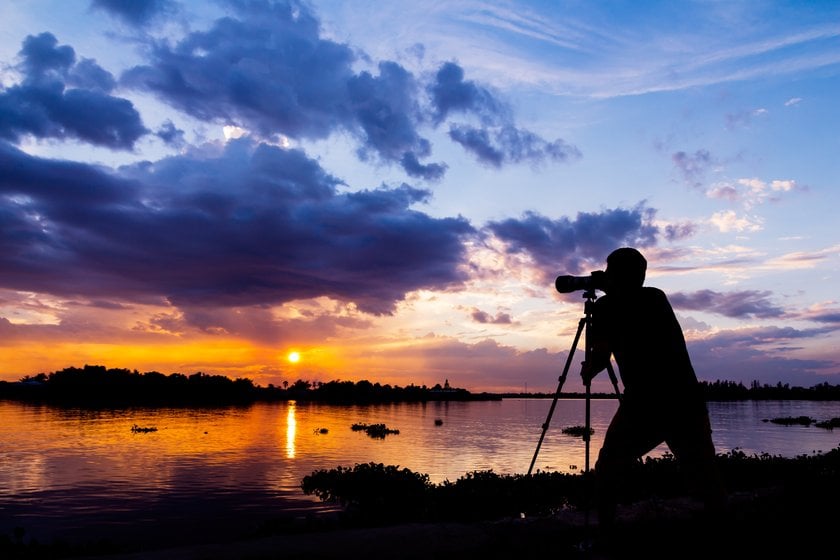 Camera Gear
Skies can be photographed with a wide range of cameras, depending on your goals, skills and the shots you want to achieve.
DSLRs and Mirrorless Cameras: These cameras offer advanced manual controls, interchangeable lenses, and excellent dynamic range and are ideal for high image quality and versatility.
Compact Сameras: These cameras are best for beginners or travellers interested in lightweight equipment. Modern compact cameras have manual settings and decent sensors and can be an excellent pick to capture skyscapes.
Smartphones: High-end smartphones now have excellent cameras with AI-enhanced modes for low-light and HDR photography, which can be good for skyscapes. Smartphones are ideal for quick captures and casual photographers.
Drones: Drones can also be used to capture unique aerial perspectives of the sky. As they fly high, they offer angles impossible to reach with traditional cameras.
Lenses
Wide-Angle Lenses: As these lenses offer a large field of view, they are best for capturing expansive skies and dramatic landscapes. They also enhance the perspective of the clouds and light patterns.
Telephoto Lenses: If you aim to photograph specific parts of the sky, such as clouds, the sun or the moon, then your best option is a telephoto lens because you can zoom in on distant elements and compress perspective.
Standard Lenses (35mm-70mm): Standard lenses are recommended for scenes where the sky complements the landscape or urban elements.
Fisheye Lenses: Fisheye lenses create a unique, distorted effect that can add artistic flair to skyscape shots.
Prime Lenses: Prime lenses (fixed focal length) often have wider apertures, best for low-light situations, such as photographing stars or twilight skies. They will capture sharp and clear images.
Accessories
Tripod: A sturdy tripod is essential for sharp images, especially during long exposures, low-light conditions, or HDR photography.
Filters: Use a Polarizing Filter to enhance the sky contrast by deepening blues and reducing glare. A Neutral Density (ND) Filter allows longer exposures to capture motion, like moving clouds during the day. A Graduated ND Filter is great for balancing the exposure between bright skies and darker landscapes. Finally, a UV Filter is ideal for protecting the lens and reducing haze in outdoor shots.
Weather Apps
Weather apps are essential in planning your skyscape shot. They help anticipate lighting, cloud patterns, and atmospheric conditions. Choose MyRadar Weather Radar, AccuWeather, The Photographer's Ephemeris (TPE), or Clear Outside.
3. Timing is Everything
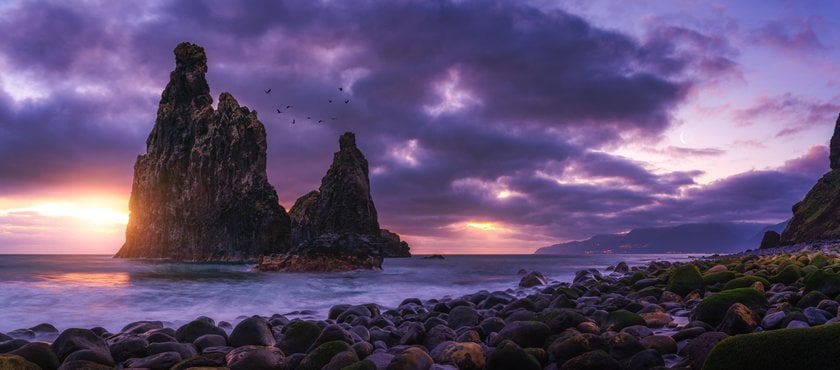 Golden Hour
The Golden Hour is the perfect time to capture a sky full of warm and soft lighting. Generally 30-60 minutes after sunrise and before sunset, its exact timing will vary depending on your location, the time of year and the weather conditions. The Golden Hour is often brief, lasting only 20-30 minutes, depending on where you are, so arrive early.
Blue Hour
The Blue Hour is another magical time to capture beautiful skies with a soft, cool-toned light. The Blue Hour begins about 20-30 minutes before sunrise and after sunset, again depending on your location, the time of year and the weather conditions. Like the Golden Hour, the Blue Hour is quick, so be ready!
Find out more: Golden Hour vs Blue Hour: Warm Glow or Cool Hues?
Midday Skies
Capturing the sky during midday is not recommended, as the sun is at its highest point and creates harsh lighting and shadows. However, you can still do it by using HDR to balance harsh lighting contrasts between sky and landscape. You can also underexpose slightly to preserve details in the sky and use a polarizer filter to reduce glare. I also recommend focusing on clouds for texture and pattern, capturing reflections on water or other reflective surfaces and experimenting with shooting from different perspectives.
4. Mastering Composition
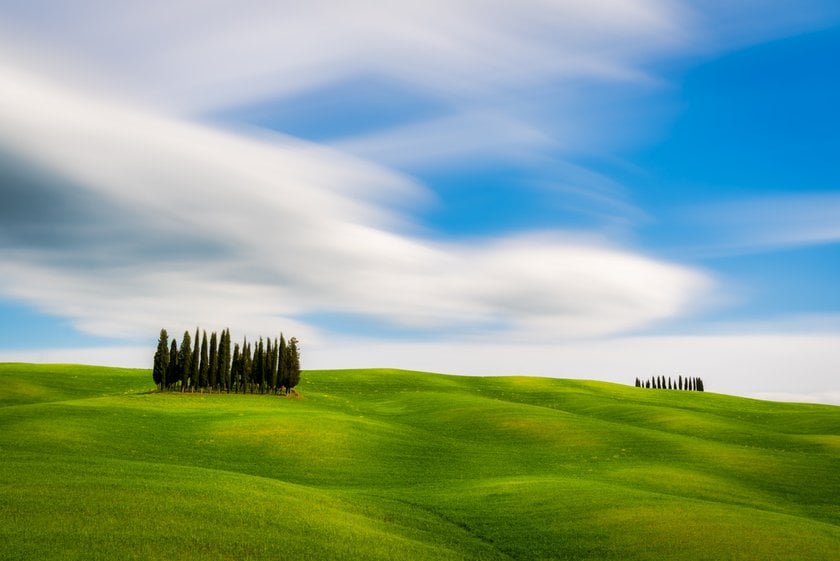 The Rule of Thirds
Divide the frame into a 3x3 grid and place essential elements (such as the horizon, clouds, or the sun) along these lines or at their intersections. For skyscapes, place the horizon lower in the frame to highlight the sky or higher to focus on the foreground.
Leading Lines
Use natural lines in the landscape, such as roads, rivers, or mountains, to lead the viewer's eye toward the sky.
Symmetry and Reflection
Symmetry is often beneficial to skyscapes especially with water reflections. It adds harmony to the photo, especially if the sky is calm.
Negative Space
Leave plenty of empty space in your composition, especially above the horizon, to emphasize the vastness of the sky. Avoid cluttering the image with too many distracting elements in the foreground.
Focus on Cloud Formations
Clouds are often the most important part of the sky, so look for patterns, textures, or dramatic formations. Place these skies in key positions, like the upper third or along leading lines, to create a striking image.
Minimalism
Sometimes, less is more. A vast, empty sky with a single cloud or distant silhouette can create a powerful, tranquil image.
5. Techniques for Capturing Stunning Shots
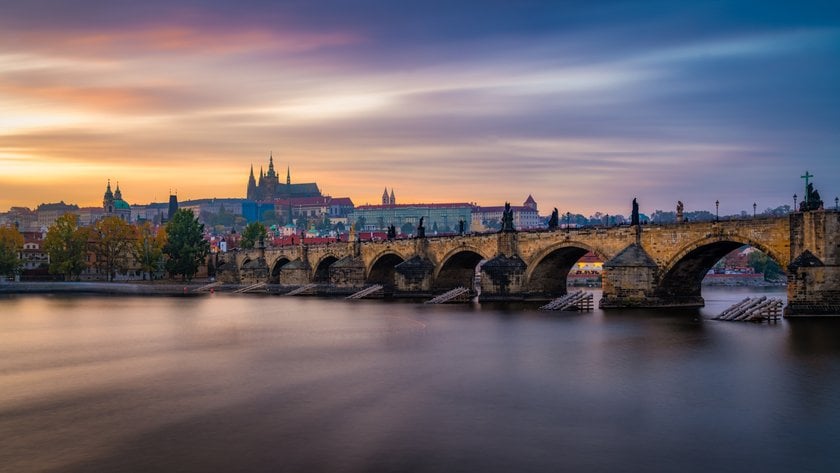 Aperture (f-stop)
If you want a shallow depth of field to capture details in clouds or foreground elements while blurring the sky, a wider aperture, like f/2.8 to f/5.6, works well.
For a sharp image with a great depth of field, use apertures around f/8 to f/16. This is ideal for landscapes or expansive skyscapes with foreground elements.
Avoid apertures as small as f/22 as they can introduce diffraction, which reduces sharpness.
Shutter Speed
For capturing moving elements like clouds, birds, or airplanes without motion blur, use a fast shutter speed (1/1000 to 1/250).
If you want to capture the movement of clouds or create a smooth, ethereal effect with long exposures, use a slower shutter speed, typically between 1/30 and 1/2 seconds. You may need an ND filter for very long exposures to avoid overexposure.
If shooting during golden hour or blue hour, you might need longer exposures, especially in low-light conditions. On the other hand, midday skies might require faster shutter speeds to avoid overexposure.
ISO
Use a low ISO (100 to 400) to avoid noise, especially in bright light conditions.
Increase your ISO to maintain proper exposure in lower light conditions, like during the blue hour or overcast skies. However, be careful of noise that can start to appear at higher ISO values.
Exposure Compensation
For dramatic skies, especially with bright clouds or sunsets, underexposing slightly (by 1/3 to 1 stop) can prevent highlights from being blown out while maintaining detail in the sky.
If you're shooting silhouetted subjects in front of the sky (e.g., trees, buildings), intentionally overexpose the shot to keep detail in the sky and achieve a clean, defined silhouette.
Histogram Check
Check your histogram after each shot to ensure that it isn't skewed too much to the right (overexposure) or too much to the left (underexposure). Ideally, the graph should be balanced.
Focus
For most skyscapes, set your focus to infinity or the farthest point of your scene to ensure both the sky and foreground (if included) are sharp.
6. Editing Your Skyscapes with Luminar Neo
 Step 1. Basic Adjustments
Exposure: Use the Exposure slider to correct any under or overexposure. To preserve details in bright skies, slightly underexpose your photo.
Contrast: Use the Smart Contrast slider to increase the contrast between the sky and any foreground elements.
White Balance: The Temperature and Tint sliders allow you to warm up or cool down the colors in your sky.
Highlights and Shadows: Use the Highlights slider to bring back details in bright sky areas, and adjust the Shadows slider to recover details in the darker parts of the image.
Step 2. Enhance Sky Details
Structure: The Structure AI slider is great for enhancing the details and textures of clouds.
Details: The Details tool can further sharpen fine details in the clouds.
Denoise: Use the Denoise or Noiseless AI tool to remove noise and smooth out the image.
Step 3. Apply Local Adjustments
Masking: Use the Masking tool to paint over areas of the sky or foreground you want to adjust, such as enhancing cloud details or lightening the sky.
Gradient Mask: If the horizon or clouds need specific adjustments, use a gradient mask to apply changes gradually across the image.
Radial Mask: You can also use the Radial Mask tool to focus adjustments around a central point, such as emphasizing the sun or a specific cloud formation.
Step 4. Add Drama and Mood
Vibrance: Increase Vibrance to intensify the sky's colors without over-saturating the image. This works particularly well for blue skies or sunset hues.
HSL (Hue, Saturation, Luminance): Adjust the HSL sliders to fine-tune specific colors in the sky.
Golden Hour: If you're shooting during sunset or sunrise, use the Golden Hour slider in Landscape tool to replicate the warm light of the golden hour, adding a natural, beautiful glow to the image.
Step 5. Add a Creative Look
LUTs (Look-Up Tables): Apply a LUT from the Creative tab to give your skyscape a unique color grade. For example, a Cinematic LUT can add a moody or cinematic feel to the image.
Glow: Use the Glow effect to add a soft, dreamy look to the clouds or the overall sky. This works exceptionally well for capturing light beams or hazy skies.
Step 6. Final Touches
Vignette: Apply a vignette around the edges of your skyscape to attract the viewer's attention to the sky or any subject within the frame.
Sharpening: Use the Sharpness slider to sharpen the entire image or just the sky. This can help bring out more detail in the clouds or the horizon.
Conclusion
Skyscape photography allows you to capture the ever-changing beauty of the sky, whether focusing on sunsets, dramatic clouds or blue daylight skies. With the right equipment, timing, and composition techniques, you can create images that create strong emotions. By mastering both the technical and artistic aspects of skyscape photography, you can create breathtaking images that showcase the sky in all its glory.

 Camera Gear
 Golden Hour
 The Rule of Thirds
 Aperture (f-stop)
 Step 1. Basic Adjustments
