How To Add Grain To A Photo For A Vintage Look
Last Updated on May 07, 2025

Want to recreate that timeless film aesthetic? Learn how to add grain to photos for a vintage look using simple tools and editing techniques.
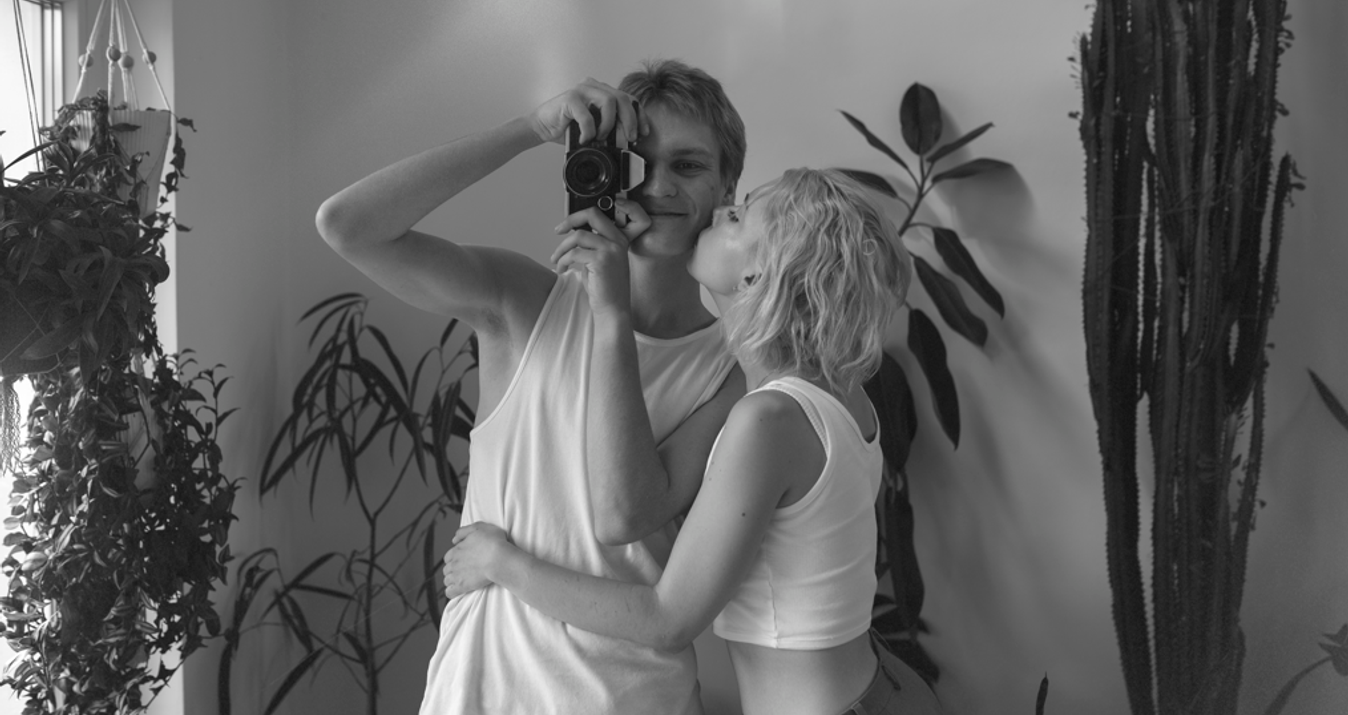
When you are at a family gathering, you will undoubtedly come across happy memories concealed in the pages of a photo album. They are somewhat yellowed with age and have a sepia look due to the outdated method of creation. They are rich with stories that will take place once in a lifetime. Then, inspired by them, there is a desire to recreate the film grain effect in images. How to make photos look grainy? Let's figure it out!
What Is Photo Grain?

The grainy photo effect first appeared with film photography, caused by the structure of light-sensitive crystals in the emulsion. Later, based on this technique, a pattern emerged: "the higher the ISO of the picture, the larger the grain.” This is due to variations in contrast, luminosity, and color brought about by poor light and other conditions during film gathering. Furthermore, it refers to damaged elements in the image's pixels. That’s why plenty of cameramen equal grain and noise.
Noise is common, often caused by high ISO settings or a lack of sunlight. Likewise, there are two types: internal and interference. The distinction is that inner noise is caused by light and exposure. In contrast, interference noise is produced by natural signals interfering with the image.
To avoid unsightly grain, utilize low ISO settings, properly expose the frame, and work with light. First steps for pioneers in grainy capturing can be a handicap, and they're rapidly trying to remake unblur photos. At the same time, some shots could have turned out quite good and would have only needed post-processing. In film photography, it gives the shot a distinct texture and feel, particularly in black and white images.
Your AI-Powered Photo Editor for MacOS and Windows
Discover Now!Back to the Future: Grainy Vintage Filter
 In the Middle Ages, it was said that “every master was once an apprentice.” The principle is exactly the same in photography. Fans of retro style will appreciate Henri Cartier-Bresson's black-and-white street photography from the mid-twentieth century. He employed Leica film cameras and the notion of the “decisive moment.” Cartier-Bresson's “Behind the Gare Saint-Lazare” (1932) and other works are considered classics of vintage documentary photography. If you approach properly, you can readily replicate Henri's style or create a photo set.
Equipment Preparation
 Anyone skilled photographer can’t imagine how to get grainy photos without qualified tools. The Canon R50 is a budget option for those who want a composition without breaking the bank. This mirrorless camera with an APS-C sensor produces a clear image at low ISO and copes well with noise in low-light conditions.
Polaroid owners will find it easy to convert their photos to a retro look. How exactly? Simply read the following.
The Polaroid Color 600 or SX-70 initially generates soft colors.
While the image is forming, you can create an aged impression by softly scratching, bending, or adding fingerprints.
The photo will appear more blue or establish a yellowish coating depending on the temperature.
A more expensive option will be the Sony A7 III. This is a full-frame mirrorless camera that perfectly holds high ISOs, and its sensor with a good dynamic range allows you to draw shadows without much noise. It will suit those who are suddenly overtaken by a change in weather conditions. After all, with a sharp gust of wind, increased cloudiness or even fog, it is very easy to make pearl shots with Luminar Neo.
You may also like: How to Make a Picture Look Like a Polaroid: Ultimate Guide
What Aesthetics Can You Create With Film Grain?
 Everyone who takes pictures has had a moment in their life when they desired to recreate the old style. It could have been influenced by the outstanding film Back to the Future or a series like That '70s Show. At the same time, the genre cannot be restricted by the subject: sci-fi, ecology, fantasy, ordinary realism, postmodernism—imagination has no limits.
How to make photos look grainy and cozy? Check out How to Make a Digital Photo Look Vintage and the chart below to see how you can achieve atmospheric shots without spending a fortune on props.
Feature | Description |
Warm white balance | Retro cartoons tend to have a little yellowish or pastel hue, which can be created in-camera by adjusting the white balance to warmer tones. |
Soft focus effect | Film lenses rarely produce exceptionally sharp visuals, so you can achieve a “dreamy” impression by lowering brightness or adding a tiny halo around the highlights. |
“Dusty” image | With the right photo filters, you may add texture with dust and scratch effects, or use templates with decades old noises. |
Chromatic aberrations | A small blur around the edges and a little harmonic distortion (separation of color channels) make the shot appear more authentic. |
Old film images tend to decline in saturation with time. To accomplish this effect, lessen the contrast and somewhat desaturate specific colors, particularly blues and greens, while highlighting warmer tones. The most major component is exposure. Endeavour season 2 is an excellent illustration of the way vintage photographs can tell a story. However, for your elderly, the delicacy of the snapshot and the attention you show them will be paramount.
Luminar Neo: Multitool for Your Wishes
 How to edit granny photos? When you believe that the shot you took lacks just two or three pixels to be flawless, the eye automatically detects flaws in sharpness, color correction, and exposure. If the latter can be addressed by adding items to the editor, the first two will undoubtedly need a multi-tool with extensive capability. Skylum created Luminar Neo as a universal helper for photographers in a variety of moods. How precisely does it work? Let's figure this out!
Exclusive Tools of Endless Possibilities in One AI Editor
Explore Now!Basic Knowledge During Grain Photo Editing
Photo filter complications, such as layering, variety, and quality, have long plagued aesthetics enthusiasts. Luminar Neo will assist with all of these areas. You simply need to follow the steps below.
Open your image in Luminar Neo through the Catalog module (shortcut: Cmd/Ctrl + O);
Switch to the Edit module (shortcut: E);
Make basic adjustments using tools, Develop, Enhance AI, and Color;
Utilize additional creative tools for further enhancements before adding grain;
Access the Film Grain Tool under the Creative Tools tab;
Adjust the Amount slider for grain intensity;
Fine-tune grain size and roughness with other sliders available in the tool.
Pay attention to presets if you don't have time for processing or are scared by the number of functions. This option is a set of photo filters tailored to a specific style: retro, Miami, sepia, etc.
Luminar Mobile: Quick Guideline for Smartphone App Users
 What if you don't have the strength to carry a hefty laptop with you on a mountain trek or to a picturesque beach? In this scenario, Skylum developed a mobile version of Luminar Neo. By moving all functionality to a smartphone format, you may enjoy the quality of your snapshots from anywhere and at any time. Despite usability functions, this app has numerous requirements.
Proper functionality demands iOS 17 or later. Owners of older gadgets might notice reduced performance.
Once you start editing, you should check your device's RAM. The amount of random access memory serves as a temporary workspace for your device, directly affecting performance.
Luminar Mobile is a photo editor built using artificial intelligence. As a result, it has numerous AI-based features, such as Sky AI for sky replacement, Skin AI and Body AI for image retouching, Relight AI for exposure correction, and several others.
This application from Skylum has built-in tools such as Object Removal, Cropping, Filters, Curves, etc. Thus, the multitool is fully focused on post-processing with grainy vintage filter and editing your photos from surface defects to broken shots and working with layers.
Final Thoughts
 How to get the grainy effect on photos? In the mid-20th century, lenses produced specific artifacts such as rainbow glare and soft contrast. The effect can be replicated by adding subtle rays of light or blurring bright light sources.
At the processing stage, you can use color correcting in the style of film shots. To accomplish this, contrasts are reduced, blacks and shadows are heightened slightly, pastel hues are brought in, and tones are “washed out” slightly. This amazing look may be additionally designed by using artificial noise and vignetting.
In Luminar Neo, you can find this and other effects that will help you realize your vision. Remember that vintage photos are art. Therefore, do not forget to convey the love and warmth with which the pictures are taken.