How To Add Glow To Image: Shine Bright In Your Photos
Last Updated on April 17, 2025
Learn how to add a glow effect to your photos using Luminar Neo and Photoshop. Follow easy steps to make your images brighter, more expressive, and professional.
Have any of you ever held a Tiffany ring in your hands? If so, you will agree that the brilliance of these jewels is dazzling.
When we see this ring in a photo or an advertisement, it seems like it had just come from a jewelry factory. And this is precisely the effect we will be talking about.
The glow effect can make any object in a photo so bright and expressive that it's impossible not to pay attention. It makes your images look more polished, professional, and eye-catching. Used by photographers across industries, this effect draws attention, raises depth, and creates a more immersive feel. If you want to know how to make your pictures glow, read on!
What Is the Glowing Effect?
Have you ever looked at a product shot and wondered, "Why doesn’t it have that high-end magazine shine? How to make something look like it's glowing?
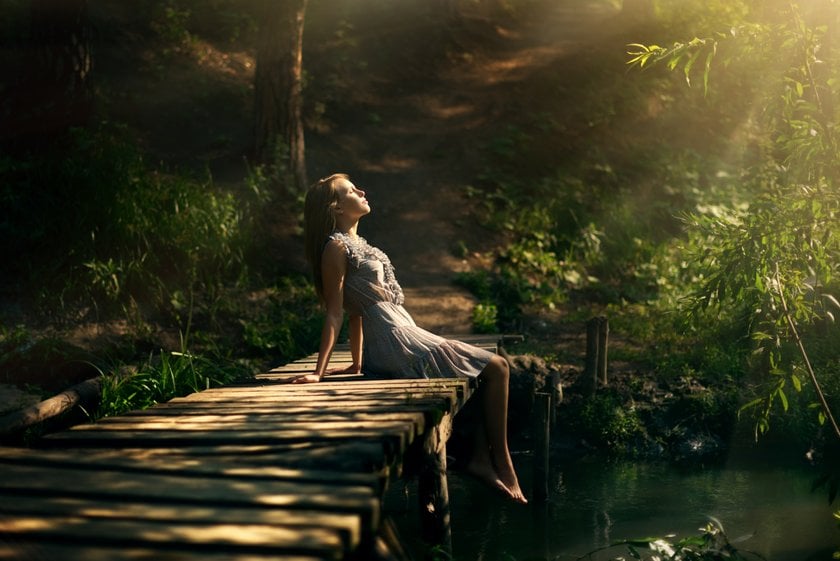
Photographers apply a photo glow effect to soften the lighting and bring out artificial and natural light effects. The correct use of this feature gives pictures depth, keeping focus while adding emotional elements without affecting image quality.
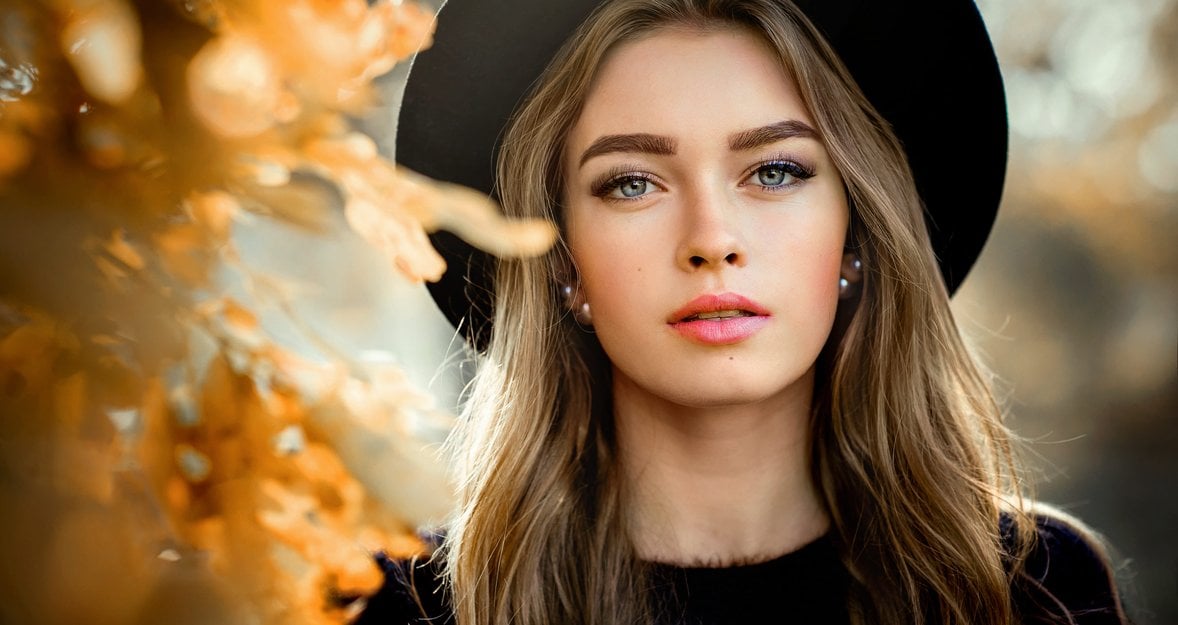
Portraits. Different lighting effects around facial and hair areas produce a mystical cinematic appearance. Photographers employ this effect for their subjects in their wedding and portrait work.
Product shots. The soft glow filter around jewelry, cosmetics, and tech products in commercial photography makes them luxurious.
Night & cityscapes. RAW pictures show streetlights, illuminated buildings, and neon signs as dull elements. Glow effect performs, bringing back their original luminous shine.
Bringing out sparkle & shine. Adding a mild reflective glow enhances all mirror-like elements, such as water droplets, metallic surfaces, and tiny glitters.
Below, we will discuss how to make a glow on your personal or commercial shots in detail.
Add Bling to Product Photography
The glow outline effect is the secret behind the appearance of jewelry and luxury product shots. Adding soft diffuse glimmer across reflective areas allows diamonds to sparkle while metals become shiny and glass surfaces appear polished and smooth.
Exclusive Tools of Endless Possibilities in One AI Editor
Explore Now!The base application of the effect should be limited to specific areas, including edges and key highlights, instead of the entire product. The application should be cautious to avoid an unrealistic appearance while creating the effect.
Make Light Sources Look Radiant
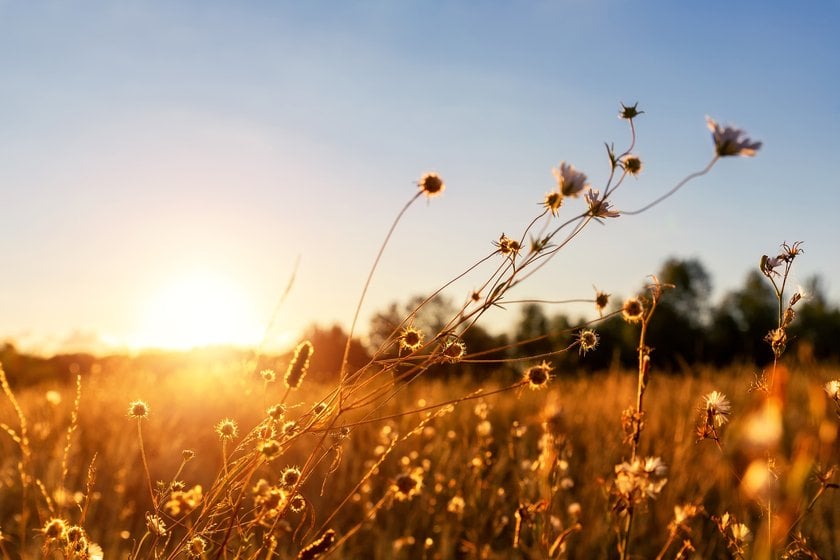
Camera technology fails to reproduce how light appears in human vision. Photos frequently display street lamps, neon signs, and candle flames in a hasty manner. The glowing light effect provides a solution by restoring natural light diffusion, making lighting elements seem more realistic and atmospheric.
You will achieve optimal results through light source application of the glow effect against darker surrounding elements. Such opposing lighting elements build a balanced and harmonious visual composition.
Highlight the Sparkles
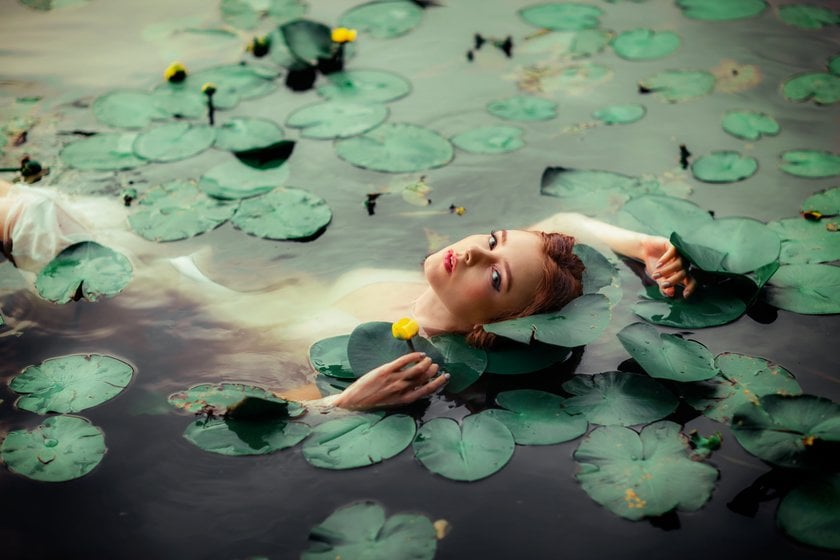
The glimmer of water from reflected sunlight and the reflection of sequins in dress fabrics enhance photos through tiny sparkling details. Glow effects will bring subtle prominence to delicate image elements without distorting their visual appearance.
Subtle sparkle enhancement requires a glow effect with a soft edge and low-intensity intensity. To create polished images, the glow effect has become a standard technique in three photographic fields: fashion, beauty, and nature.
Luminar Neo: How to Use Glow Tool in 4 Steps
If you are wondering, "How to make glowing pictures?" Luminar Neo’s glow tool creates beautiful lighting effects in bright areas of your images, such as streetlights, the sky, or reflective surfaces. You will find it in the Edit Module under Creative Tools. The Glow Tool offers various sliders and four different shine types that allow you to customize the effect.
Step 1: Upload a Photo
Open Luminar Neo to upload the photo. To apply the Glow Tool, go to the Catalog module and select an image from your library.
Step 2: Head to the Glow Tool
After your image is loaded, switch to the Edit module. Use the right-hand toolbar to scroll down to find the Glow Tool, located in the Creative Tools section.
Step 3: Customize Your Glow
Want to learn how to make a glow that adds magic to your photos? The Glow Tool offers multiple customization options:
Setting | Function | Adjustment Effects |
Amount | Controls the overall strength of the glow effect. | 0%: no effect applied. 100%: maximum glow intensity. Adjusting the slider controls the glow’s visibility. |
Softness | Adjusts the transition between glowing and non-glowing areas. | Higher values: soft and subtle effect. Lower values: defined, sharper glow. |
Brightness | Controls the overall brightness of the glow. | Increase: stronger light effect. Decrease: dimmer, more controlled glow. |
Contrast | Adjusts the contrast in the affected areas. | Higher contrast: improves details in glowing regions. Lower contrast: softens the transition. |
Warmth | Adjusts the color temperature of the glow effect. | Move left: cooler, bluish glow. Move right: warmer, golden glow. |
For precise control, apply the Glow Tool selectively using the Masking Tool for specific areas like streetlights, sunsets, or portrait highlights.
Step 4: Save Your Shot
After making all the necessary changes, click "Export," followed by format selection and resolution choice to save your final photo.
Glow Types in Luminar Neo
The Glow Tool features four different glow types, each designed for different photographic styles:
Soft focus creates a diffused, perfect for portraits and bright areas.
A classic glow effect highlights, softening the overall image.
Orton effect simulates a double-exposure film technique.
The soft Orton effect is less contrast-heavy, creating a matte look.
Experiment with each option to find the best fit for your images.
Your AI-Powered Photo Editor for MacOS and Windows
Discover Now!A Glow Effect in Photoshop in 7 Steps
Photoshop lovers, get ready to add some magic to your designs. Let's look at this simple guide on how to add a glow effect in Photoshop.
Step 1: Open Your Image
Start Photoshop and choose the photo for editing (File > Open). Apply changes to brightness, contrast, or color before applying glow effects.
Step 2: Duplicate the Layer (Non-Destructive Editing)
Right-click your image layer at the Layers Panel and select Duplicate Layer from the options. Add a name to the duplicated layer. This keeps the original layer intact if you need to adjust it later.
Step 3: Apply a Gaussian Blur for a Soft Glow
After selecting the duplicated layer, process with Filter > Blur > Gaussian Blur. Move the Radius slider to create a soft and glowing appearance of the image. Depending on the image dimensions, begin with a Gaussian Blur between 10–30 pixels. Click OK to apply the blur.
Step 4: Change the Blending Mode
In the Layers Panel, change the blending mode of the blurred layer to Screen, Overlay, or Soft Light. Experiment to see what works best. If the effect is too strong, reduce the layer's Opacity to tone it down.
Step 5: Refine the Glow Effect
Click the mask icon at the bottom of the Layers Panel to add a Layer Mask. Use a soft black brush (B) to erase the glow from areas where you don’t want it (e.g., sharp details like eyes in portraits).
Step 6: Add a Color Overlay for a Creative Glow (Optional)
Create a new layer and fill it with a soft color (warm tones for a golden glow, cool tones for a moonlit effect). Change the Blending Mode to Soft Light or Color Dodge for a dreamy glow. Adjust Opacity as needed.
Step 7: Final Adjustments
Play with Levels (Ctrl + L) or Curves (Ctrl + M) to fine-tune brightness and contrast. Adjust Hue/Saturation to change the glow’s color intensity. Merge layers once satisfied (Shift + Ctrl + E) or keep layers separate for future edits.
Be Creative

After reading this guide, you know how to make a glow effect and bring your pictures to life. It's time to get creative. Experiment with different color choices and blending techniques to express your style. The photo editing applications allow you to create exciting portraits, illuminated street views, and radiant text designs.