HDR Ghosts. Don’t be Afraid - They're Easy to Get Rid Of!
May 10, 2018

A moving subject can be problematic for an HDR Photographer. Objects that are moving can create HDR ghosts. Luckily, we know how to fix that with Aurora HDR.
What are HDR Ghosts?
Have you ever noticed blurry, fuzzy objects in your otherwise sharp HDR photos? Most likely it was an HDR ghost! But don’t worry, your photo isn’t haunted, it is simply an artifact of movement between each exposure and is quickly eradicated.
High dynamic range (HDR) photographs are created by combining multiple exposures into a single image. As long as nothing in the scene is moving (and the camera is stable) the frames will line up, and all will be well.
However, if objects in the scene were moving (such as people, flags, birds, tree branches, etcetera) when those exposures are stacked together you end up with duplicates of those objects which appear somewhat faded and transparent…hence the term “ghosts.” Since freezing nature can be a bit hard, we can rely on Aurora HDR to fix the problem.
Alignment vs Ghost Reduction
Fixing ghosted images should be tackled at the very beginning when you first create your merged HDR file. When merging several exposures in Aurora HDR, there are two options that will affect the overall quality of your image:
- Alignment
- Ghost Reduction
Alignment lines up the static elements of an image and corrects for any movement of the camera during the shoot. This is a critical adjustment if shooting handheld. But it can also come in handy on a windy day or if shooting from a moving platform like a dock.
 Ghost reduction deals with dynamic/moving elements within the scene to minimize the appearance of ghosts. If an object is blowing in the wind or moving quickly through a scene, this will be a problem. Often when shooting brackets, the camera keeps the shutter open for a while. This can lead to blurry or shifted elements on the longer exposure times.
Ghost Reduction Settings in Aurora HDR
Aurora HDR 2018 offers two parameters for ghost reduction: the reference image and the amount. The Reference Image tells the software which objects should be stationary (and looks at the selected photo for guidance). The Amount controls the strength of the ghost reduction effect.
 Choosing the Reference Image
When choosing an appropriate reference image, the two primary considerations are:
- Amount of Movement
- Exposure
First, consider the movement - Before opening your photos in Aurora HDR 2018, use your digital asset manager or operating system’s preview to look closely at your images to see which elements are moving. Keep in mind that longer exposures will show more motion blur, shorter exposures will freeze motion. The best reference image for ghost reduction is the one where your subject is sharp.
Second, consider the exposure - Longer exposures are brighter and may lose detail in the highlights. Shorter exposures are darker and may lose detail in the shadows. The best reference image in terms of exposure will be where your subject is properly exposed (no clipped highlights or shadows).
For most photographs, the middle exposure (EV 0.0) is the best choice. However, your best option may be an underexposed or overexposed image.
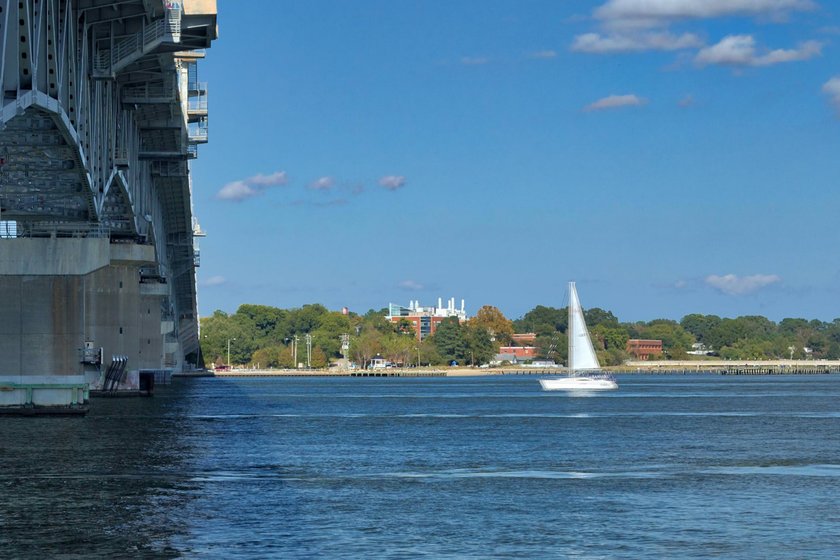
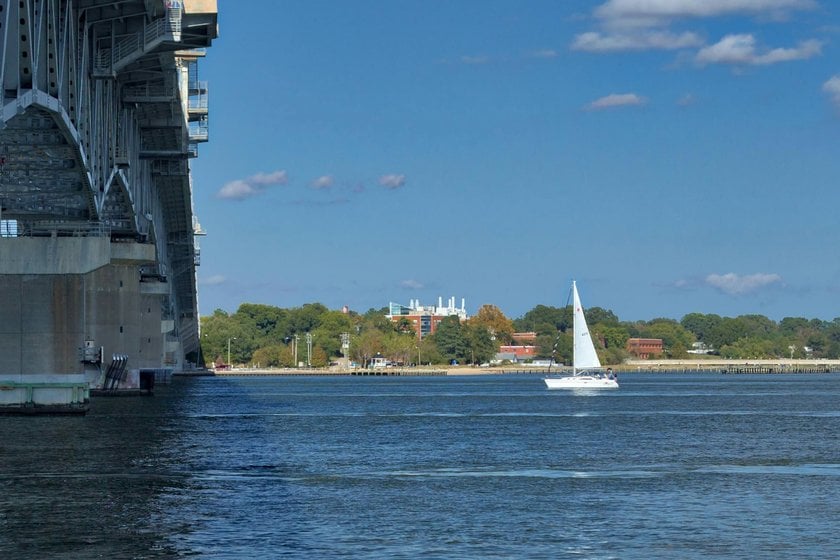
In the handheld bracketed series above the middle exposure (EV 0.0) is the best option. The shutter speeds for this series were relatively fast (1/100, 1/250, 1/640) so the motion of the sailboat was frozen in each frame. The middle exposure is also properly exposed (not too dark or too light) making it my choice for the reference image.
Choosing the Ghost Reduction Amount
Once you’ve selected your reference image, the next step is to select the ghost reduction amount. Aurora HDR 2018 defaults to medium and I find it works well for most situations. However, if the movement is very subtle, Low might be the best choice. If the movement is significant, you may need to choose “High” or “Highest” to adequately reduce ghosting. Try to use the lowest amount possible to get the best results when editing.
PRO TIP: Always use the lowest possible deghosting amount to minimize the occurrence of artifacts (noise, halos, etc.).
For the series above the sailboat was moving relatively slow so I chose the default Medium amount for the ghost reduction setting.
 Processing Your HDR Images
Once you’ve made your ghost reduction selections, click the button labeled Create HDR. Keep in mind that choosing Alignment (highly recommended) and using Ghost Reduction (recommended if objects are moving) will take a bit longer to process, but it is worth it!
The default HDR for this bracketed series was a bit dark. To correct this I moved the Smart Tone slider to the right which brightened the photo overall and also opened up the shadows under the bridge. Next, I worked with the HDR Enhance slider to add clarity and detail. Finally, I added a subtle Vignette to draw my viewer's eye into the photograph.
 Finishing Touches
With our stylistic edits done the last step is to Export and Sharpen. Go to the File Menu and Choose Export.
I’ve chosen to export my photograph as a TIFF file for maximum resolution with medium sharpening. I like to use the ProPhoto RGB color space for maximum color gamut (range). This works well for printing but not for display on the Internet. I also chose no compression and a 16-bit depth file with a resolution of 300ppi. This gives me a ready to print image that's also great for archiving.
The Final Result


In a perfect world, all exposure brackets would be captured using a super stable tripod and perfectly aligned. The real world works a bit differently and the objects around us are often in motion. With the help of ghost reduction in Aurora HDR 2018, we can easily freeze moments in time as we remembered them (or imagined them) and quickly get rid of the ghosts. Try these options out on your next image.


