Food Photography Background: How To Choose A Perfect One
April 09, 2024
From minimalist chic to rustic charm, explore various food photography background options to match your unique style
‘You eat with your eyes first.’ A phrase known well by chefs who not only work meticulously towards the flavour of their dish but also ensure that what is presented is aesthetically appealing. When it comes to food photography, our job as photographers is to not just capture the dish but to create an appetite.
To improve the visual appeal, photographers must create an environment that enhances the dish’s visual taste, with backgrounds playing an often overlooked but valuable role. Join us as we explore how to select the best backgrounds for your food photography, making it worthy of any gourmet food enthusiast.
Understanding the Role of Backgrounds
Backgrounds serve many roles in food photography. They provide the foundation for your image, setting a theme with the purpose of directing attention towards the subject. Backgrounds must complement the food and create further interest without detracting from our dish.
With backgrounds, we can effectively and simply create a mood or atmosphere. A rustic wooden table can evoke feelings of warmth, homeliness and traditional cooking, whilst a sleek ceramic table may suggest modernity and sophistication. By knowing this, we can influence our viewer’s perception of the image, and tell a story just by using the correct background.
Essentially, the background must complement and not compete. Whilst our background helps complete our image, its main role is always to direct the viewer’s eye towards the centrepiece while setting a theme. There are many ways you can harmonise or contrast your dish so let’s take a look at some ideas in the following section.
What to Consider When Choosing the Perfect Food Photography Background
When it comes to food photography, it’s all about getting creative and having fun with it. Here is a list of things to consider when choosing the perfect background for your shot:
Colour Harmony
The right colour combination can make the dish stand out and be more appealing to your viewer. However, colour theory is complex, and it’s not as simple as thinking a colour might work. You will need to consider things such as colour weight, where some colours can dominate others, therefore, attracting your viewer’s attention first.
Colour wheels can help you choose complementary colours to enhance your dish, allowing it to stand out and demand attention.
Make Your Dishes Look as Good as They Taste
Edit Now!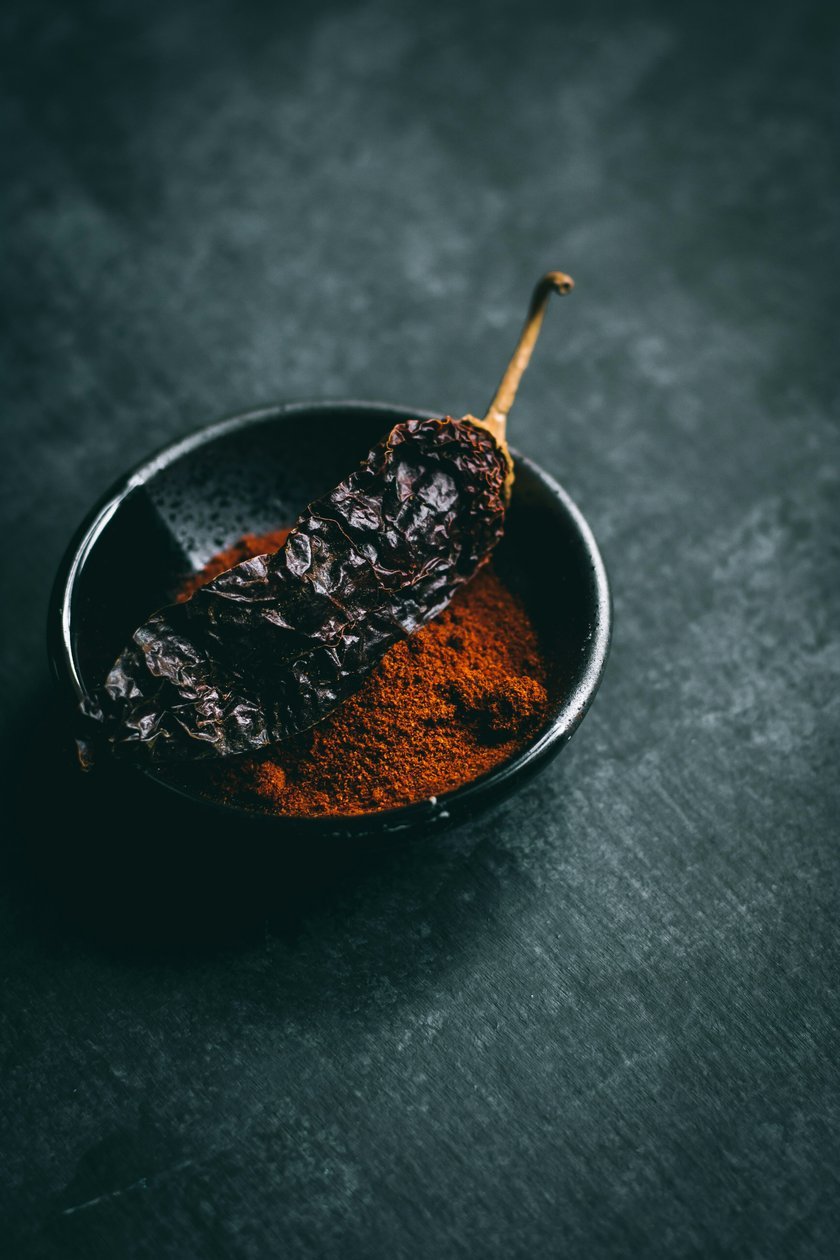 The cooler background contrasts the fiery tones of the spices. Cooler tones recede whilst warmer colours dominate further enhancing attention on the subject
Advanced yet easy-to-use photo editor
Get Luminar Neo NowSimplicity vs Complexity
Neither approach is better than the other; it’s more about what you aim to achieve with your shot. Simple backgrounds keep the focus on the dish, it is centre stage and the star of the show. However, if you are trying to tell a story with your image, then create a complex backdrop with ingredients, props, and a texture that works harmoniously to create a scene.
Scale and Perspective
Consider the size of your backdrop, props, ingredients etc., relative to the size of your dish. Larger elements will overwhelm your subject whereas smaller elements may not provide enough interest and could confuse your audience as to their relevance to the scene.
Relevance and Context
You can create an environment to reflect a meal’s cultural background; through your choices, you can help tell the story of your dish and its history. Include ingredients to provide information and context for the viewer, especially if the photo is used alongside a recipe. Once you understand your audience, it can be fun getting creative to help provide more context for the viewer.
In food advertising in supermarkets around Christmas time, photos won't just show a turkey isolated on a dining table. Instead, it is accompanied by all the trimmings and festivities of the holiday season that help sell the idea of Christmas; it brings to mind your dining table and how it will look on Christmas day, thus the photo has done its job. 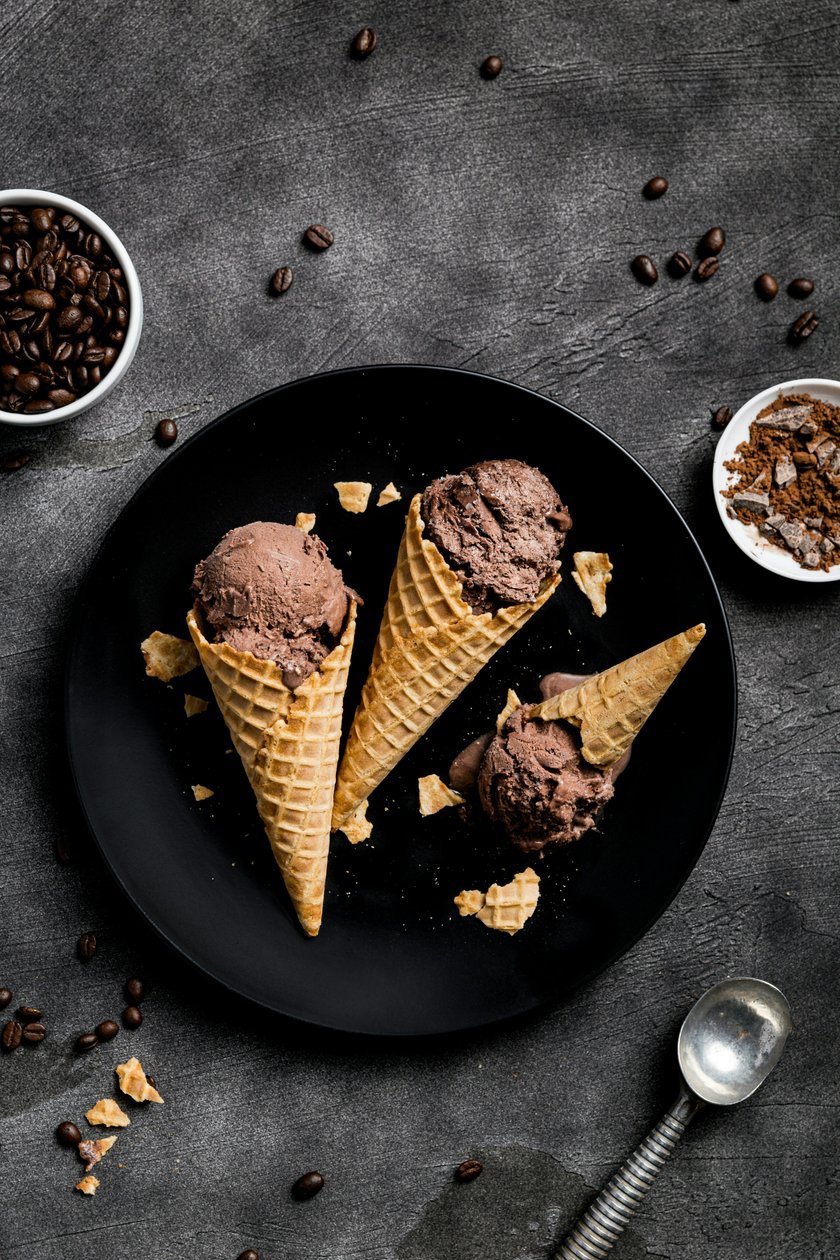 Without the context provided by the coffee beans in this image, one might mistake this for chocolate ice cream; instead, the beans help inform the viewer.
Textures and Material
A bowl of creamy smooth soup on a simple smooth tabletop could look good, but what about if we decided to contrast that texture? This is a simple but effective way to add interest to your image without distracting or taking away from your dish. Adding a roughly textured board or linen cloth under the bowl will now break up the similar textures of the dish and the tabletop, thus creating contrast and providing interest.
What we don’t want is for our dish to blend into the background. This can also apply to the way light interacts with the food. One of the most appealing aspects of a glazed doughnut or a juicy tender steak is the way light glistens on its surface. If we then use a reflective backdrop we detract and possibly distract our viewer from that alluring feature of our food. Therefore, using a matted surface will help keep the attention on that factor.
So consider what your food is made of, the way it interacts with light, and create your backdrop to enhance those features.
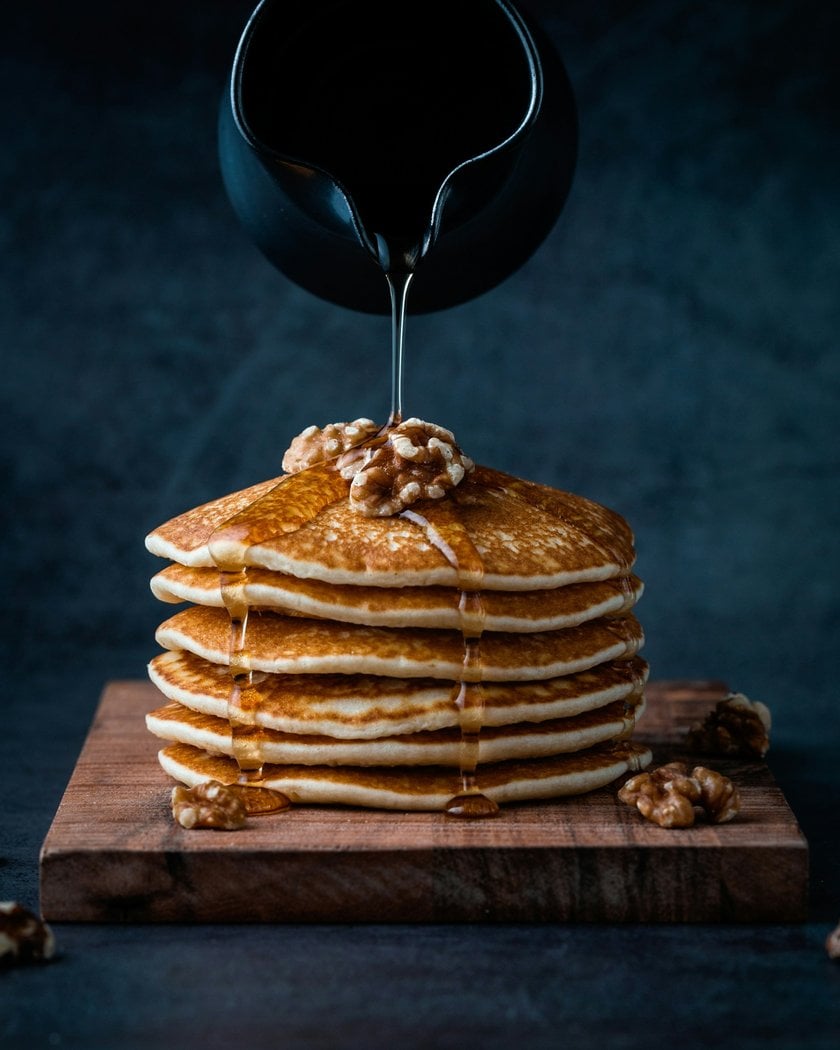 The focus here is the syrup, with the reflections of light making it look irresistible. The backdrop is matte, therefore not detracting from the syrup’s shine.
Exclusive Tools of Endless Possibilities in One AI Editor
EXPLORE NOW!Types of Backgrounds for Food Photography
Now that we’re familiar with what to consider when selecting a background, let’s delve into the various types and when they’re most effectively used.
Simple Backgrounds
Sometimes, simple is best. There are practical reasons for when to use simple backdrops, such as a coloured sheet or tabletop. Perhaps it is your client’s request, or perhaps you want all the undivided attention on the dish and nothing more. Either way, the considerations outlined above still apply.
Vibrant hues can inject energy into your scene, and a healthy meal on a green backdrop promotes the idea of a healthy lifestyle. Darker backgrounds can contrast your dish making the colours pop. They are also associated with elegance lending a high-end sophisticated look to your image, perfect for a gourmet presentation.
By studying colour, you can ensure that a simple plain background can greatly enhance the look and strike the right chords with your audience in no time at all.
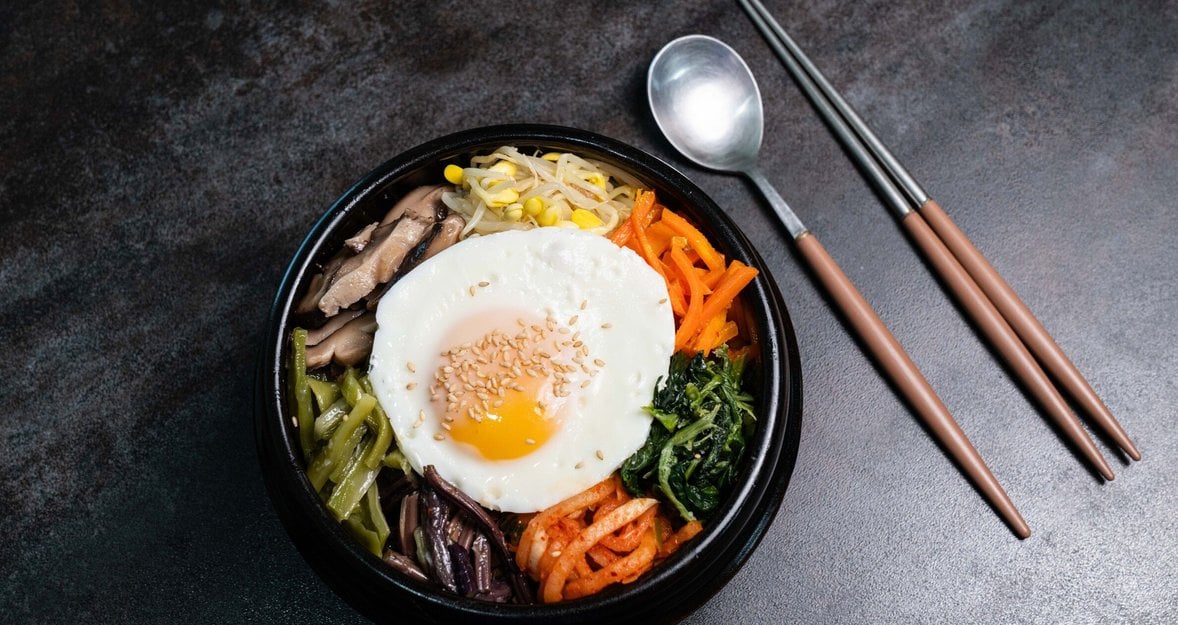
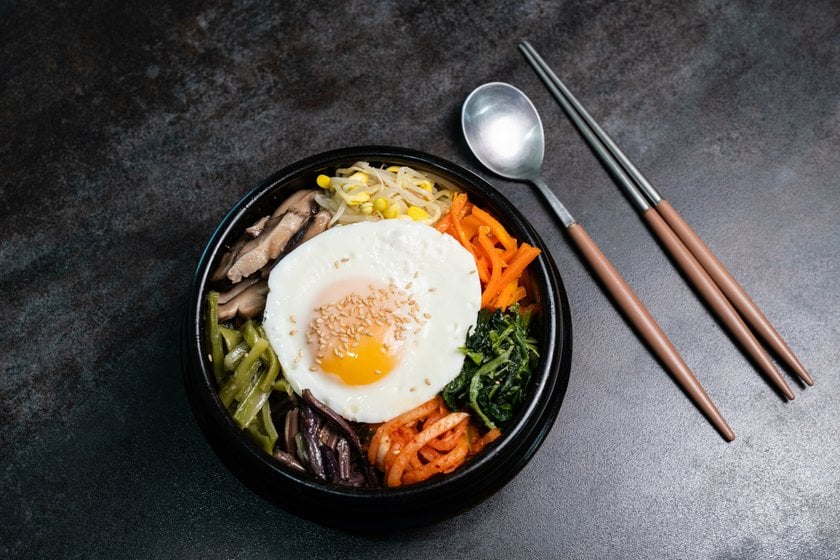 If you have a colourful dish, using a simple dark background makes your food look more vibrant.
Textured Backgrounds
Texture can prevent your food from blending into the backdrop and draw attention to its most appealing features. Adding texture to your scene introduces depth and interest, especially effective in close-up shots. Make certain that it complements rather than overwhelms it.
Lifestyle Shots
Creating a complex scene with ingredients, props and other elements can simulate a real-life setting or sell the idea of something. Crafting a story around your dish is engaging and rewarding.
There is a fine line, however, between getting it just right and overcrowding your setting. Establish there is enough space around your dish to maintain it as the focal point. Typically, dishes are placed centrally, with larger props forming a border and smaller elements added sparingly toward the centre. Consider that this more complex approach amplifies the challenge of ensuring colour, scale, and relevance are harmonious.
The Bottom Line
Focus on your dish’s strengths, as you are visually crafting an appetite for your viewers. By selecting the right background, you ensure that your meticulous preparation enhances the dish's appeal, making it irresistible to your audience.
Experiment and get creative, working through several layout choices throughout the shoot. But, most importantly, preparation is key. Food begins to lose its appeal the longer it is exposed, so have several concepts prepared before beginning your shoot allowing you to simply move the dish from one scene to the next if possible. Practice with a mock dish beforehand so you’ll be well prepared when it’s time for the real shoot.
The best part about food photography is that you may get the chance to eat your subject after you’ve finished shooting, a fine reward for your hard work. So grab your camera, props, backdrops and maybe even some cutlery, and get creating!


