Black And White Night Photography Tips And Tricks
May 27, 2024

Dive into the world of black-and-white photography with Steve Roe. Learn more about the technique of creating beautiful images and find inspiration for your own photo shoot
Night photography delivers a moody allure that sparks intrigue and mystery. The darker tones prevalent in nighttime scenes allow for heavy stylisation, sometimes even pushing the boundaries into a futuristic vibe through creative editing.
But what if we stripped away all those colours? Transitioning to black and white photography can intensify this mood, bringing a raw, gritty quality to your images. In black and white, shadows become more pronounced, creating stark contrasts with the light sources with dramatic effect. By removing the colour, we provide viewers with a more intimate experience, drawing them deeper into the story our photo tells.
Why Black and White Photography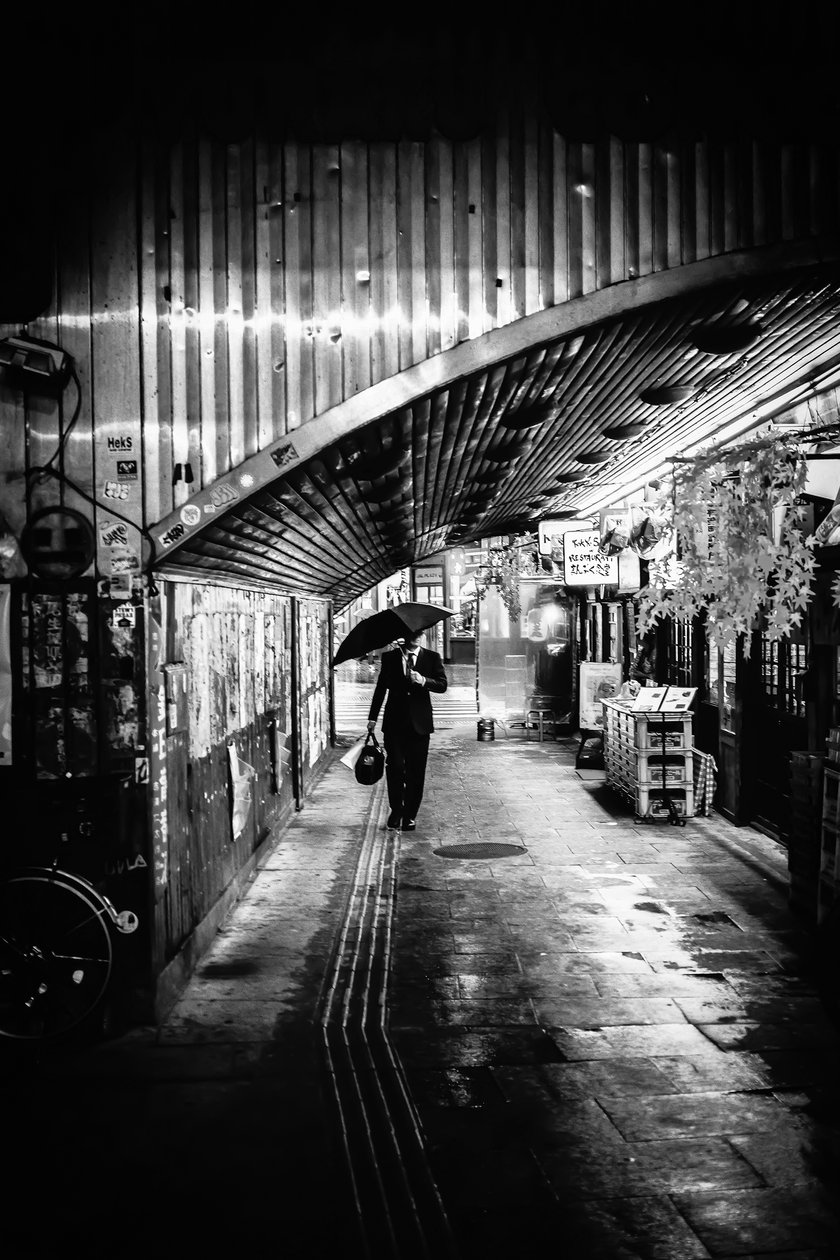
It can be a tough choice to strip away the colour in night scenes, especially when your scene is made up of vibrant city lights. However, removing the colour can still make for interesting pieces.
Textures
The stark contrast between shadows and light sources in monochrome photography can amplify textures and forms. This enhancement of textures can make details pop, giving the scene a quality that can be lost in colourful images.
Subject
Subjects stand out more distinctly against a simplified backdrop in black and white. Without the distraction of vibrant hues, the main elements of your composition become the focal point, enabling viewers to immediately grasp the themes of your piece.
Mood
Black and white photography is particularly effective at conveying mood and atmosphere. It delivers a stylised, timeless aesthetic reminiscent of classic film photography and film noir.
Emotional Content
With the elimination of colour, the emphasis naturally shifts to the content of the scene, encouraging viewers to engage more deeply with its emotional and narrative elements.
Who to Be Inspired by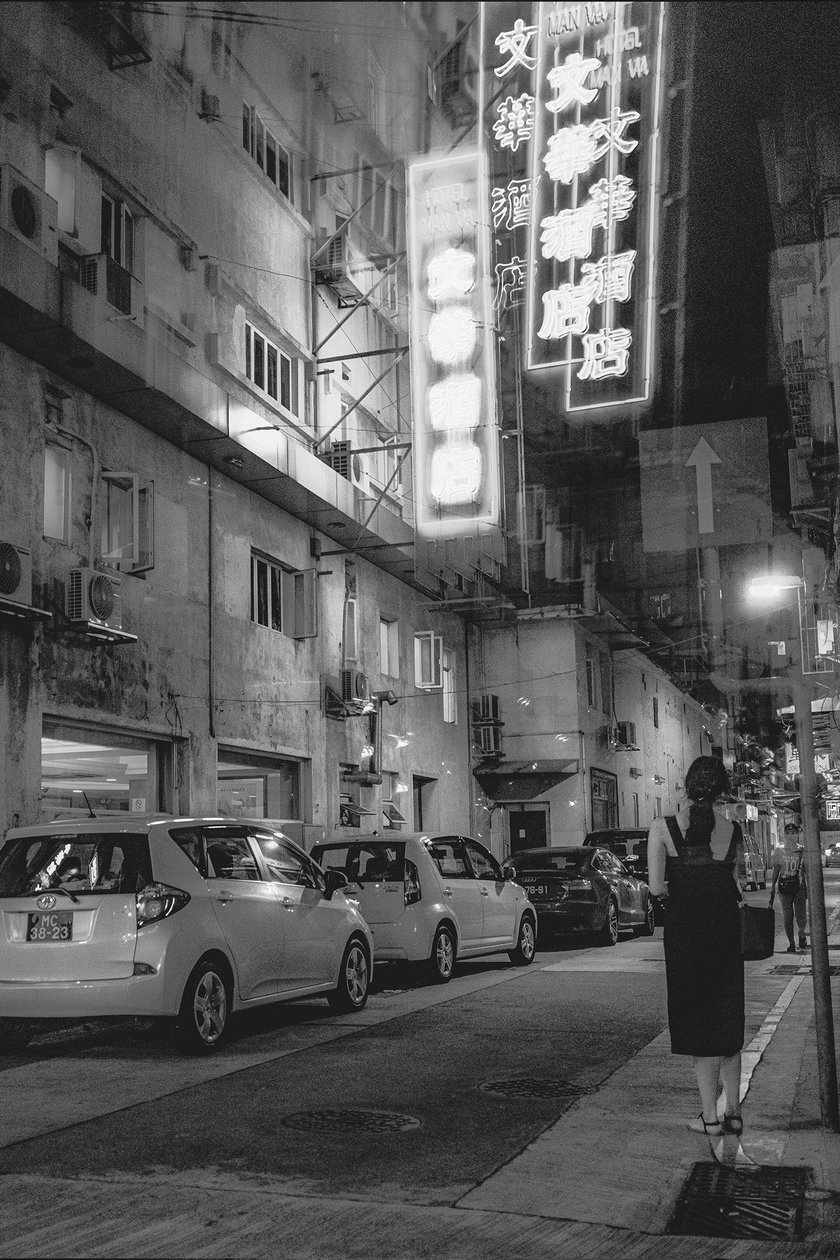
Photographers have ventured into the night with their cameras for decades, capturing stories that unfold uniquely after the sun sets.
Brassai famously captured the razzmatazz of Paris at night during the 1930s, from bustling cafés to moody street corners, vividly delivering the essence of the city during that era. Meanwhile, Weegee depicted the raw grit of New York City. Working as a press photographer in the 1930s and 40s, he portrayed the often graphic, crime-ridden world of New York at night. In black and white, Brassai’s work exudes a poetic grace, whereas the grittiness of the stories told by Weegee intensifies.
In contrast, away from urban chaos, Ansel Adams and Michael Kenna focused on minimalist landscapes under the night sky, stripped of colour to allow viewers to concentrate on the serene structures of landscapes and the mesmerising beauty of stars.
Camera Settings for Black and White Photography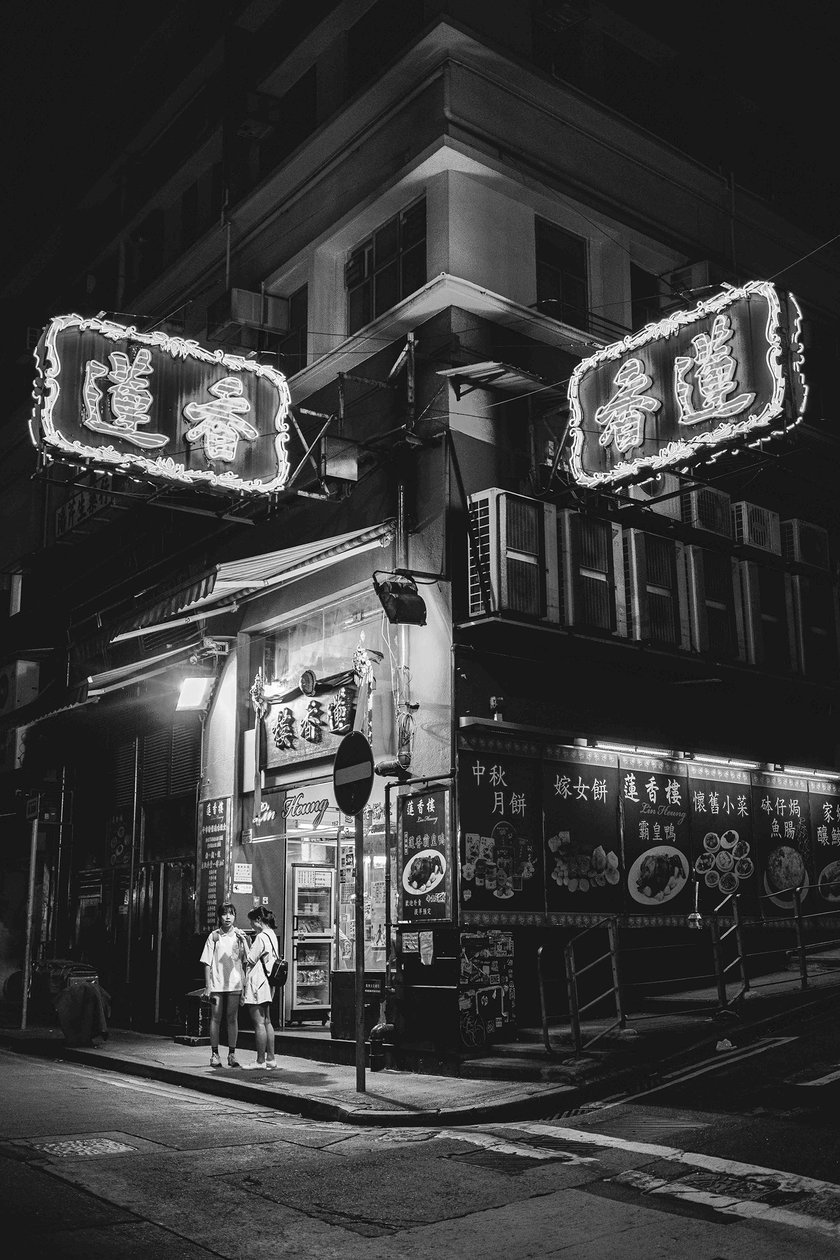
While our guide to night photography offers details on camera setup, there are a couple of things to consider when shooting in black and white with a digital camera.
Black and White Mode
Some digital cameras are equipped with a black and white mode, which allows you to shoot directly in monochrome. This feature lets you visualise how your images will look in black and white right on your camera’s display, eliminating the need to convert colour images later on. Not all cameras have this feature, so consult your camera’s manual to see if this capability is available.
Managing ISO
When shooting in black and white, the visibility of noise, or digital grain, can be more pronounced. This is because, in the absence of colour, all noise appears in shades of grey, which can stand out more distinctly against your scene. You may be aiming for a grainy appearance for its nostalgic, film-like quality, but it’s crucial to manage your ISO settings carefully to control the amount of noise. Higher ISO levels can introduce more grain, which isn’t always desirable unless you’re aiming for a specific aesthetic.
Black and White Night Photography Ideas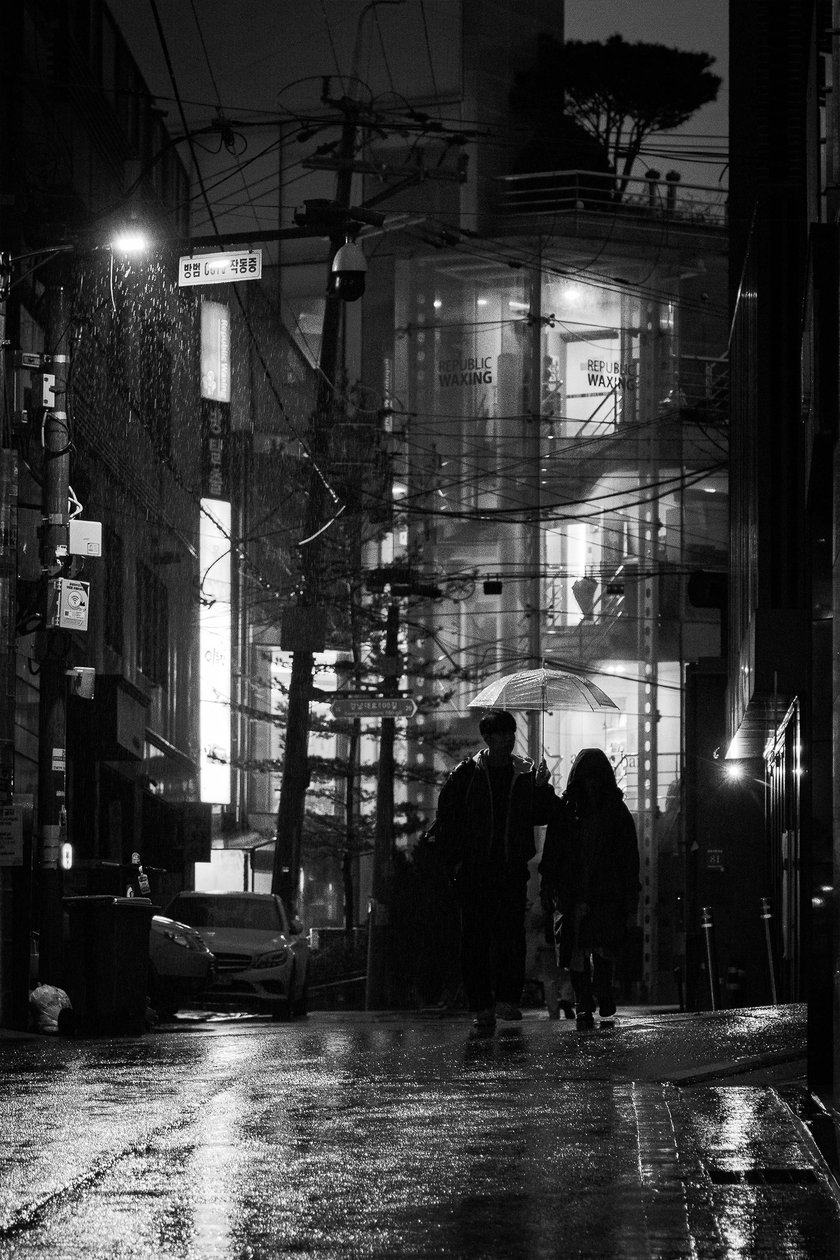
Now that your camera is all set, it’s time to get started. Trying out a new form of photography can be very exciting and with a genre such as black and white night photography you might be spoiled for choice for what to shoot first. Here is a list of some of our favourite ideas:
Street Photography
This is a great place to start as the city’s light sources should provide ample light for your compositions and it will be a great introduction to learning about contrasting your shadowed and highlighted areas. Look for interesting compositions with buildings and the streets, or stories with the people of the city reminiscent of Brassai.
Weather
This can work in any setting, but there’s something about bad weather in monochrome that looks extra atmospheric. Venture out in the fog, rain, or snow and start shooting. You can do this in the city or the countryside, drawing inspiration from Michael Kenna’s ethereal foggy night photos.
Portraits
Create timeless portraits with models in monochrome. As mentioned above, you can focus on narratives in your shot, so you can aim to tell compelling stories with your model. Urban portrait photography may be a little easier when starting, as there will be plenty of light for both your subject and scene. Just make sure there is enough contrast between your model and the background.
Minimalist
With colour out of the equation, achieving a minimalist aesthetic becomes more straightforward. Focusing on the shapes and contrast of light and dark in your image, you can create compelling pieces. Furthermore, silhouettes with heavy backlighting can also create minimalist shots that always look fantastic.
Long Exposure
Use long exposure techniques to capture light trails in cityscapes, adding dynamic patterns and movement to your shots. Refer to our detailed guide on long exposure techniques for more insights. Additionally, try capturing the movement of people to create ghostly figures that adds an interesting layer to your black and white street photography shots.
A Few Words about Post Processing
If you want precise controls over transforming your colourful shots into stylish black and white images, then Luminar Neo has some fantastic tools to help you do so.
1. Black and White Tool
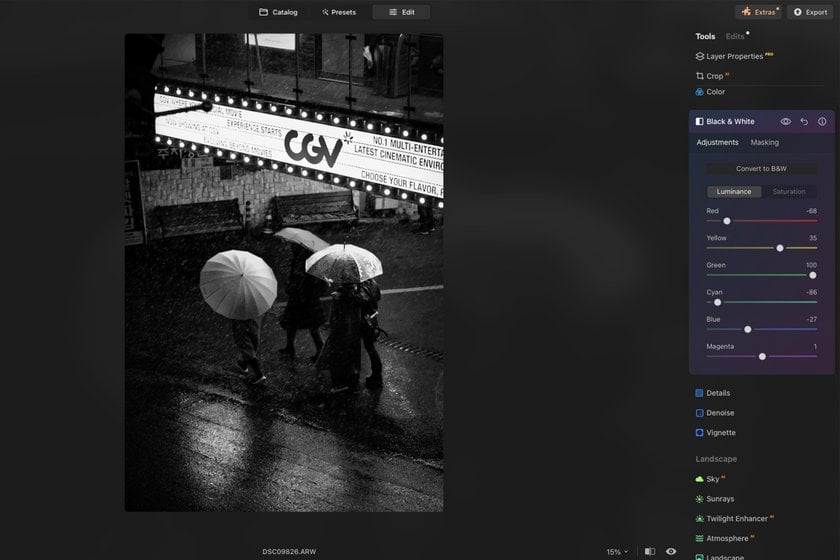
Luminar Neo has a handy tool just for converting your shots to monochrome with a simple click. Located in the essentials section, you will find the Black and White tool. Not only does it desaturate your image, but allows you to adjust the luminance of individual hues within your shot. This is key for enhancing contrast and ensuring that your subjects stand out against the background. If you want to introduce only one colour back into your image, you can do so using the saturation panel, and adjusting the sliders of a hue to reintroduce it. To convert your photo, simply click 'Convert to B&W'. You can then adjust the hue sliders to achieve the contrast levels based on your specific needs.
For the image above, I needed to remove a great deal of cyan luminance as there wasn't enough contrast between the subjects and the road. I also needed to heavily reduce the red hues so I could make the lettering on the vintage cinema board pop.
2. Grain
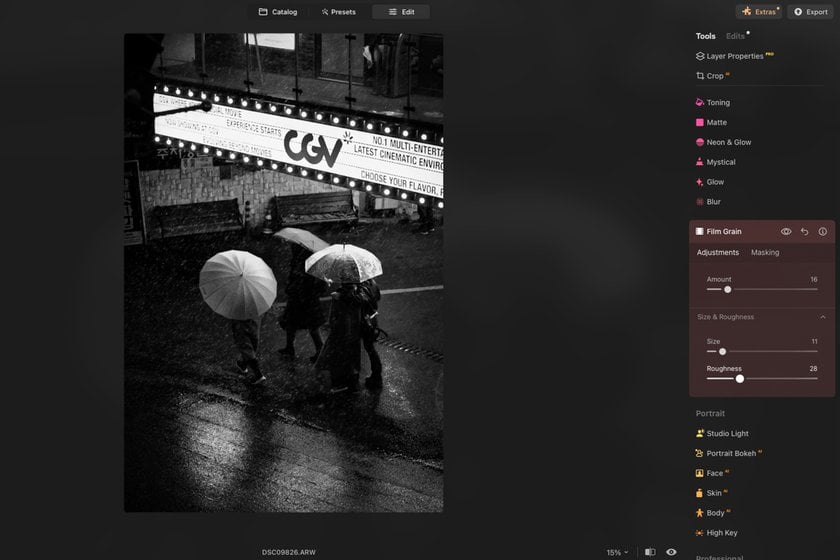
If you want to recreate the timelessness of a film photo, you can add grain to your image. The Film Grain tool inside Luminar Neo gives you control of the size and roughness of the grain allowing you to fine tune it to your taste. I added a subtle amount for my image, as due to there being sleet in my shot I felt like there was enough texture.
3. Super Contrast
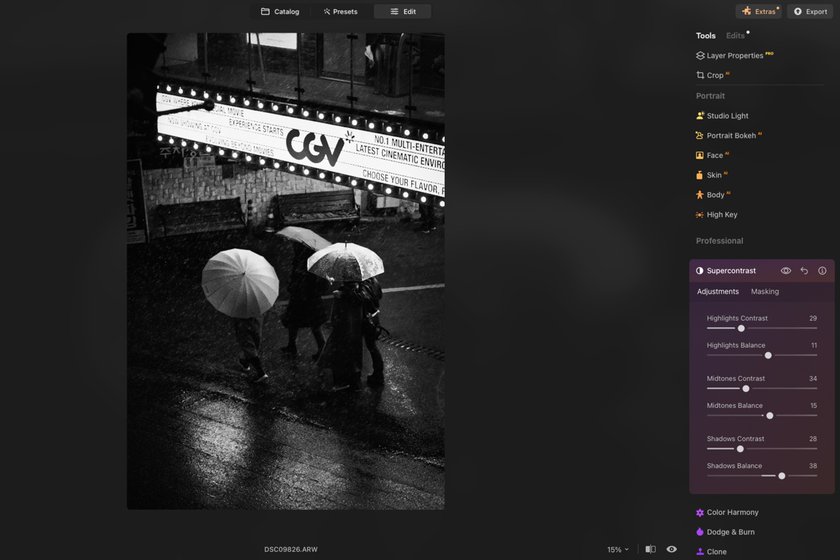
For images that require even more depth, you can use the Super Contrast tool. Unlike standard contrast adjustments, Super Contrast provides separate controls for shadows, mid-tones and highlights. This allows for fine-tuned adjustments that can deliver more impact in your shot.
The Bottom Line
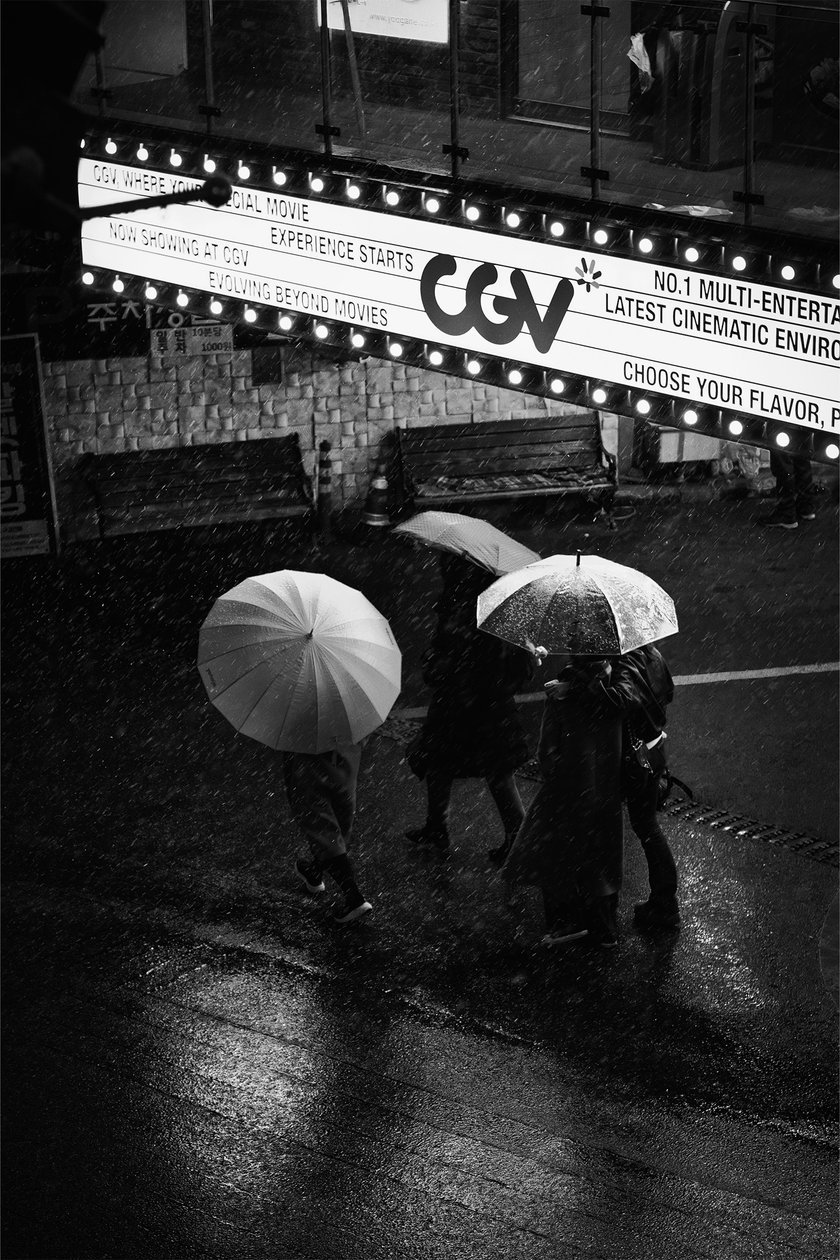
Black and white photography is timeless. With its unique qualities, it effortlessly delivers stylish shots that have mesmerised viewers for decades. Even in low-lit conditions, monochrome images look fantastic. By removing the distraction of colours, we're left with stark contrasts between light sources and shadows, and the silhouettes of passersby become more pronounced. This allows us to focus more on textures and deliver profoundly impactful narratives that capture our viewers’ attention.
Whether you are experienced with black and white photography or just starting, turn your attention toward the night and head out with your camera. The night offers new perspectives that you may not have considered before. Although it can be challenging, experiment with the tips and tricks we’ve covered, and prepare to see the night in a whole new light.


