 View plans
Sense of Speed With
the Motion Blur Effect
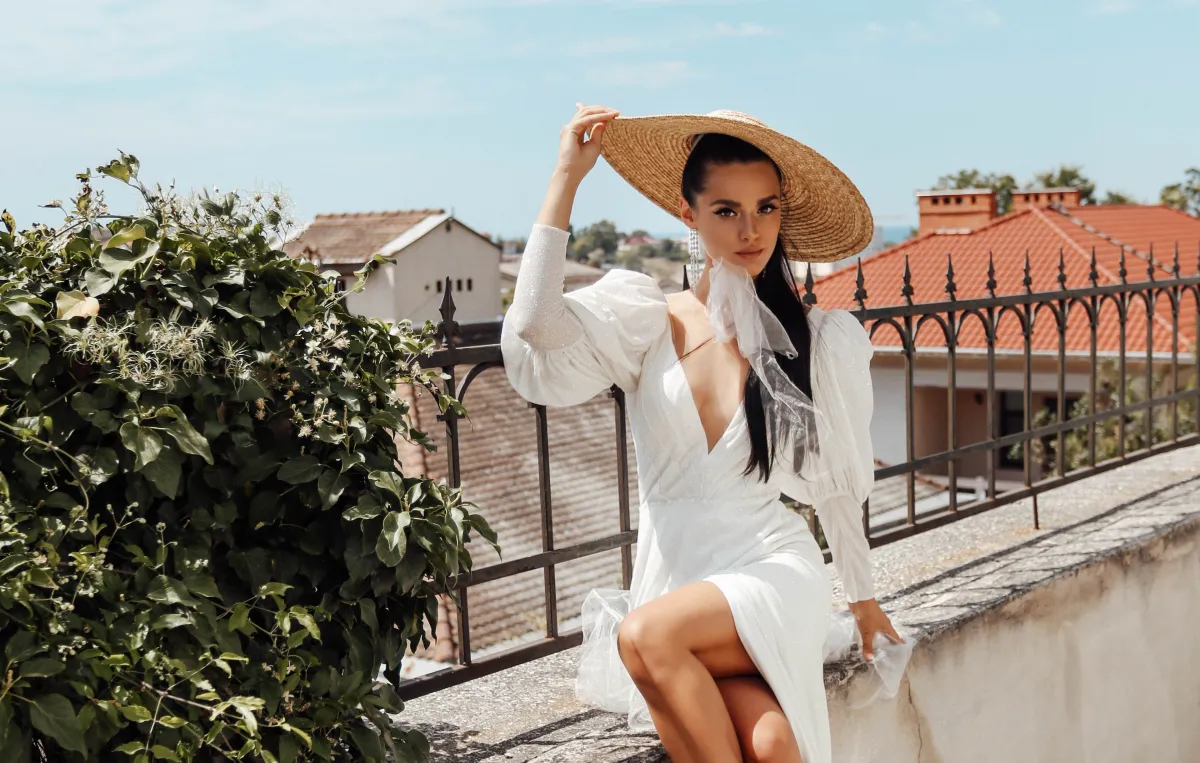
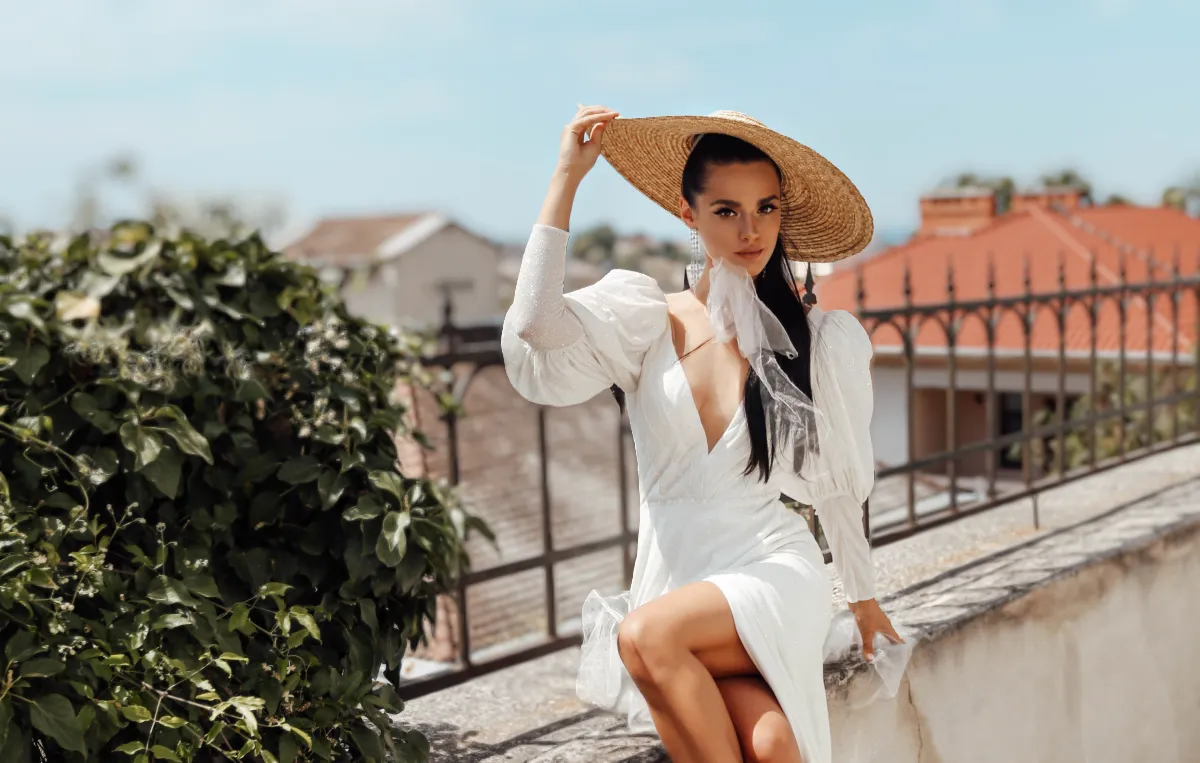
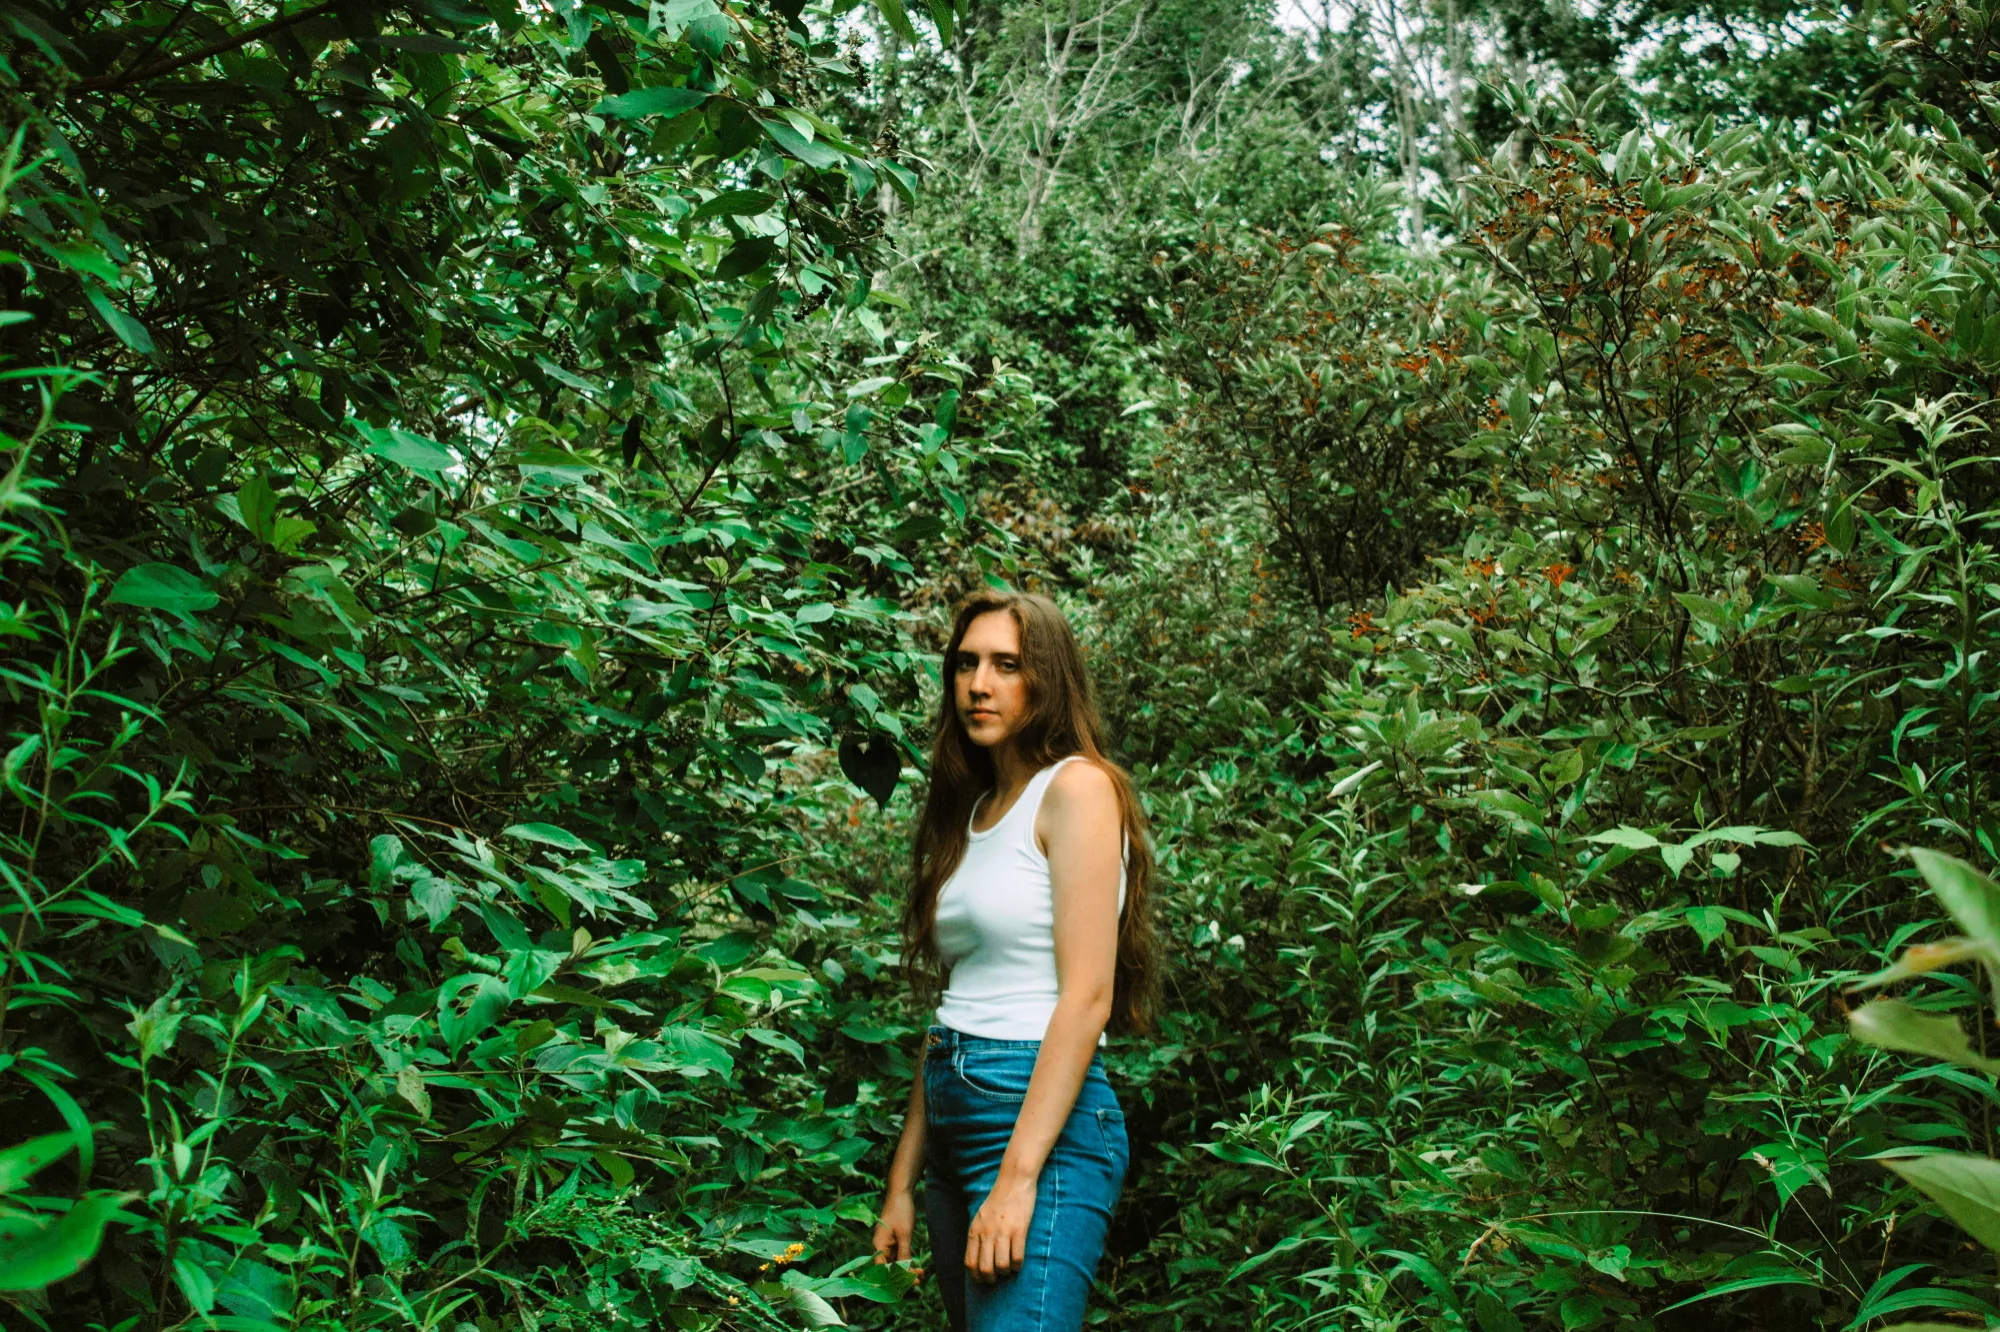
Add a dynamic and energetic effect to your photo with the motion blur effect in Luminar. Make an ordinary photo appear more exciting and captivating in a few clicks thanks to this shaky photo effect!
Try it nowHow to Create Stunning Visuals: Using the Motion Effect on Pictures
.webp)
.webp)


Why Should you Embrace Motion Blur in Your Photography?
Beyond Stillness: the Wonders of Motion Blur Photos
Adding Depth and Drama with a Motion Blur Generator
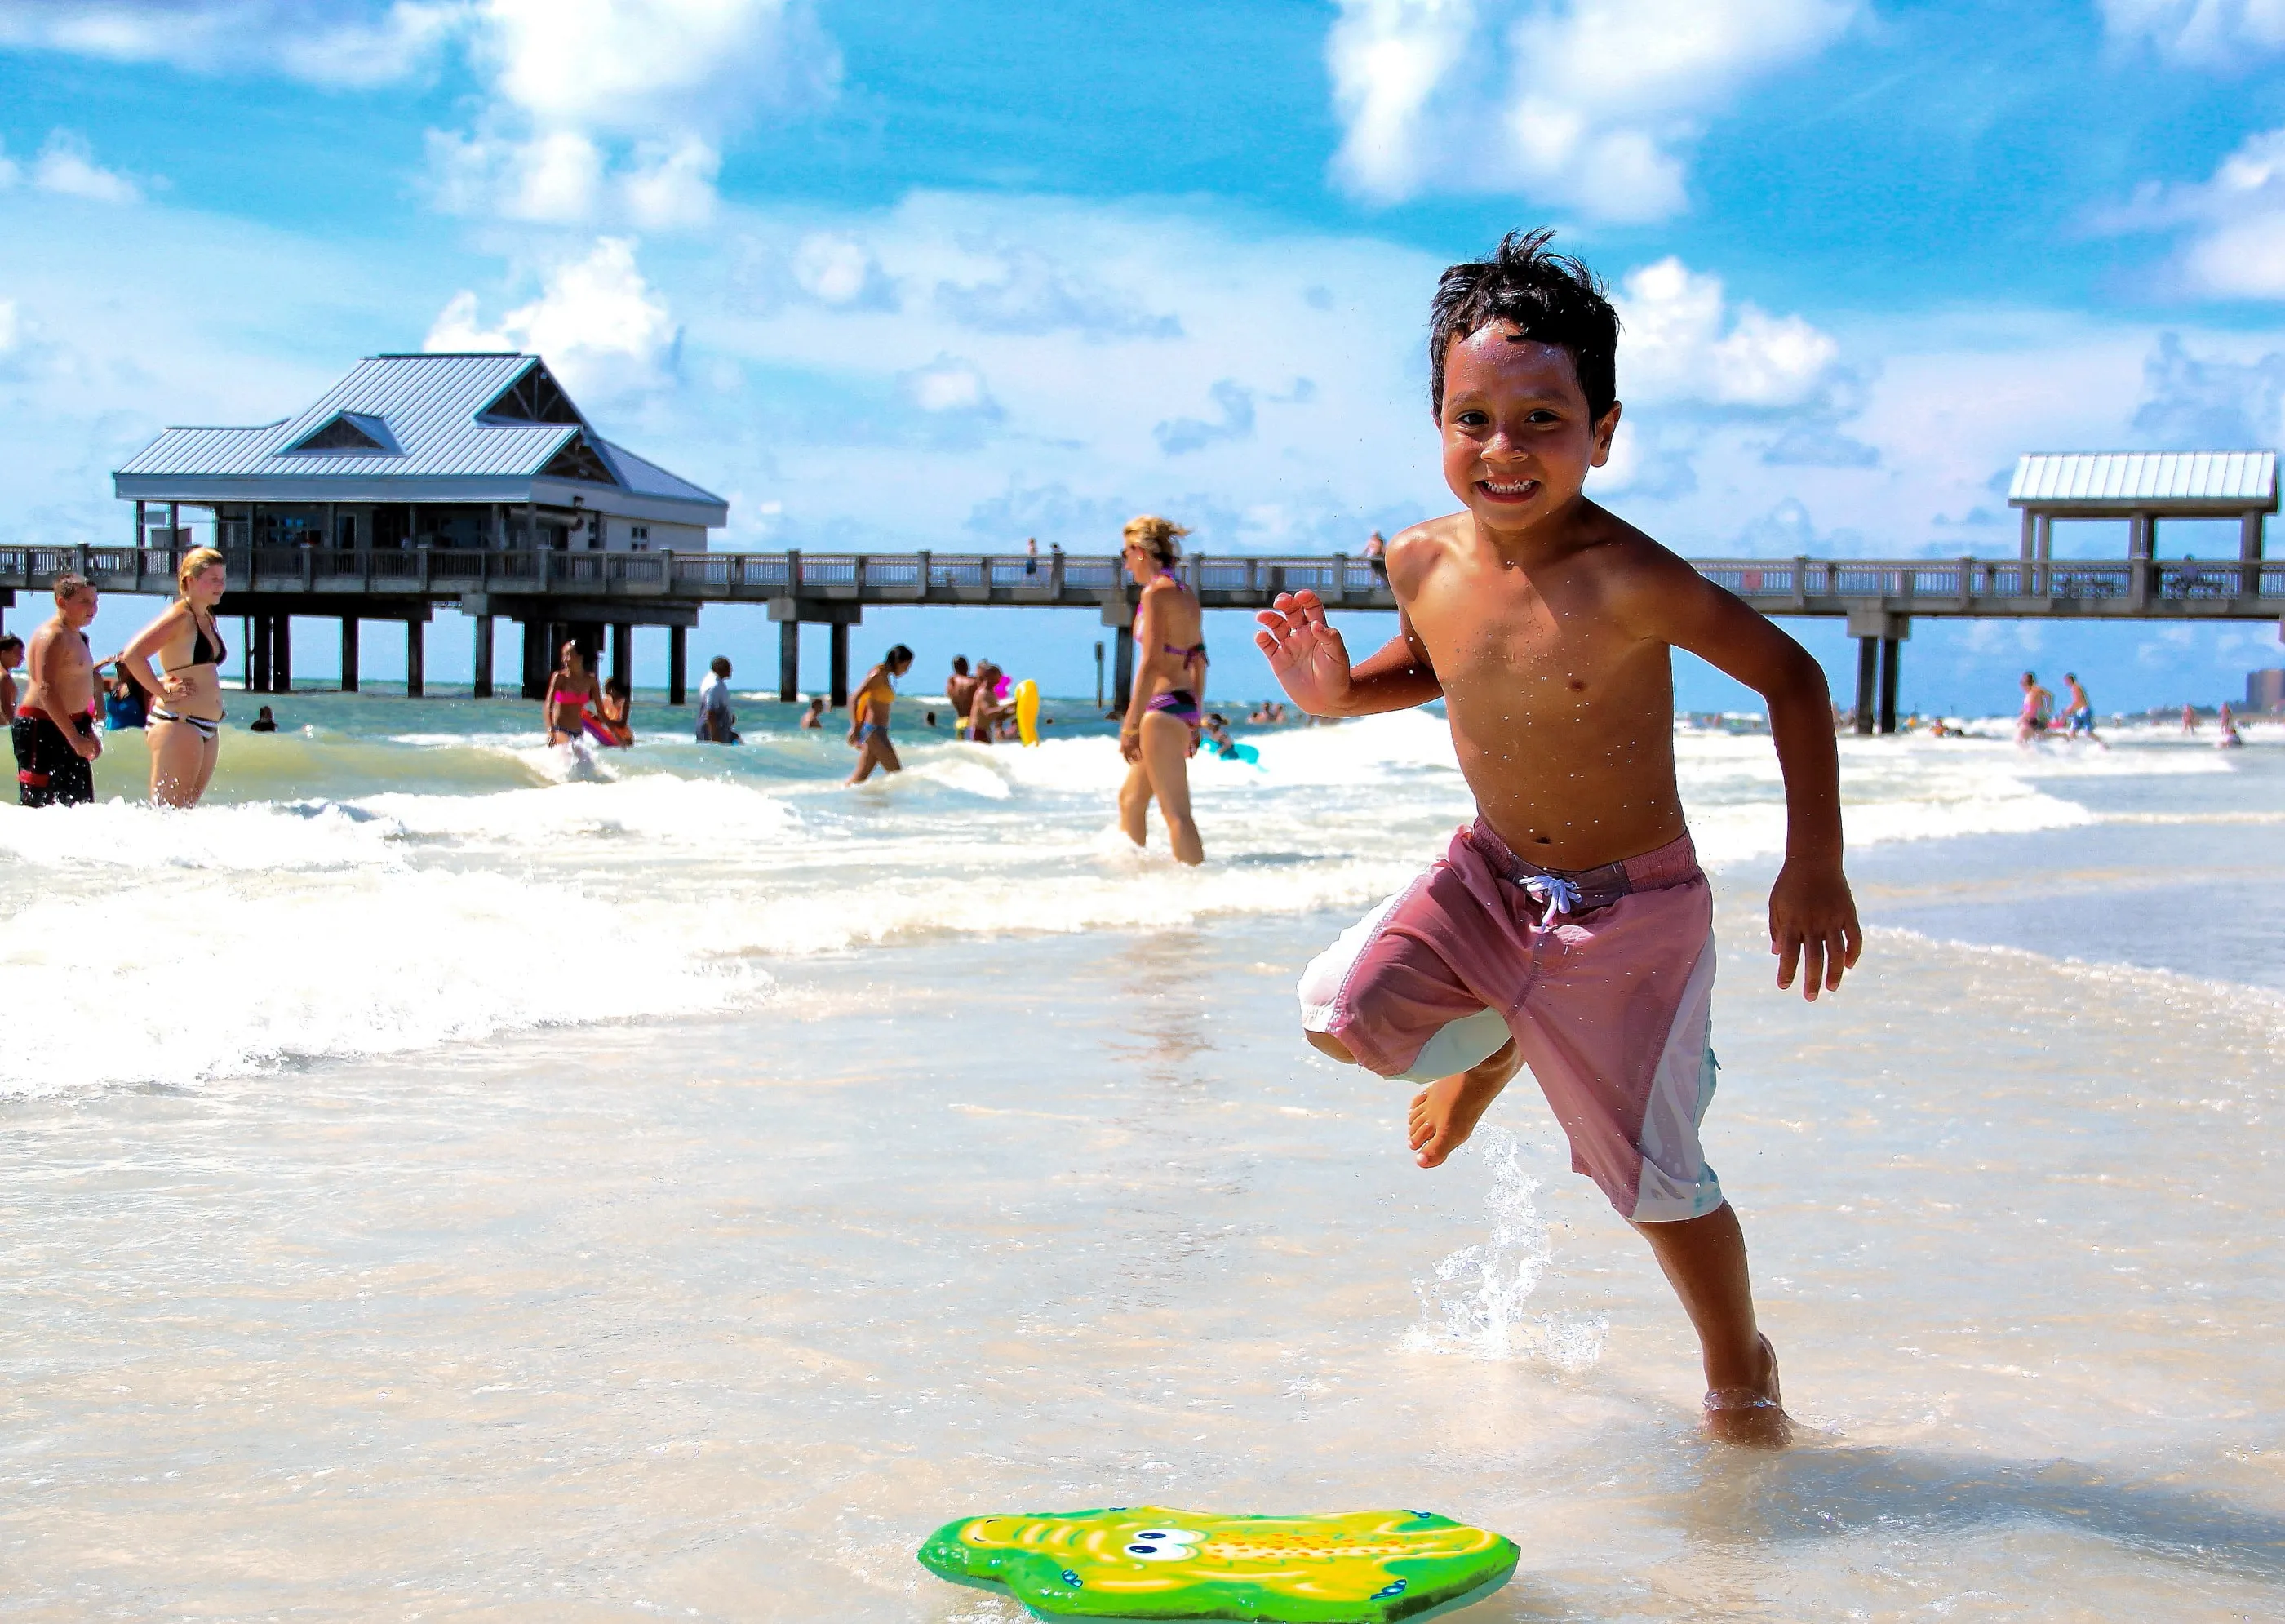
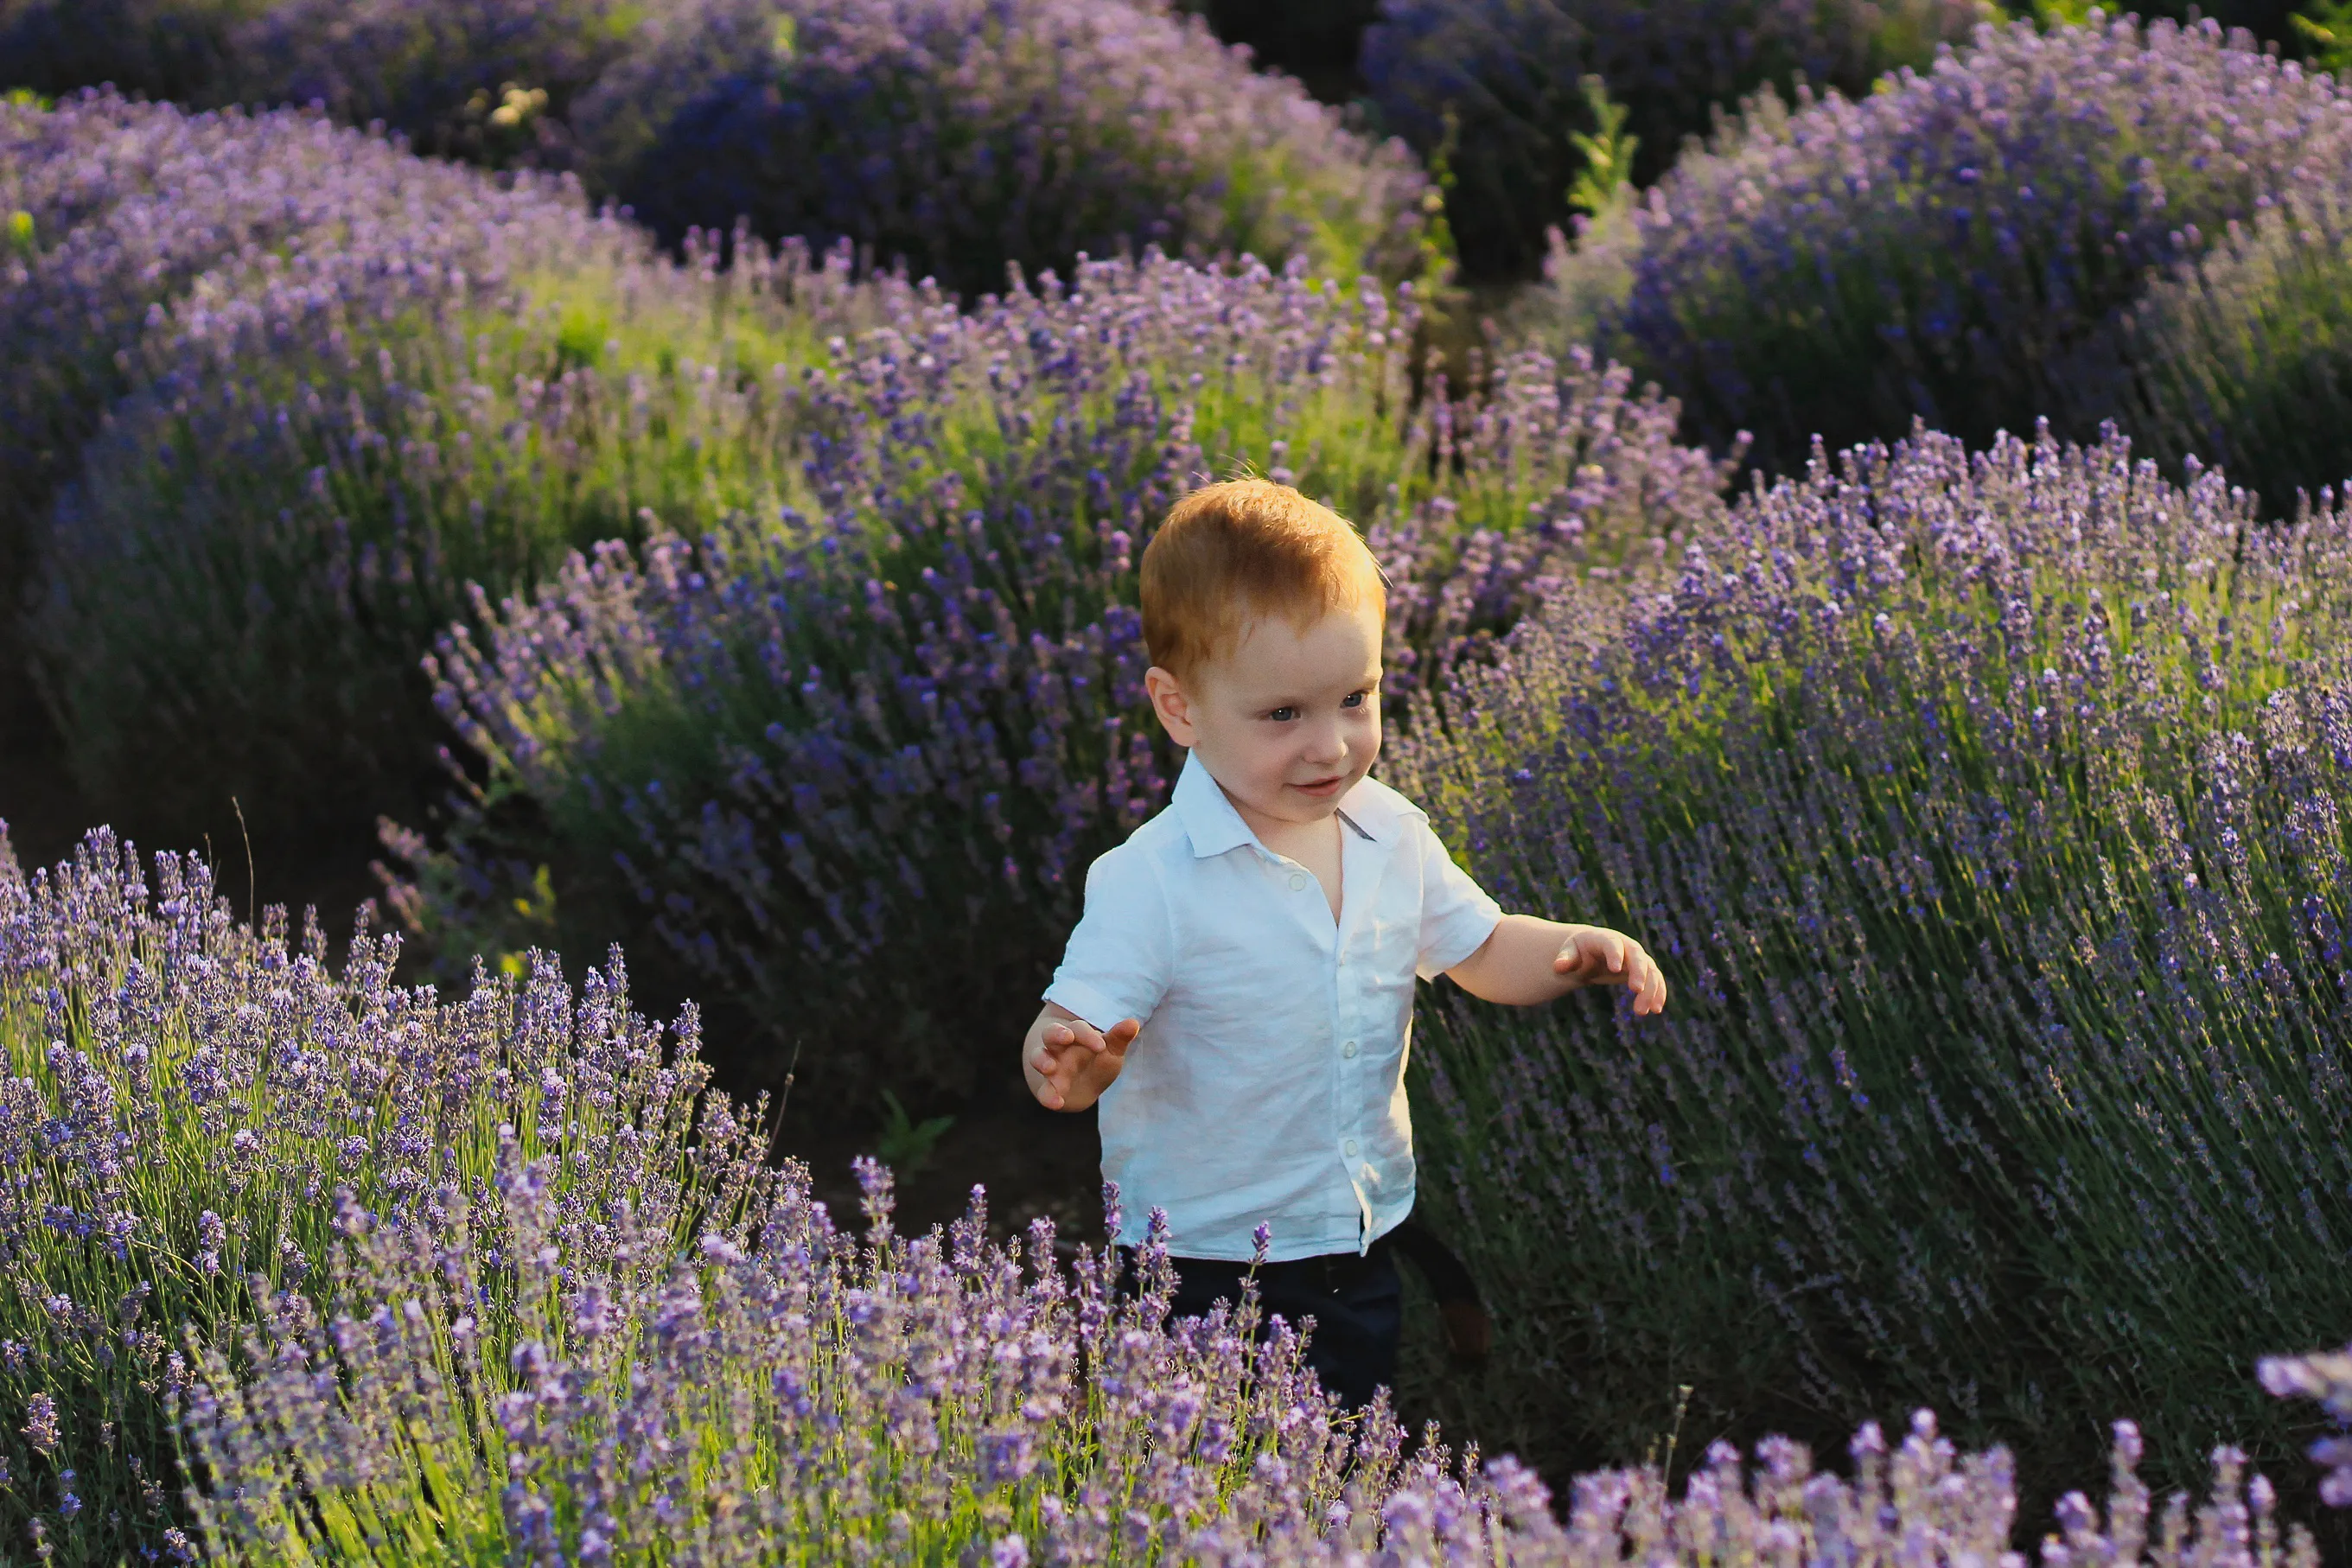
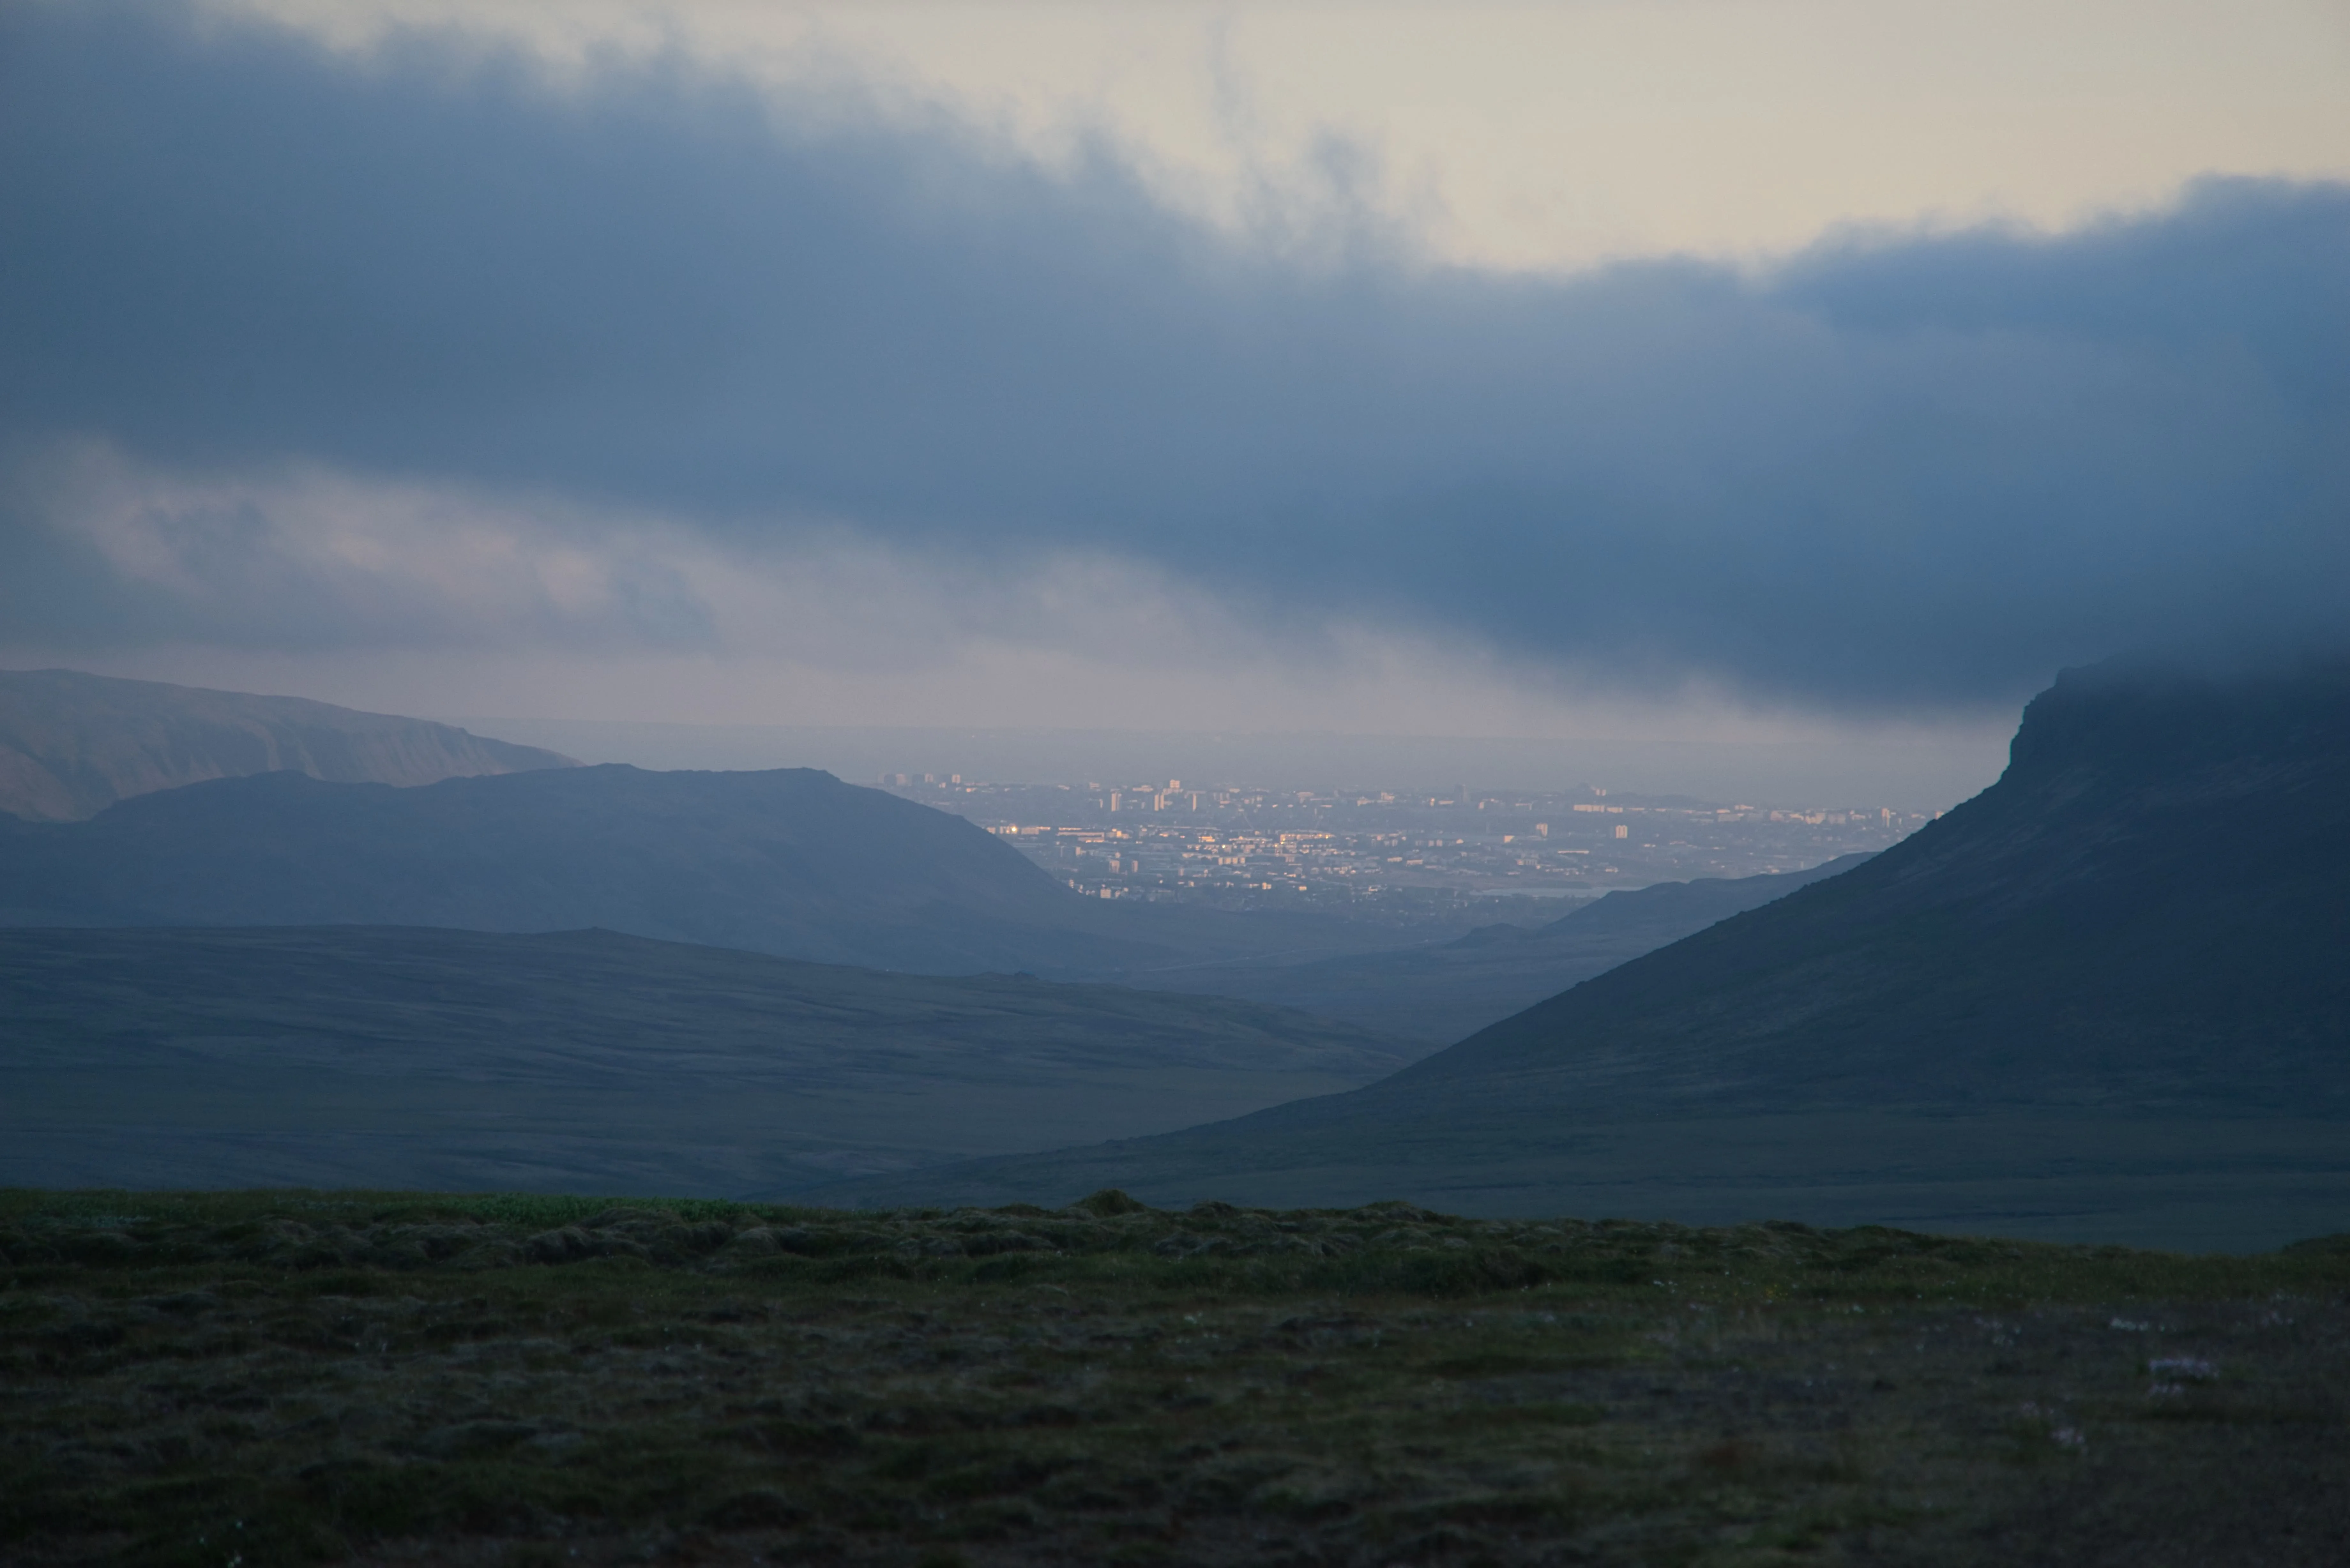
Here's a step-by-step guide to adding a creative motion effect to an image:

Begin by duplicating the layer. Right-click on the layer and select the "Duplicate" option.

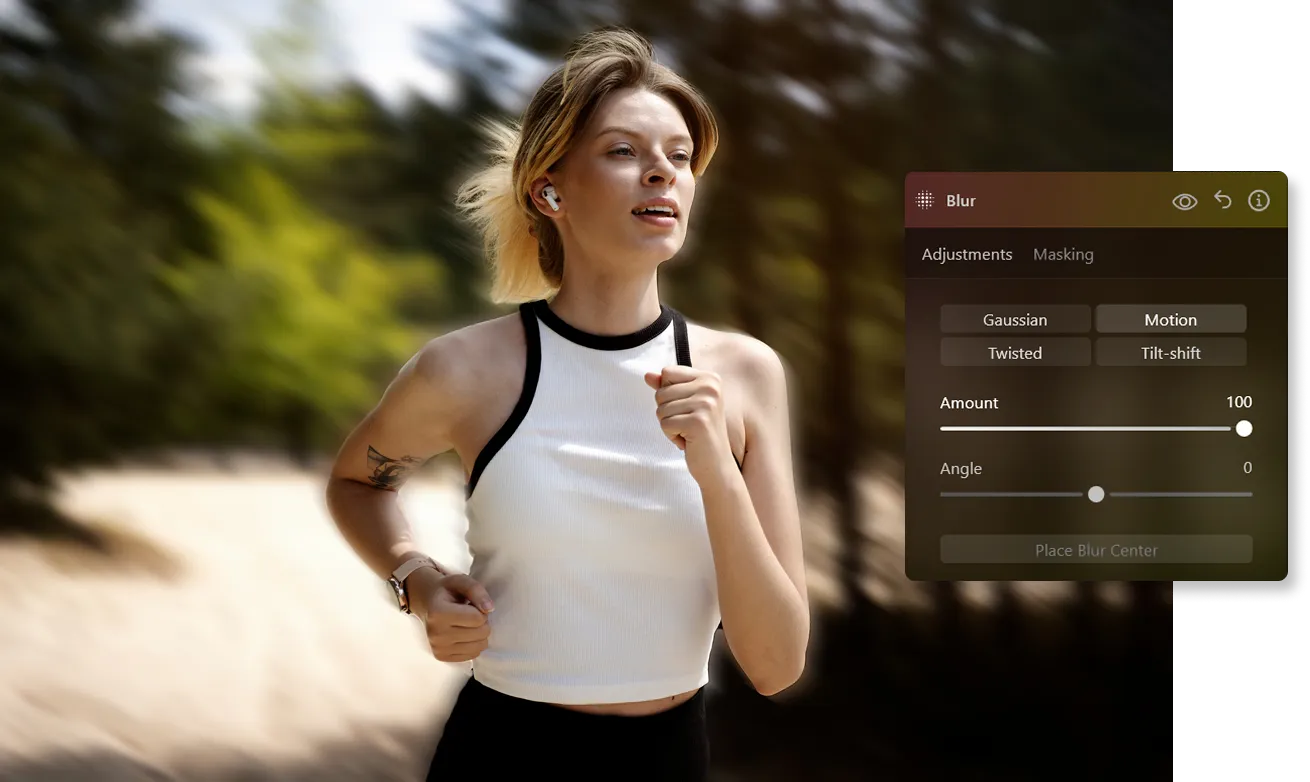
Next, head to the Creative Tools section and choose the Blur tool.

Within the Blur tool options, select "Motion Blur" and set the amount to 100%. Keep the angle at its default value of 0.

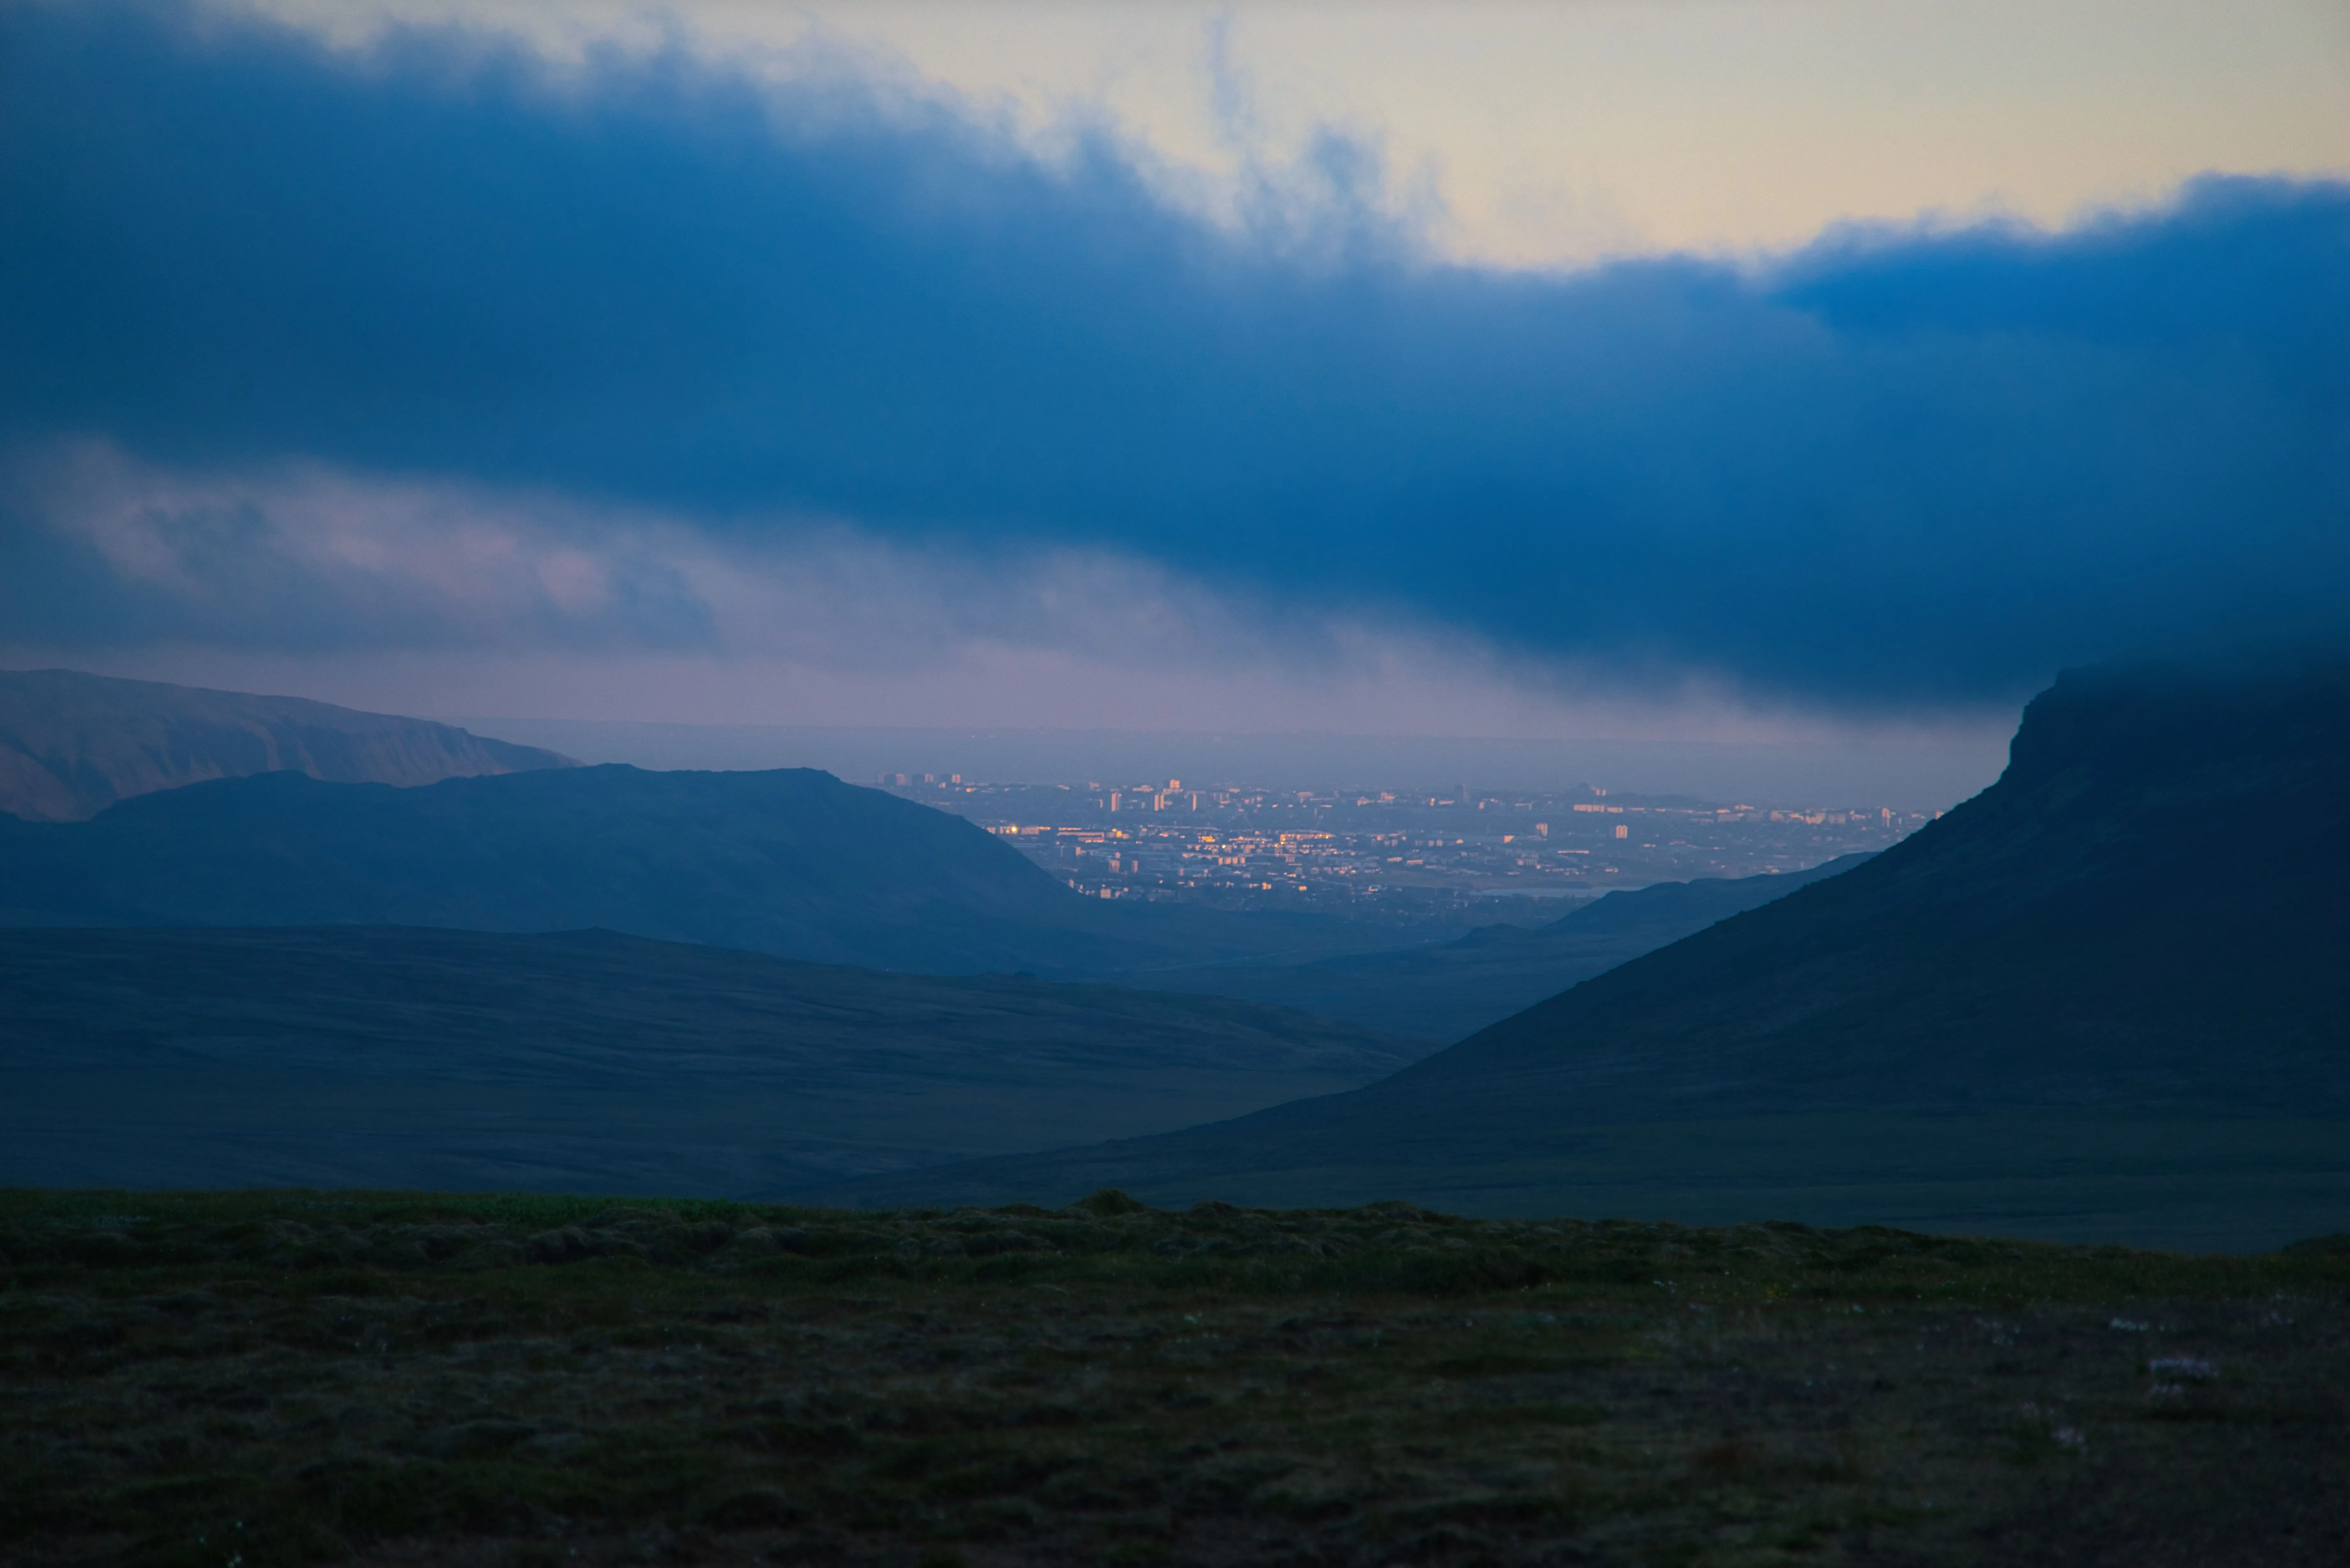
To make the motion effect more prominent, close the Blur Tool by clicking the "Blur" title and reopen it.

Reapply the same settings with a 100% blur amount.

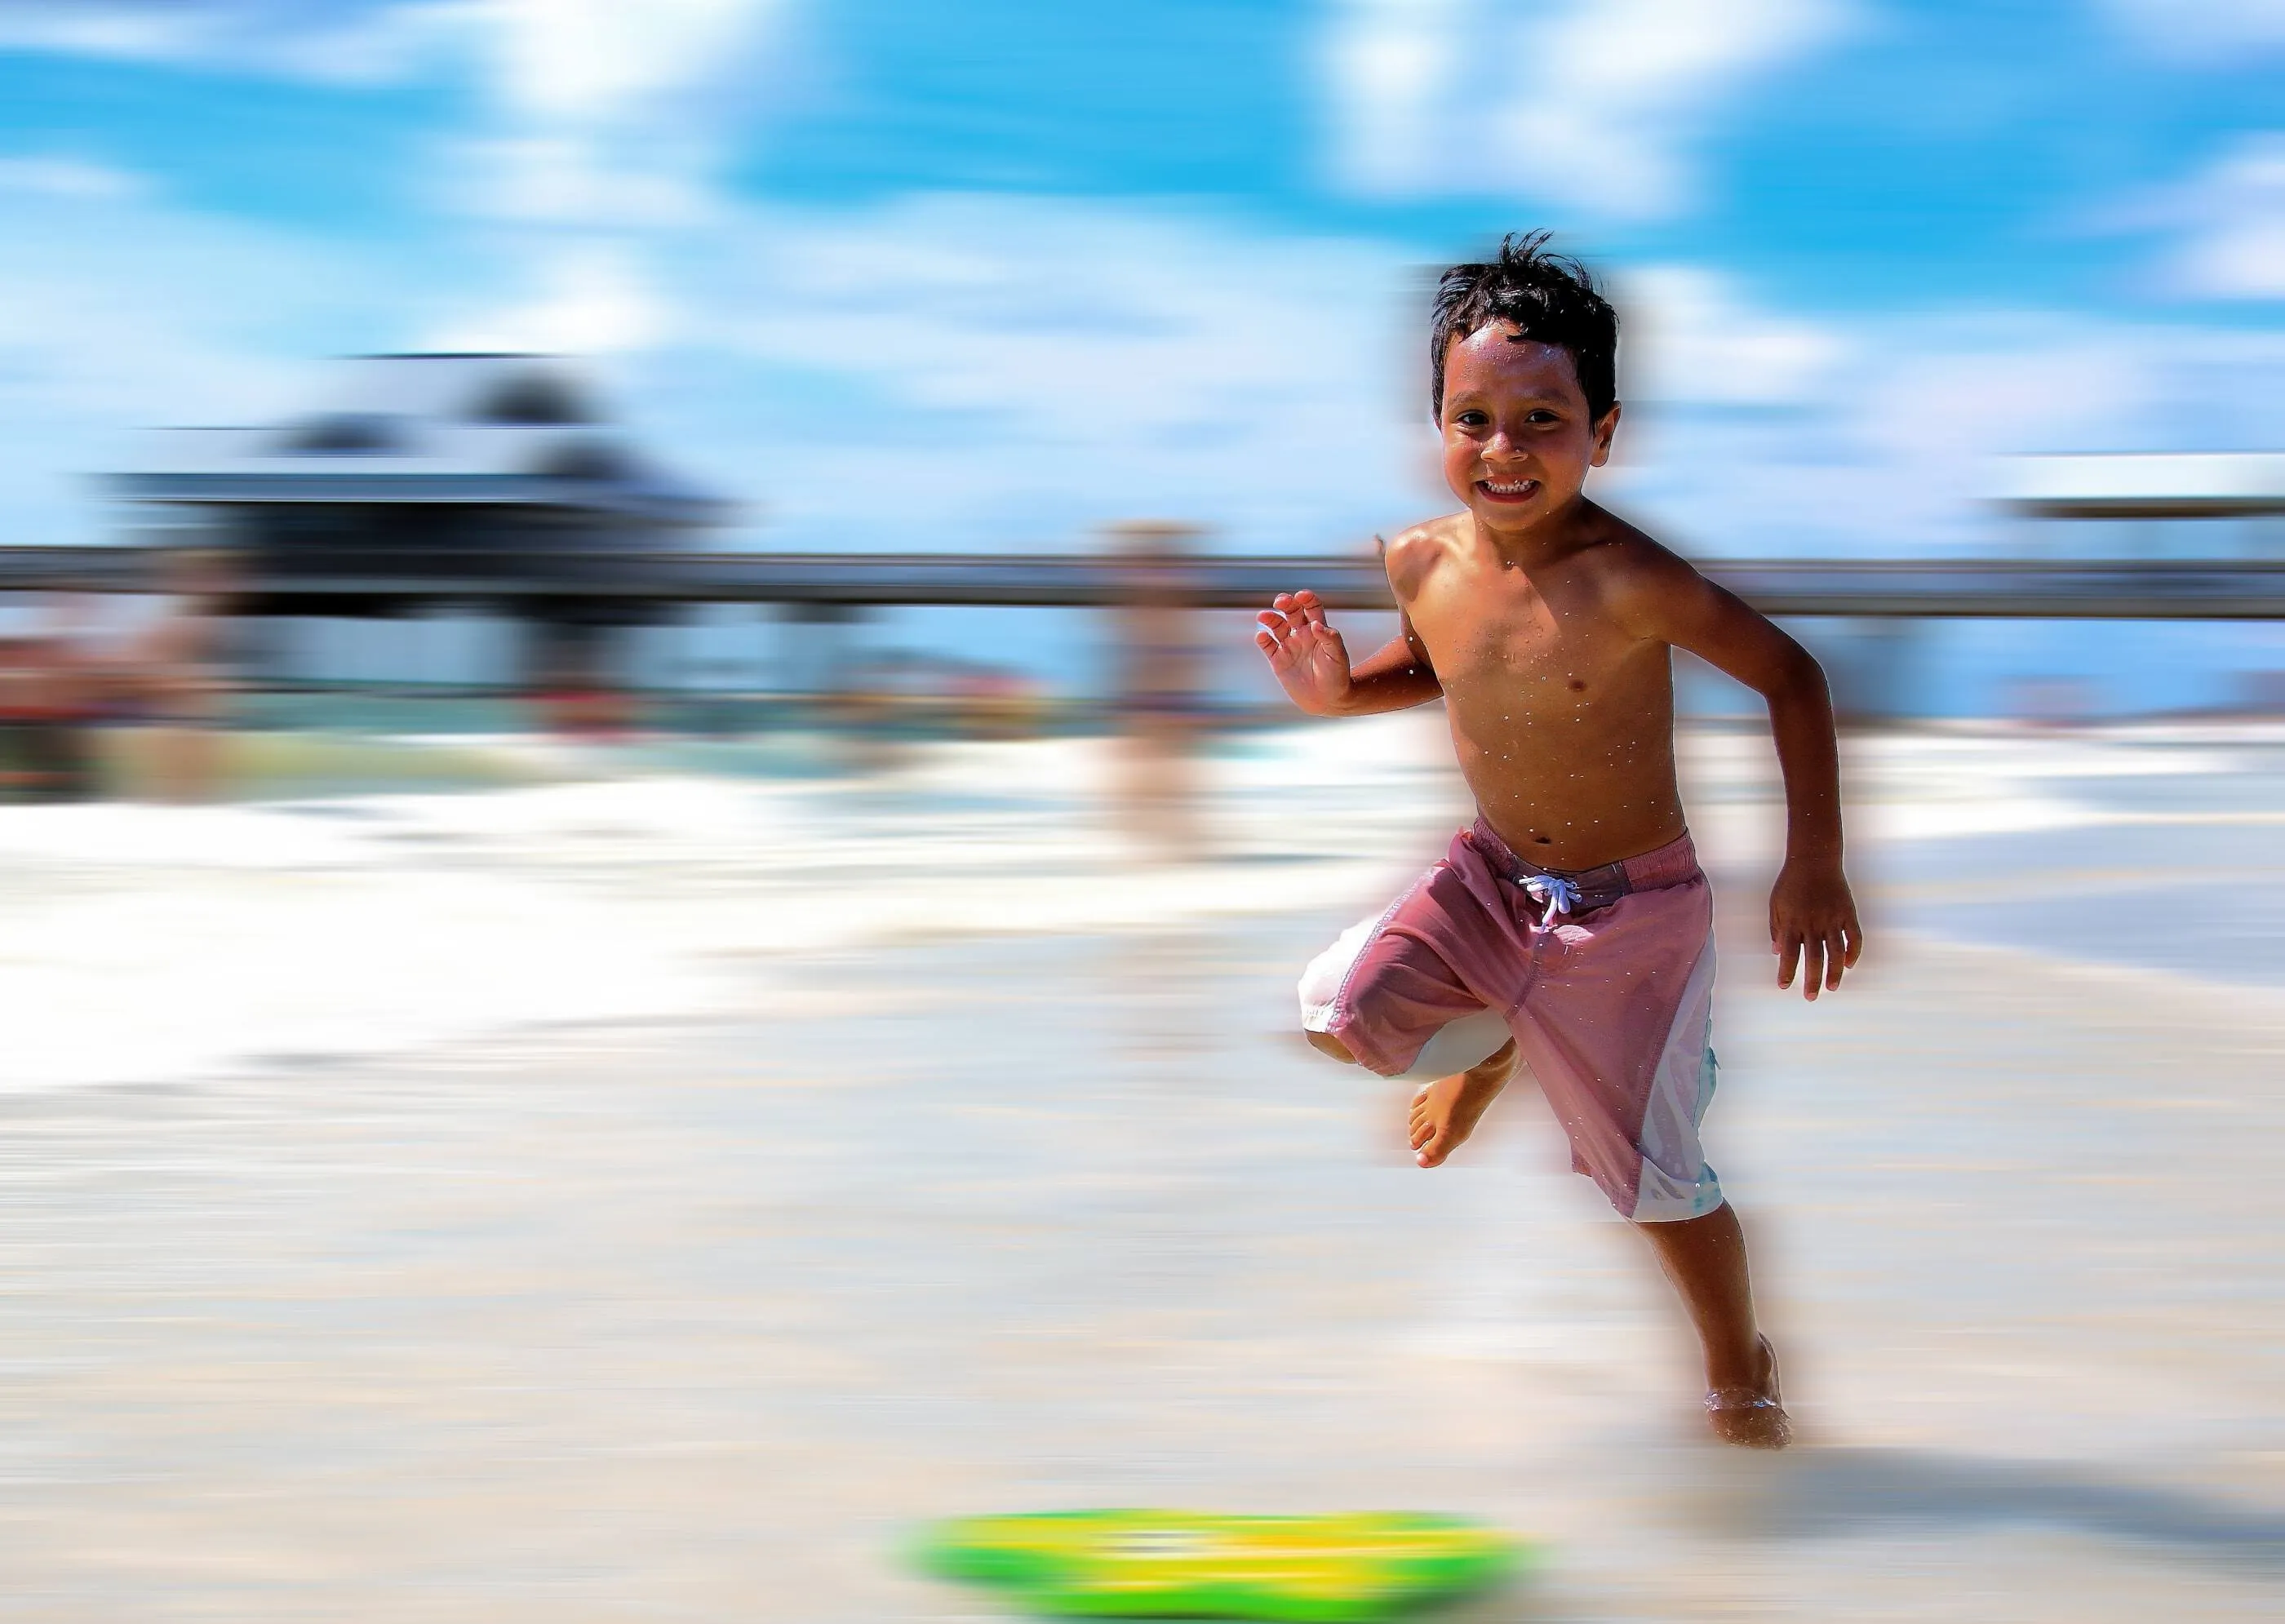
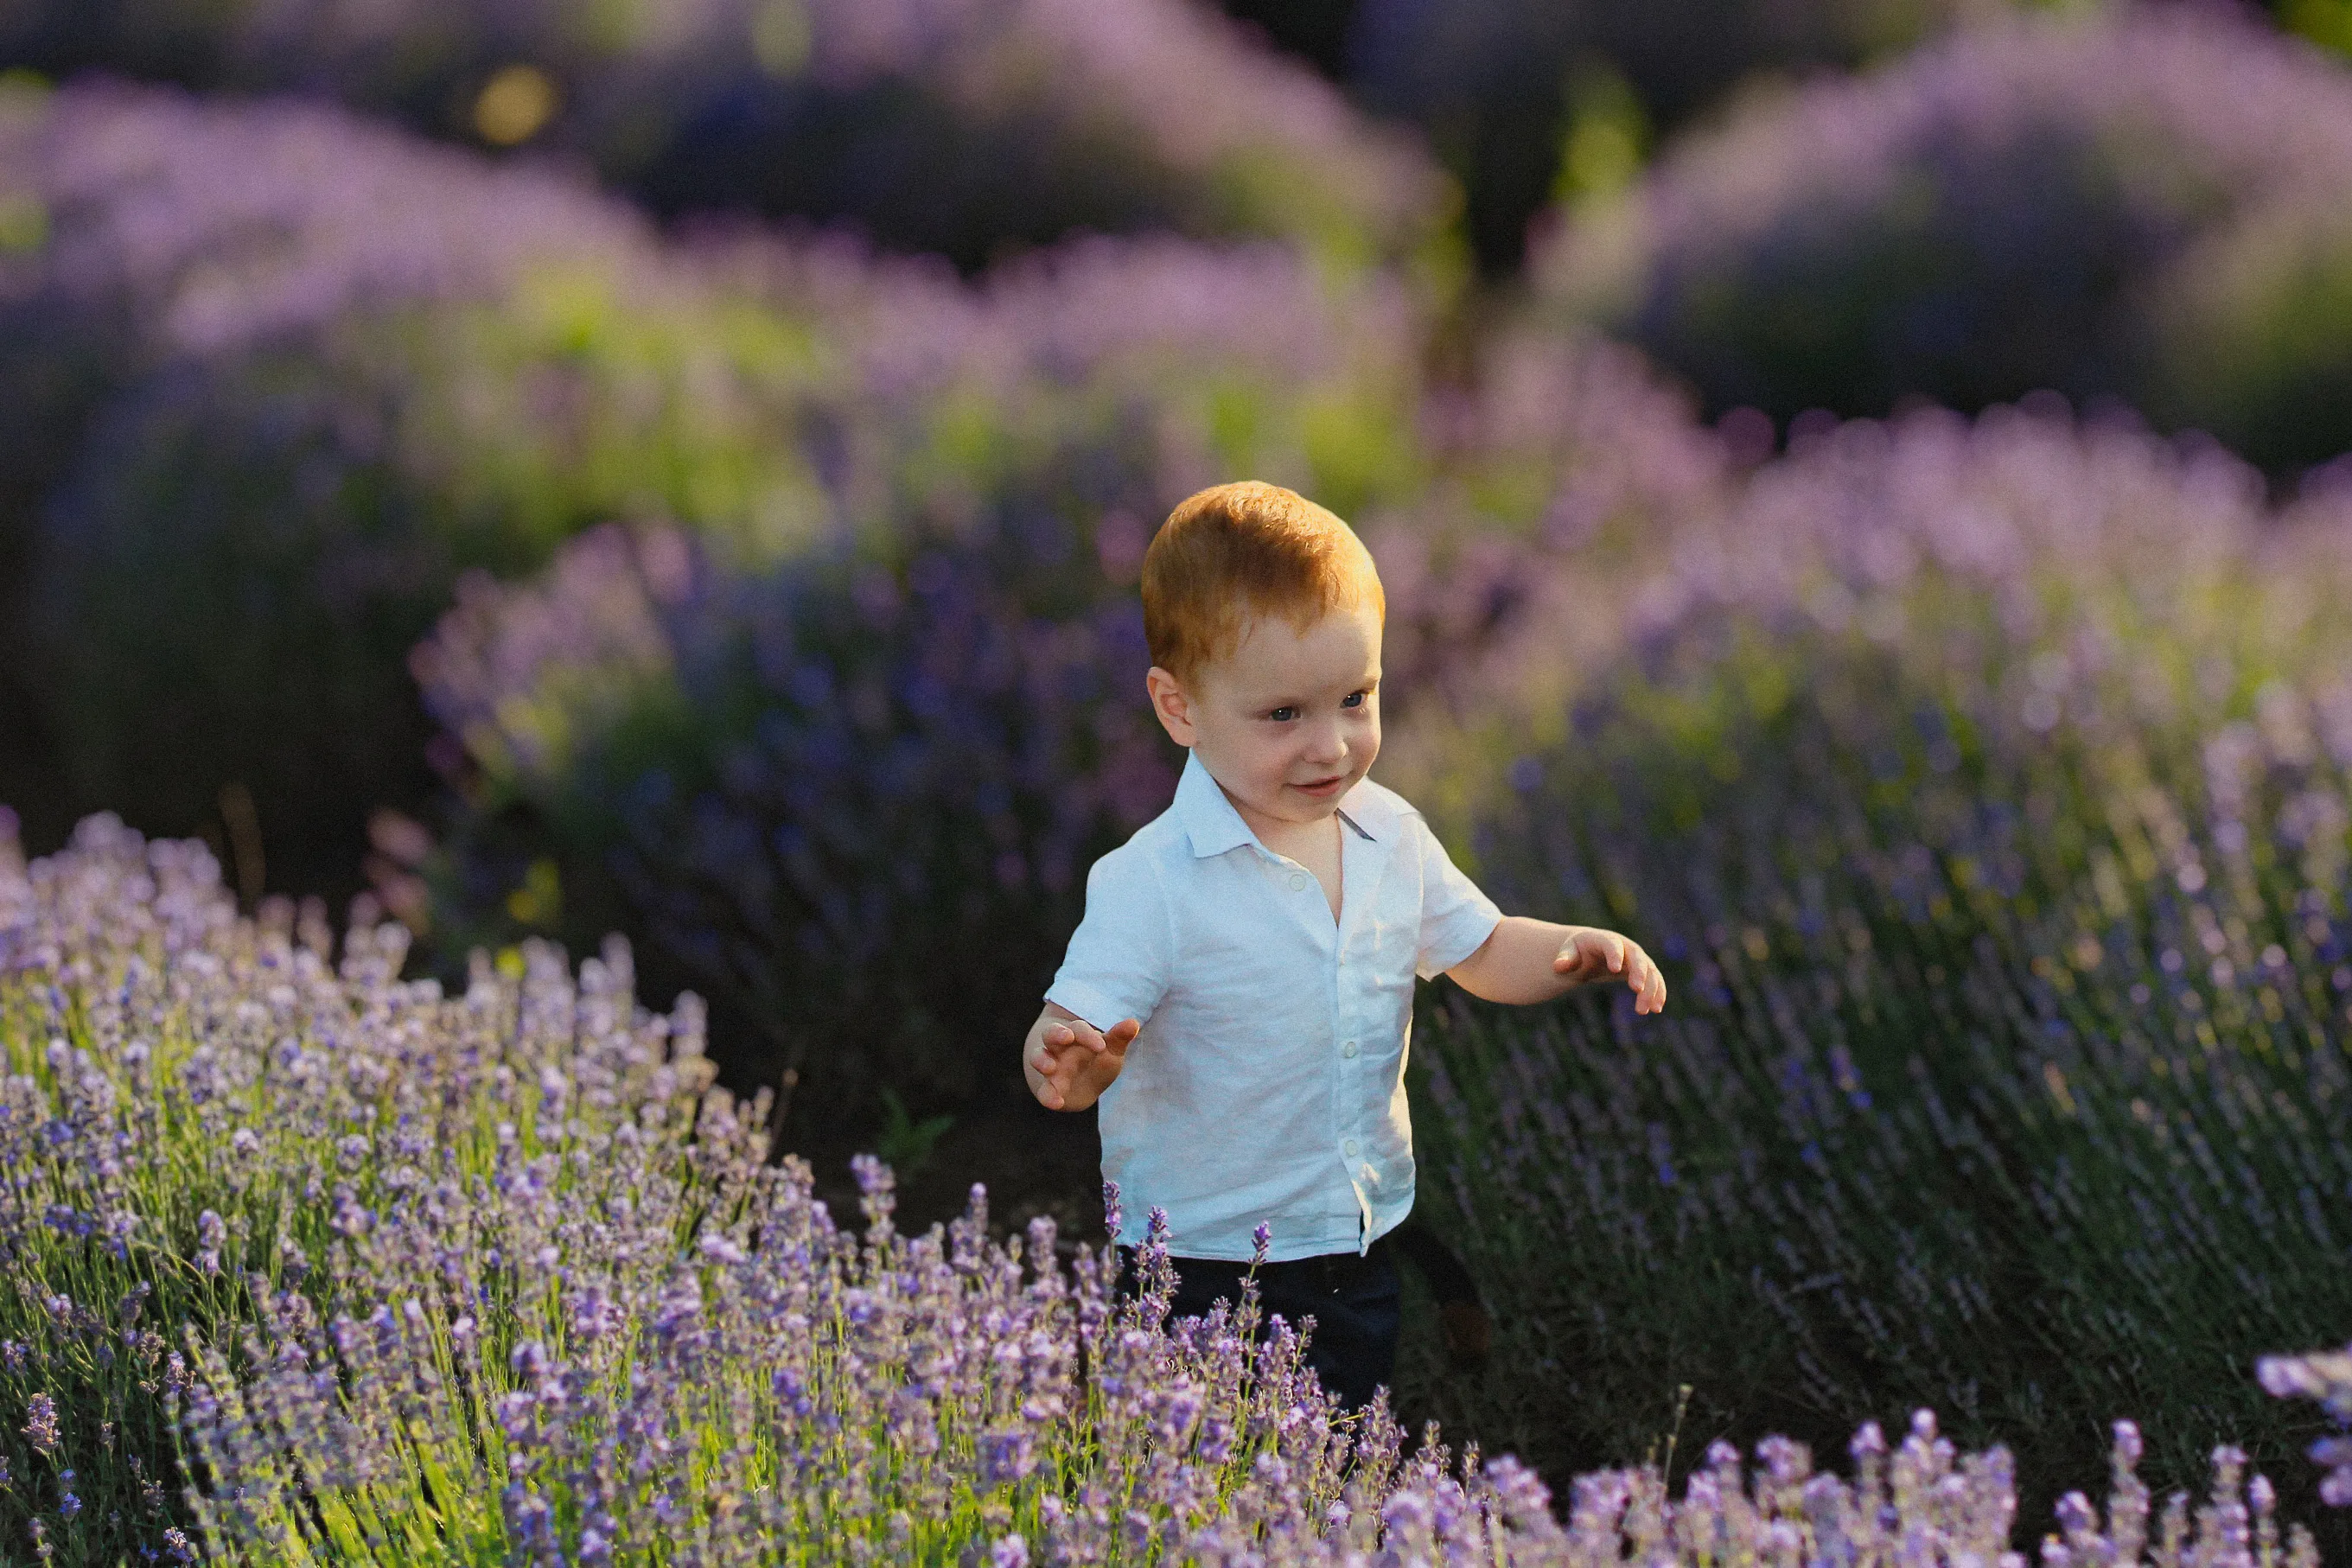
Now, stretch the duplicated layer. Open the Layer to reveal a bounding box around it. Click on the center point along one side and drag it outward to elongate the image. You can also move the image to the left to reveal the bottom layer.

Lower the opacity of the stretched layer to reveal the bottom layer more prominently. Adjust the position as needed.
%202.svg)
Like the previous tutorial, mask the subject's face on the top layer to maintain clarity.
Explore Other Features


An application & plugin
For macOS & Windows
- High-performance AI editor
24/7 technical support
30-day money back guarantee
Join our communities
Frequently Asked Questions
How to add motion blur to a photo with Luminar?
What's the difference between radial and linear motion blur effects?
Linear motion blur creates a blur that follows a linear path, typically in a single direction. It gives the impression of movement along a specific trajectory. Use it to convey the movement of an object in a straight line, such as a car on a road, a person walking, or a moving train.
Can I adjust the intensity of the motion blur effect?
Can I selectively apply the motion blur effect to specific areas of my photo?
Why Luminar is the best motion blur editor?
Who can benefit from Luminar motion blur adder?
• Photographers: add dynamic movement to static images
• Content creators: create eye-catching, scroll-stopping visuals
• Sports and action editors: enhance the sense of speed and motion
• Designers: add creative effects to visual compositions
• Editors: fine-tune motion direction and intensity